With our POST CX app added to ActiveCampaign automations, you can now send physical letters and postcards worldwide! This help article will guide you through the steps on how to.
Add Address Fields on Contacts
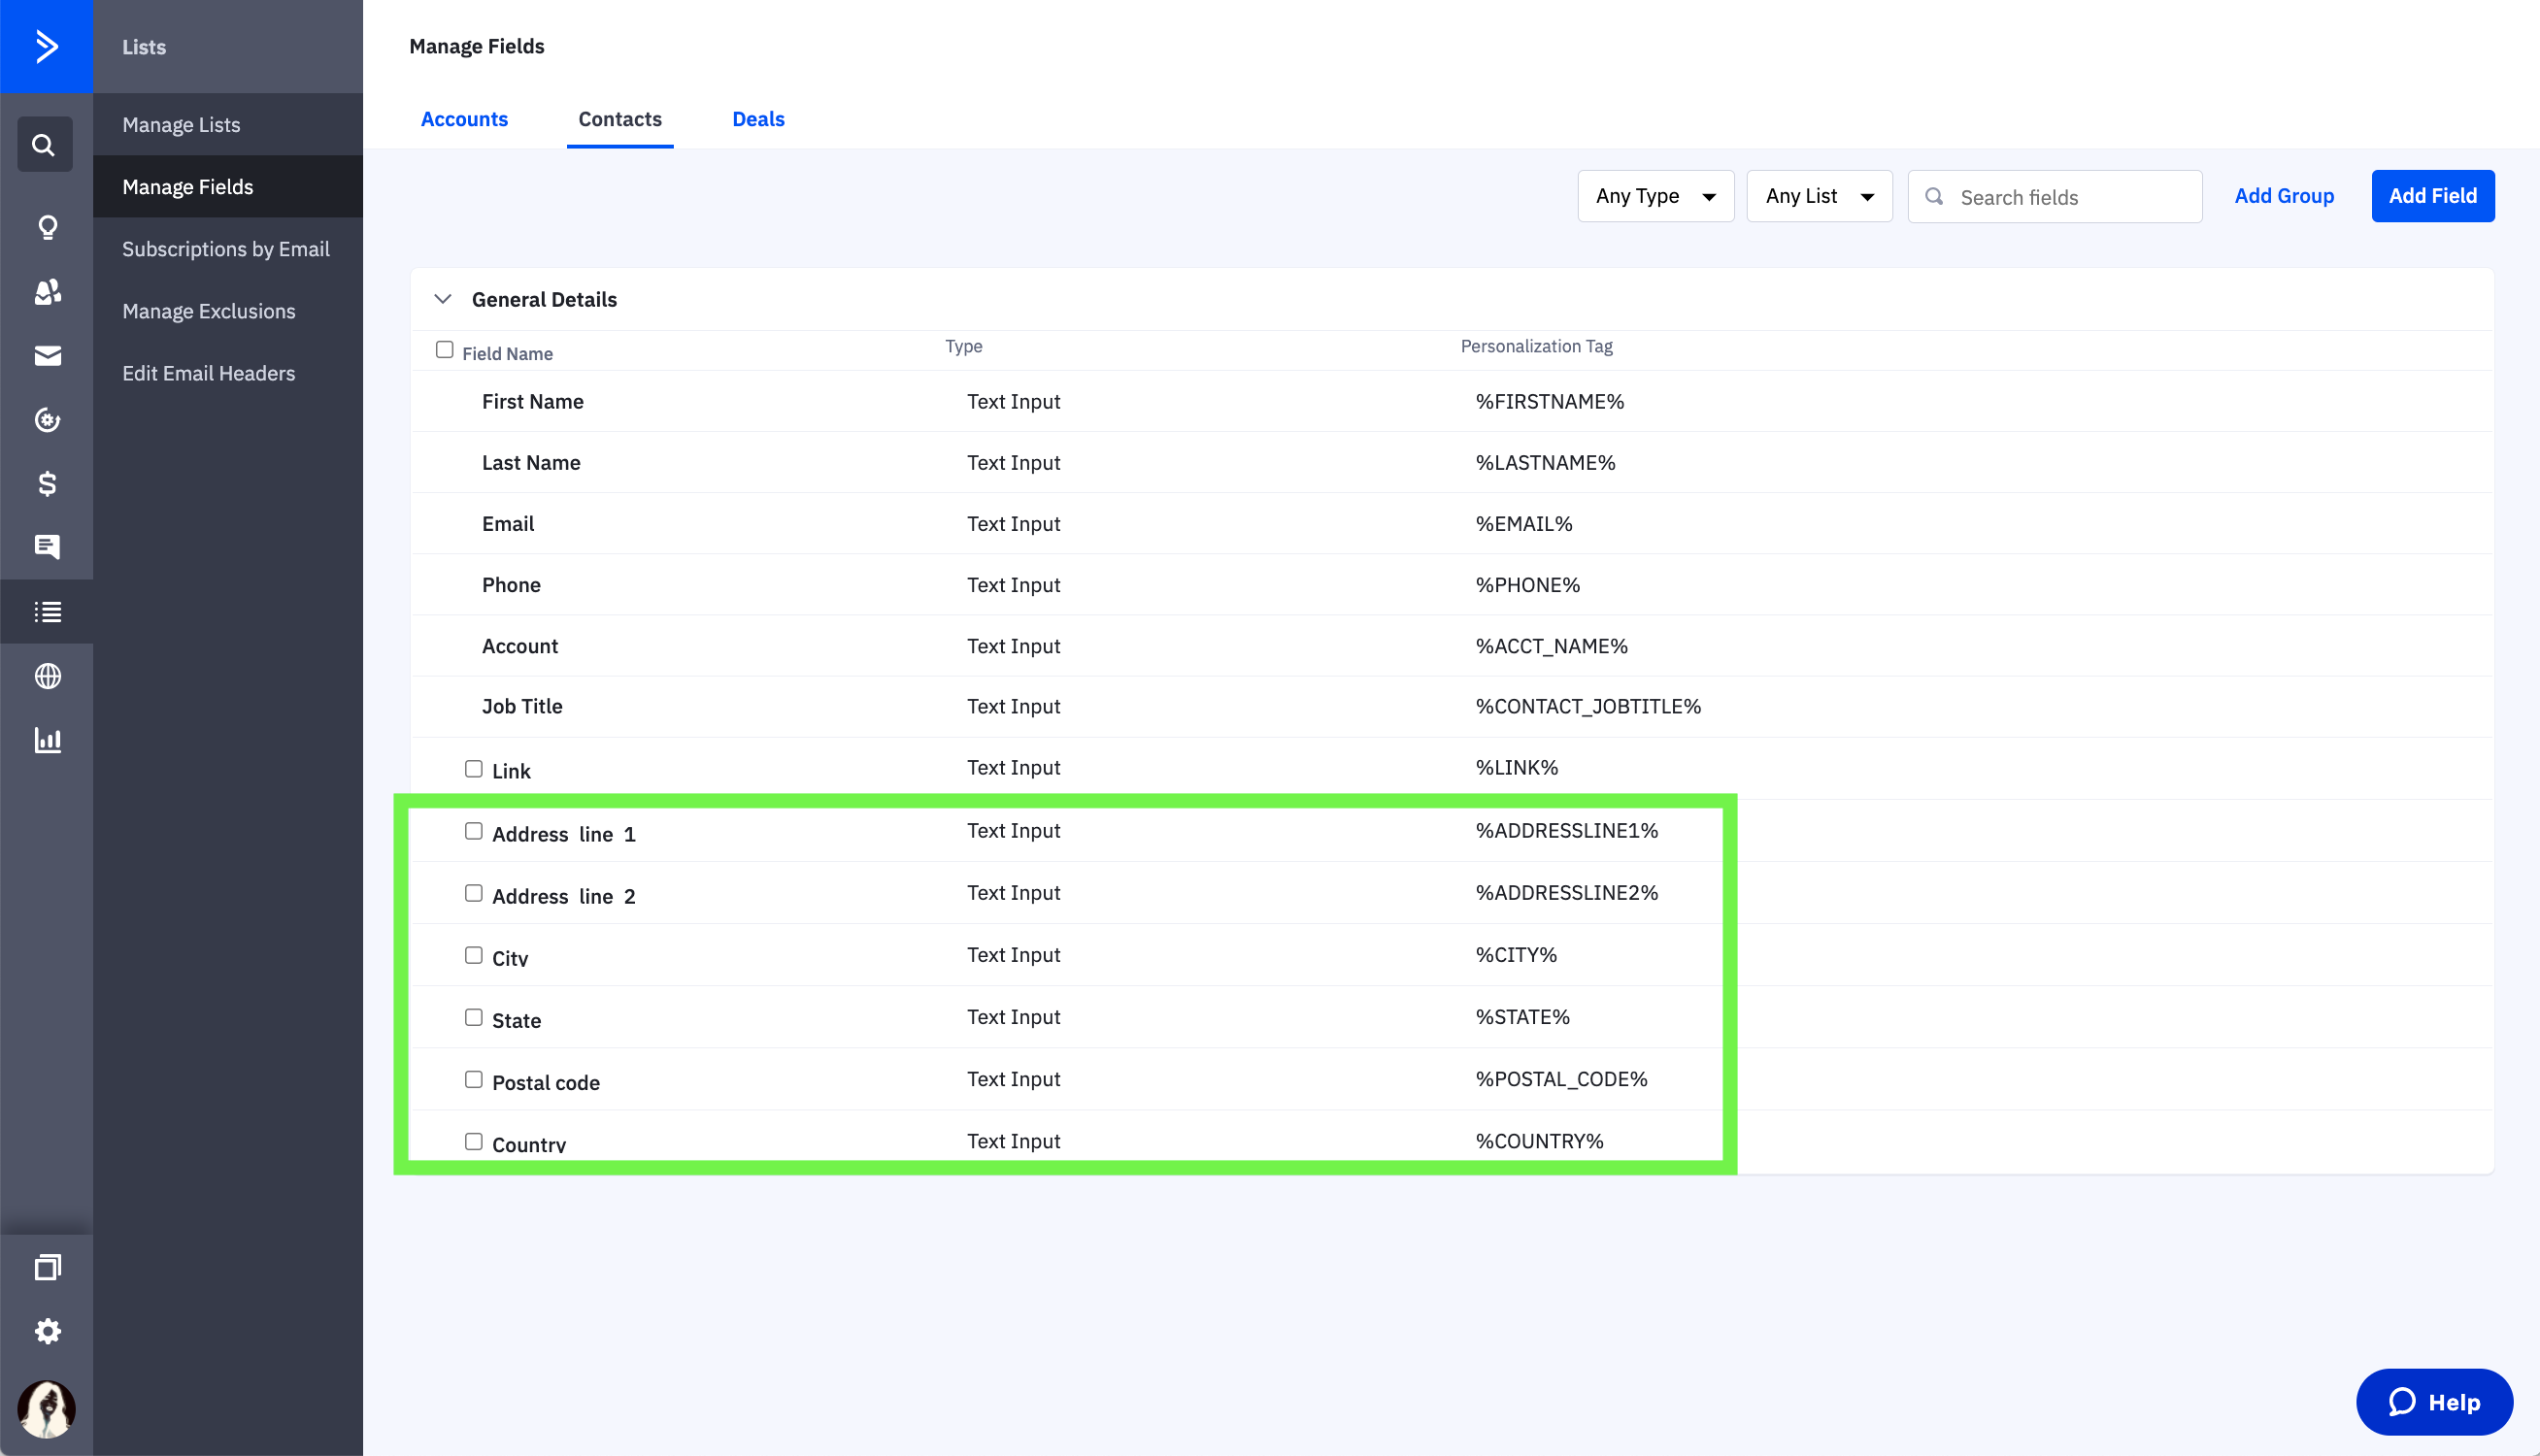
Any fields you add will apply to all Contacts. Go to Contacts > Select a specific contact > Manage fields and add the following as Text input:
- Address line 1
- Address line 2
- City
- State
- Postal Code
- Country
These fields are required except Address line 2 to make successful delivery of letters and postcards.
When you import a bulk contact list with addresses in ActiveCampaign. Map them with the fields you added above correctly.
Country field - it only accepts 2 code format. Eg. AU for Australia
Add a Return / From Address
When sending a letter and a postcard, a return address is required. Open ClickSend dashboard > Username > Message Settings > Post > and Return addresses.
Send Letters
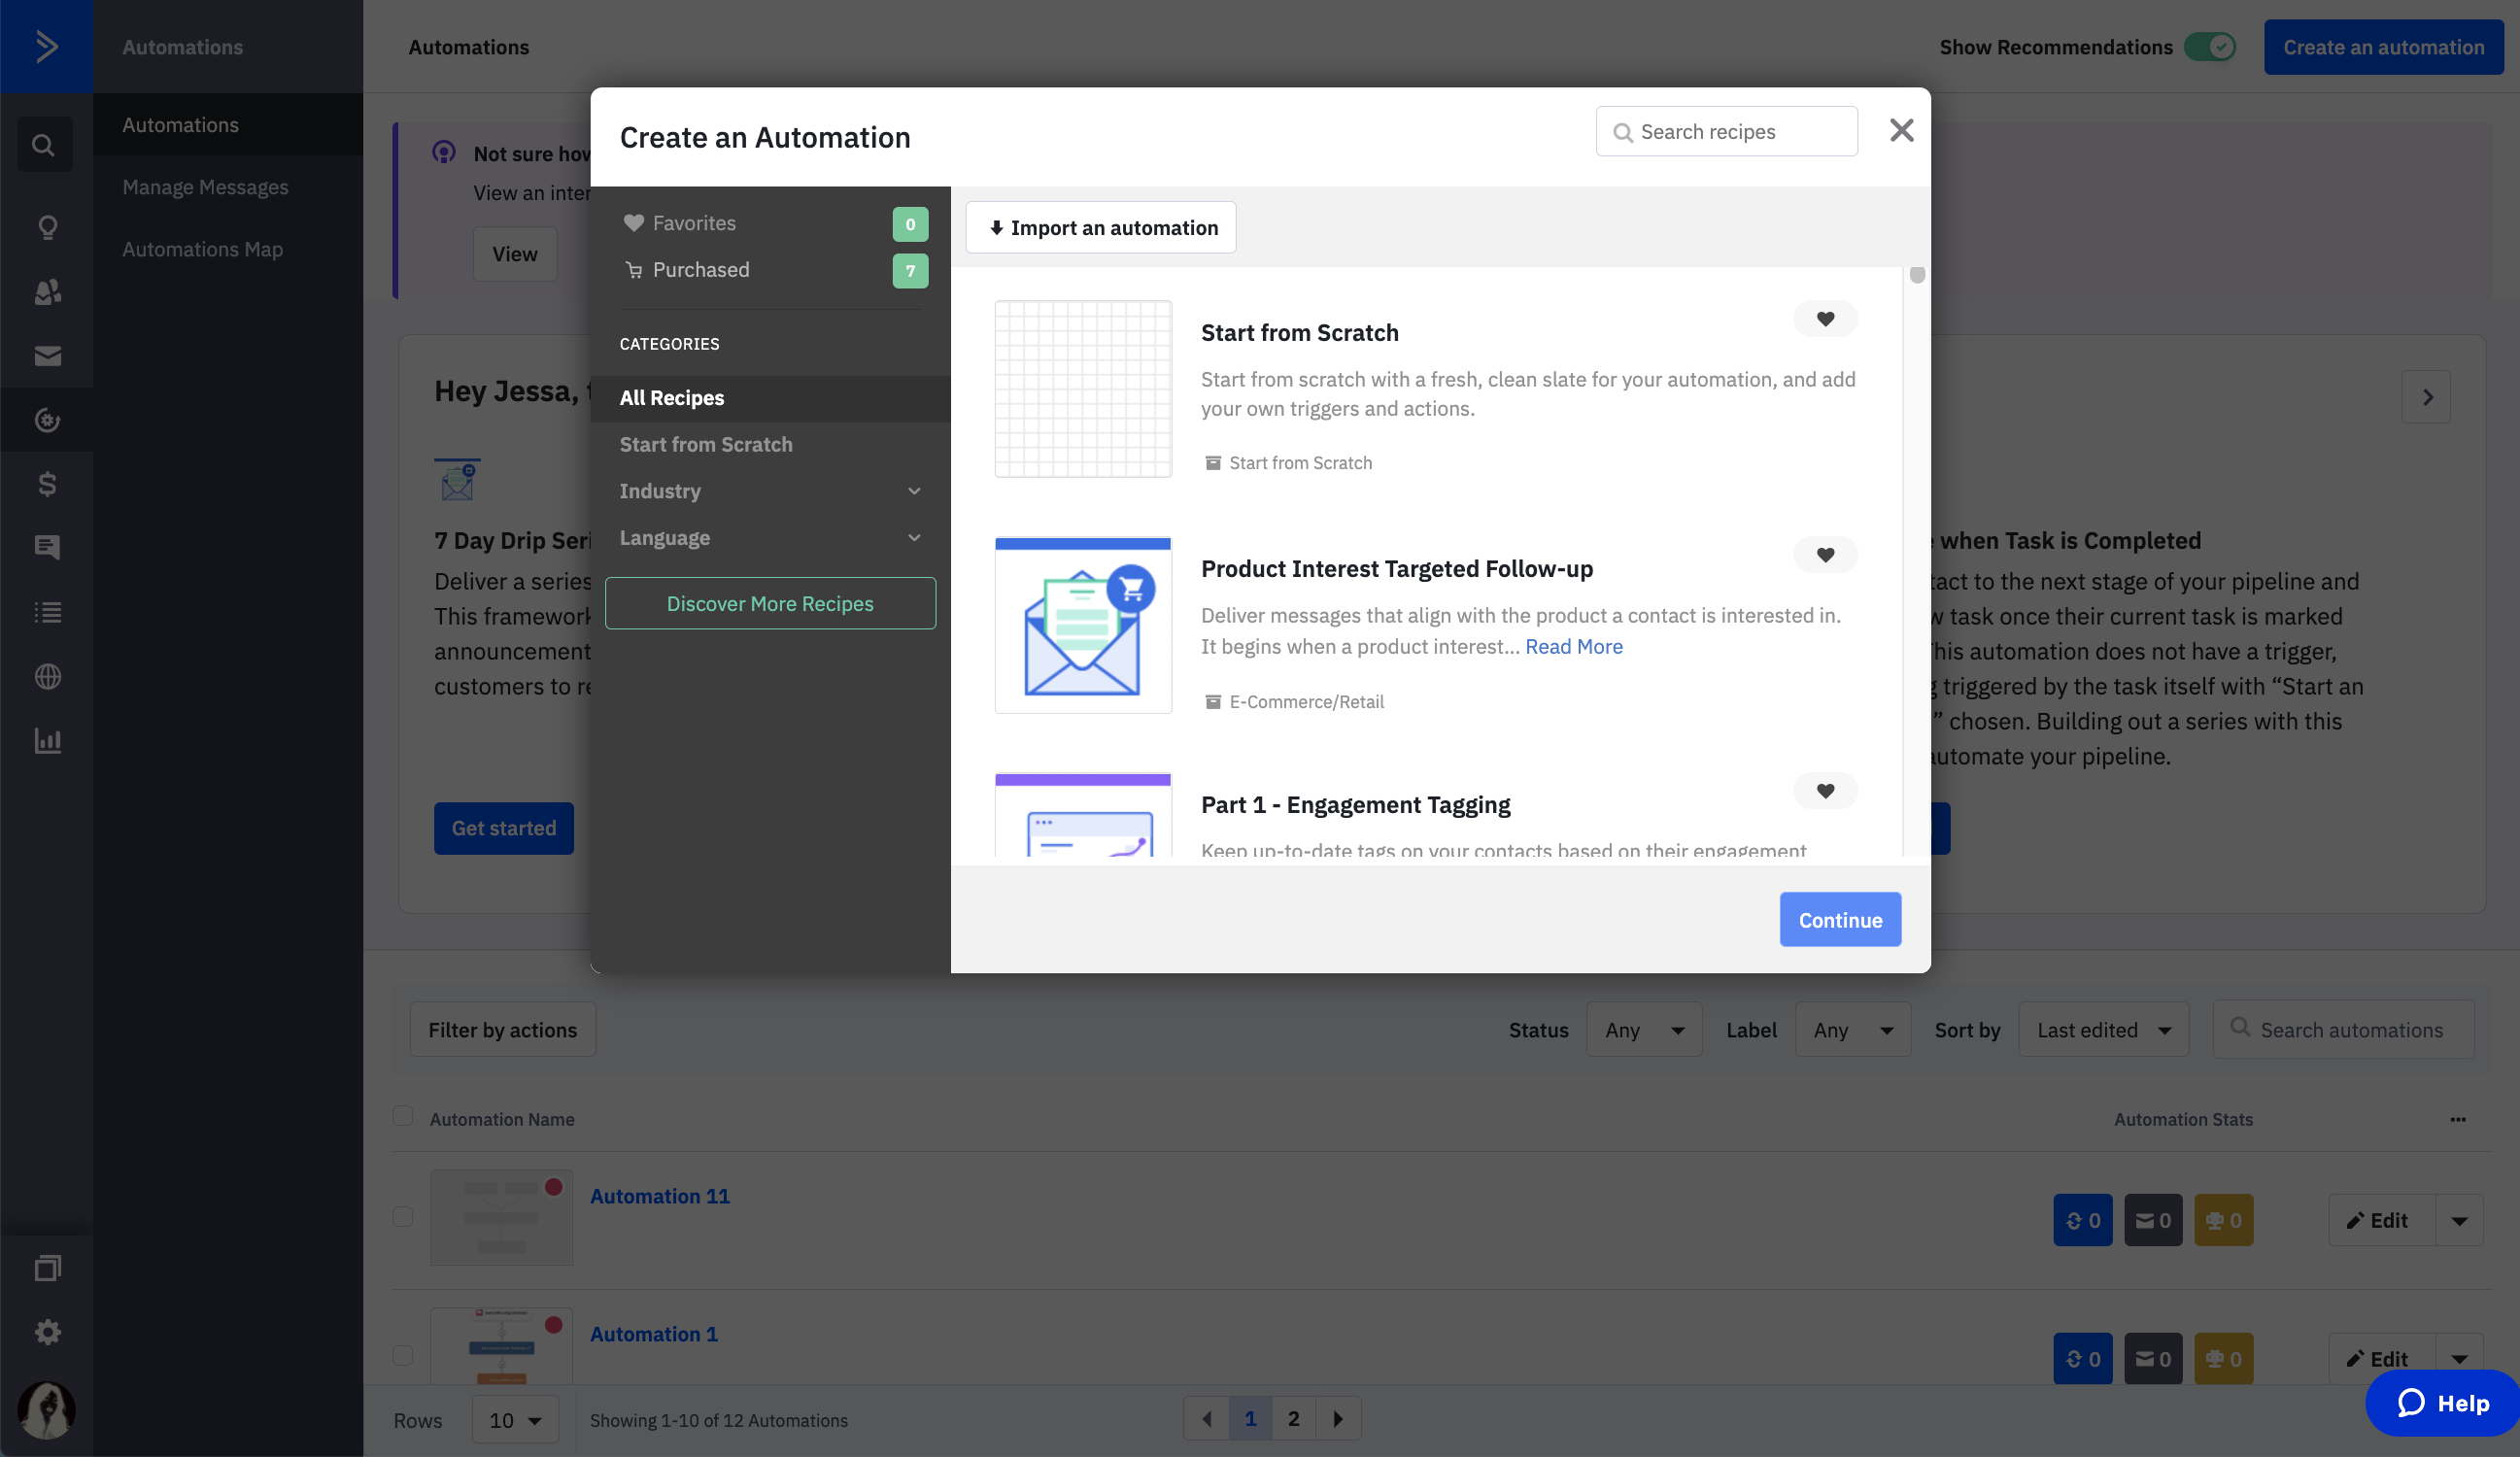
Open ActiveCampaign platform and go to Automations. Then create a new automation from scratch.
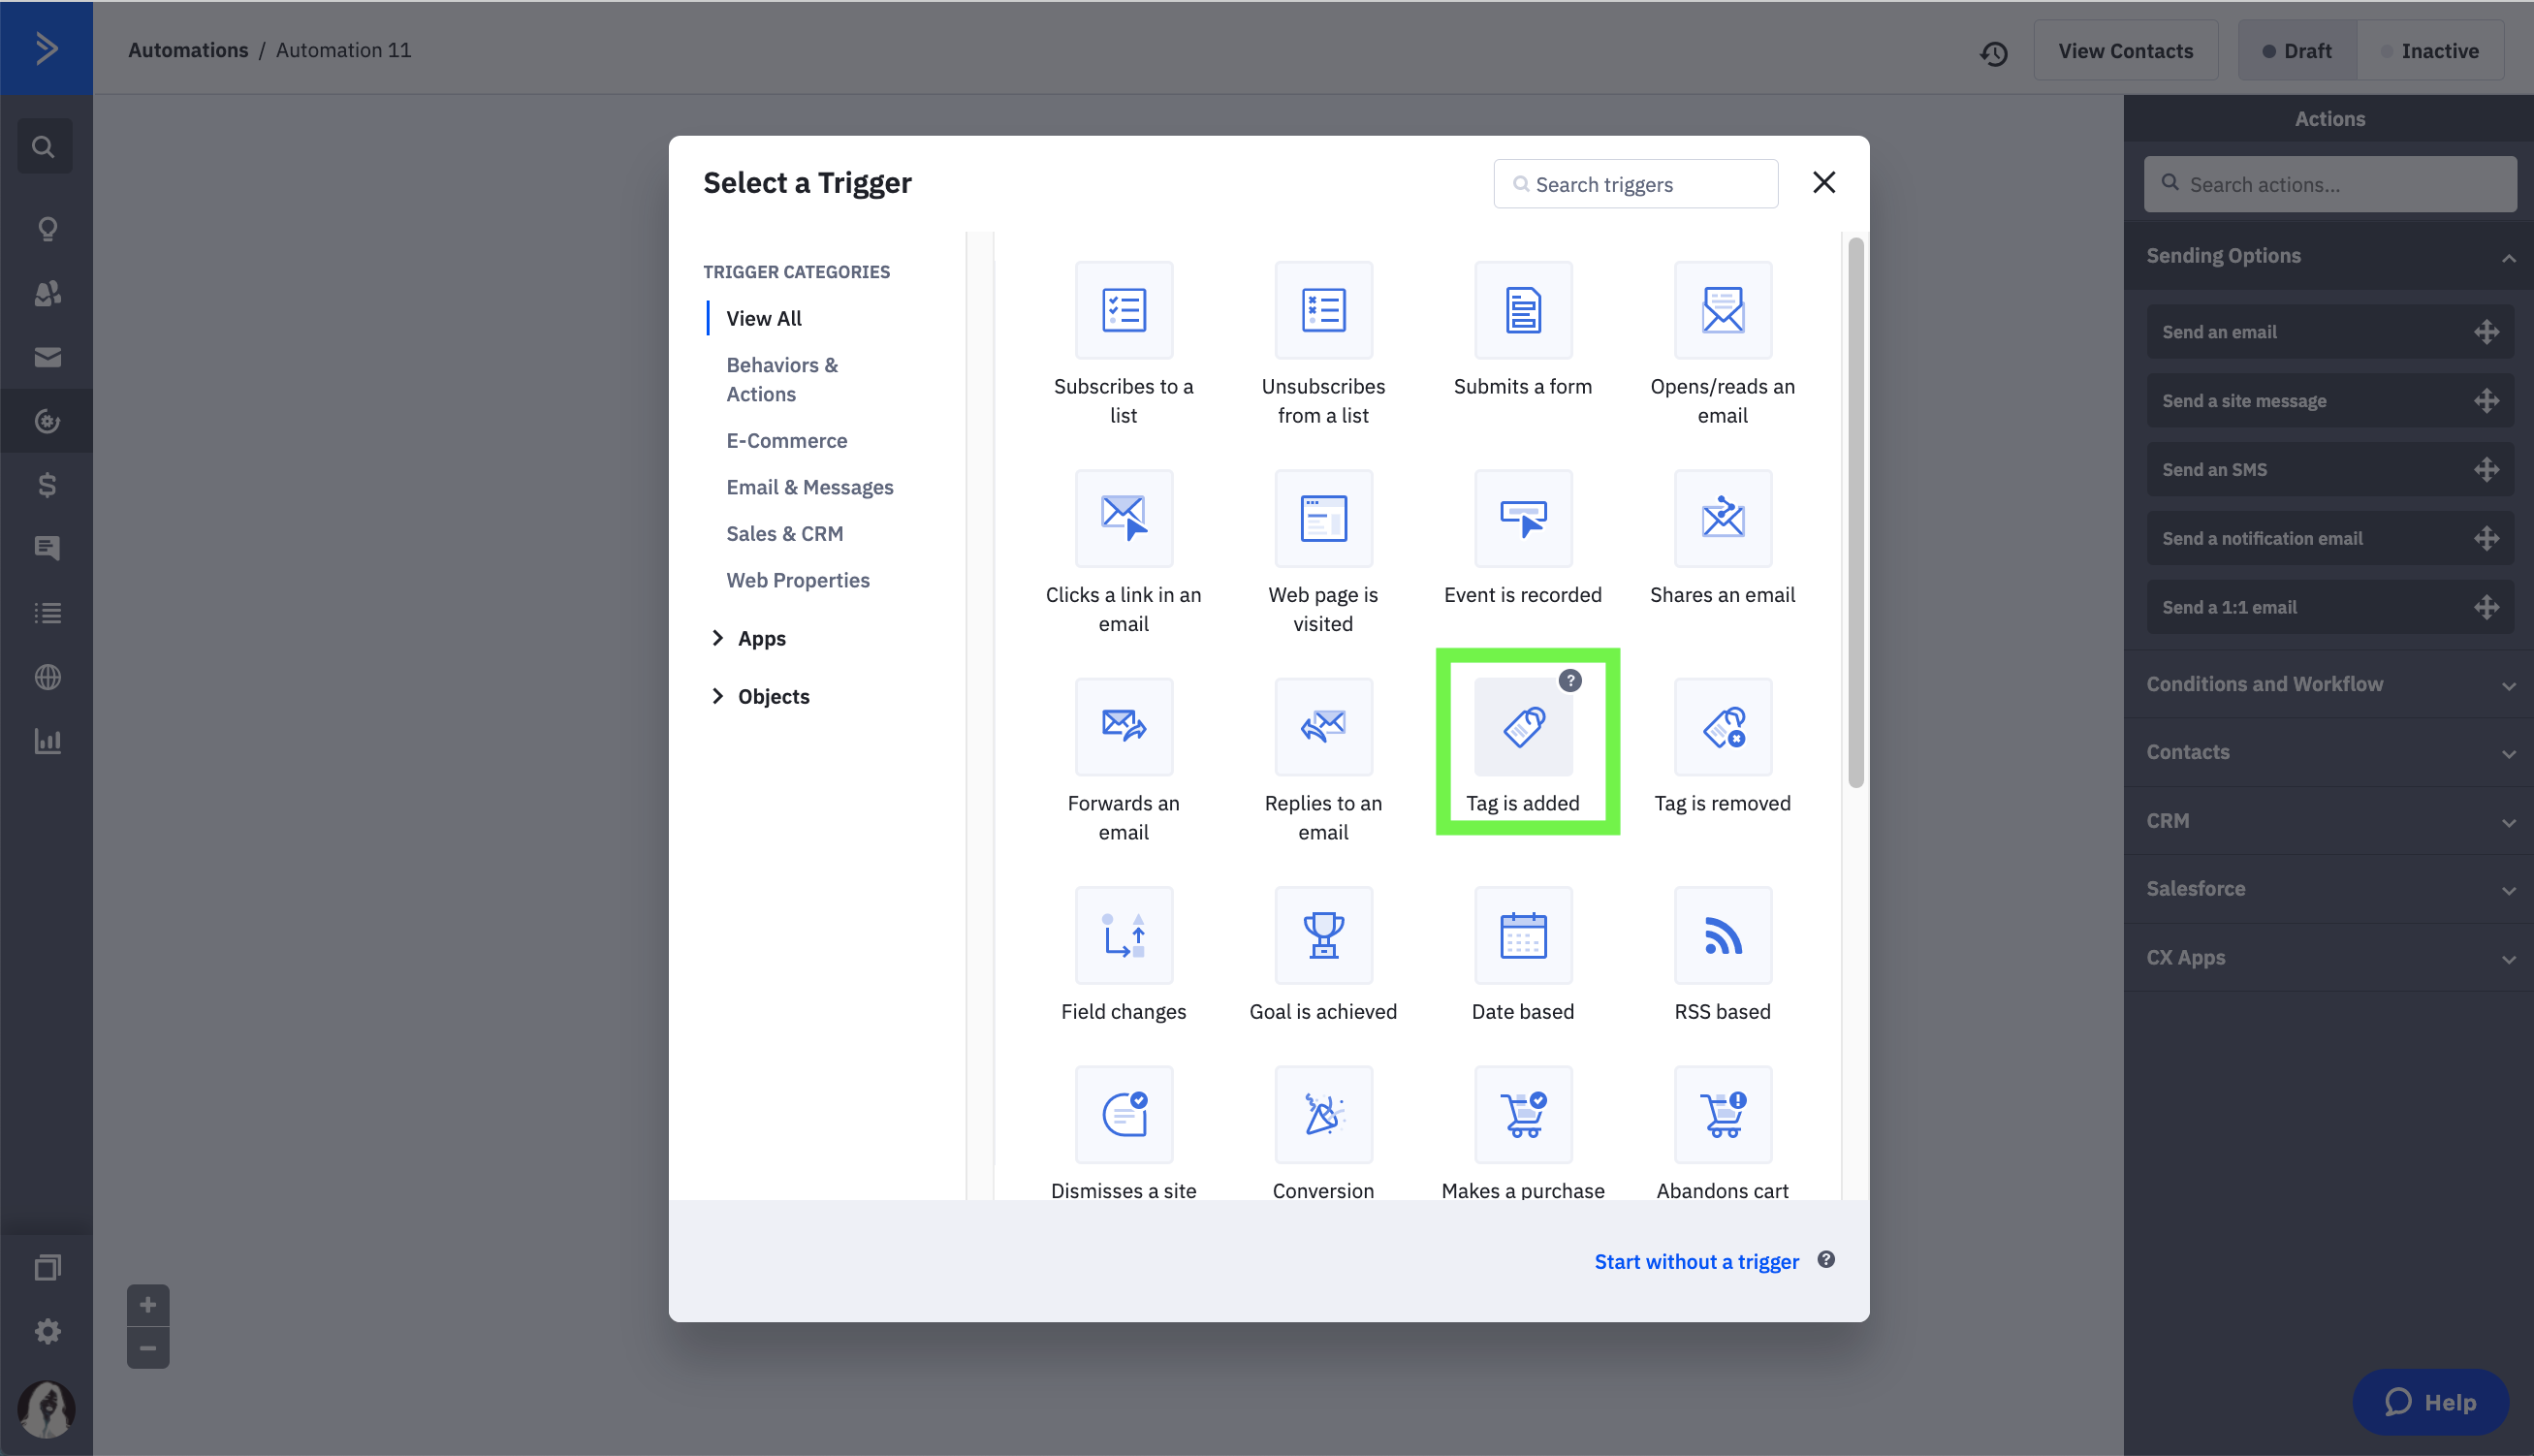
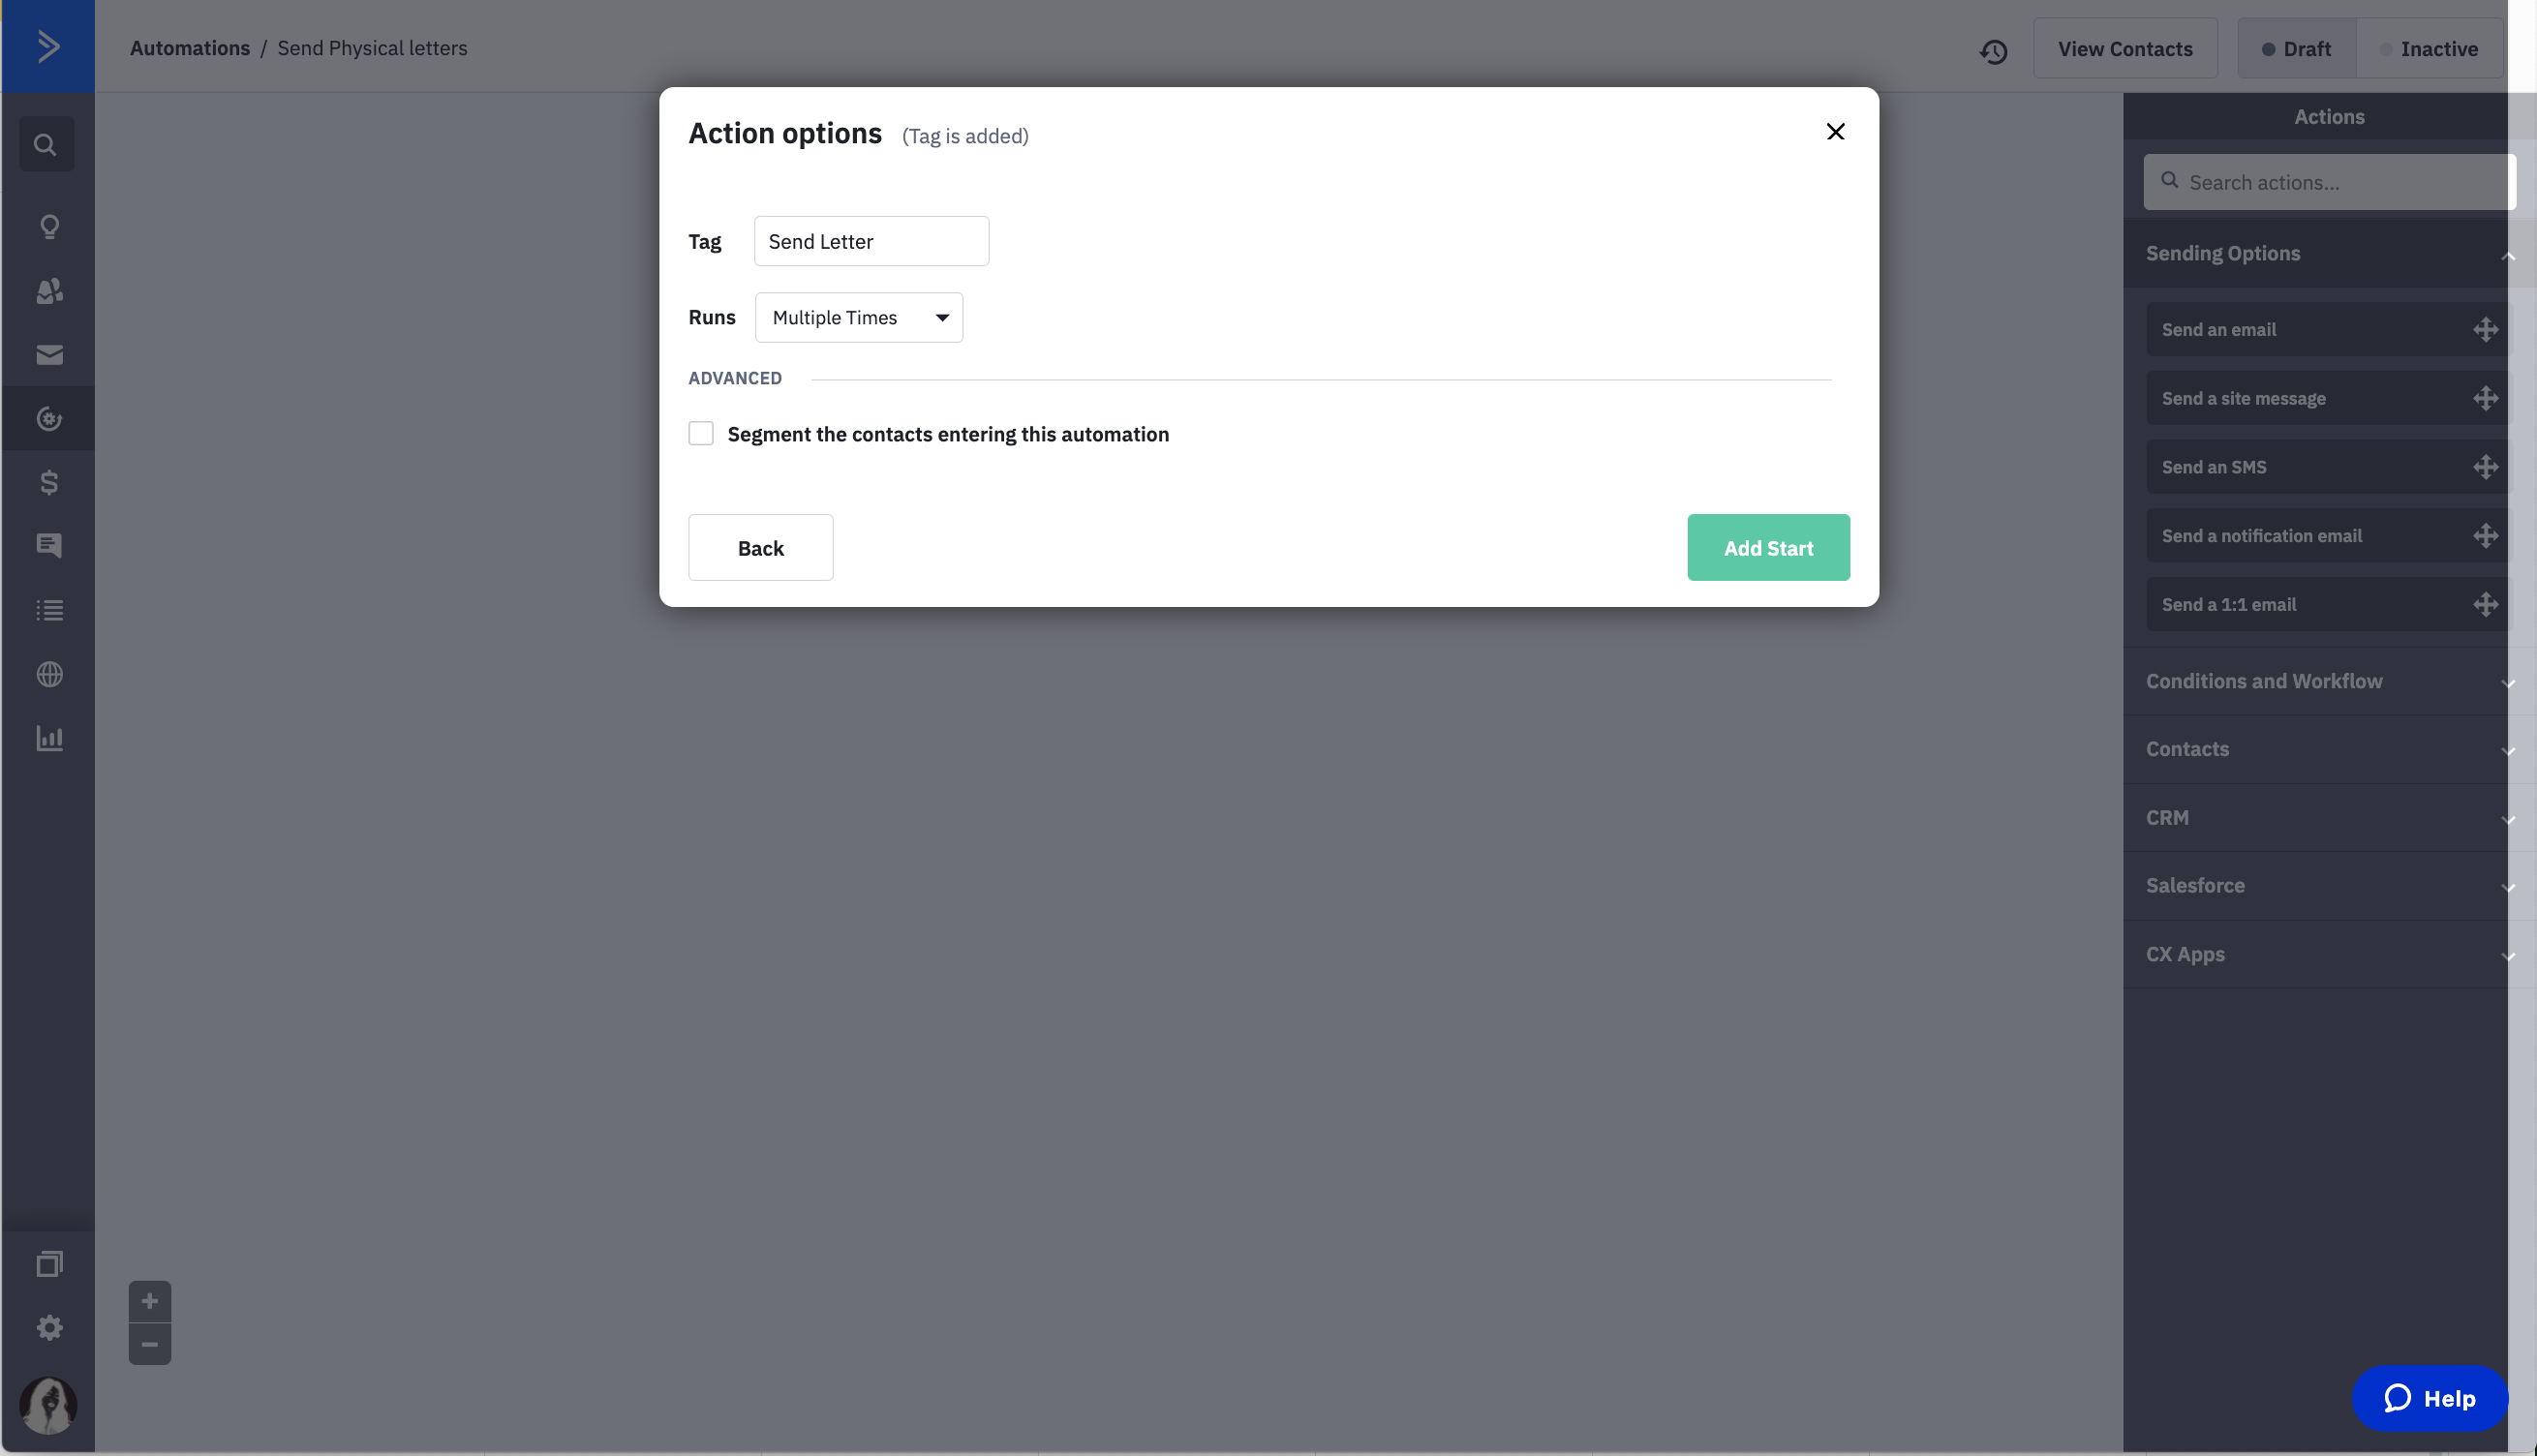
Choose a trigger. In this article we'll be sending letters every time a specific tag is added to a contact so we pick 'Tag' trigger. The tag can be anything as long as for your reference.The tag we set up to trigger this automation is 'Send Letter' - so when you added this tag to any of your contacts, a letter will be printed and will be delivered to them.
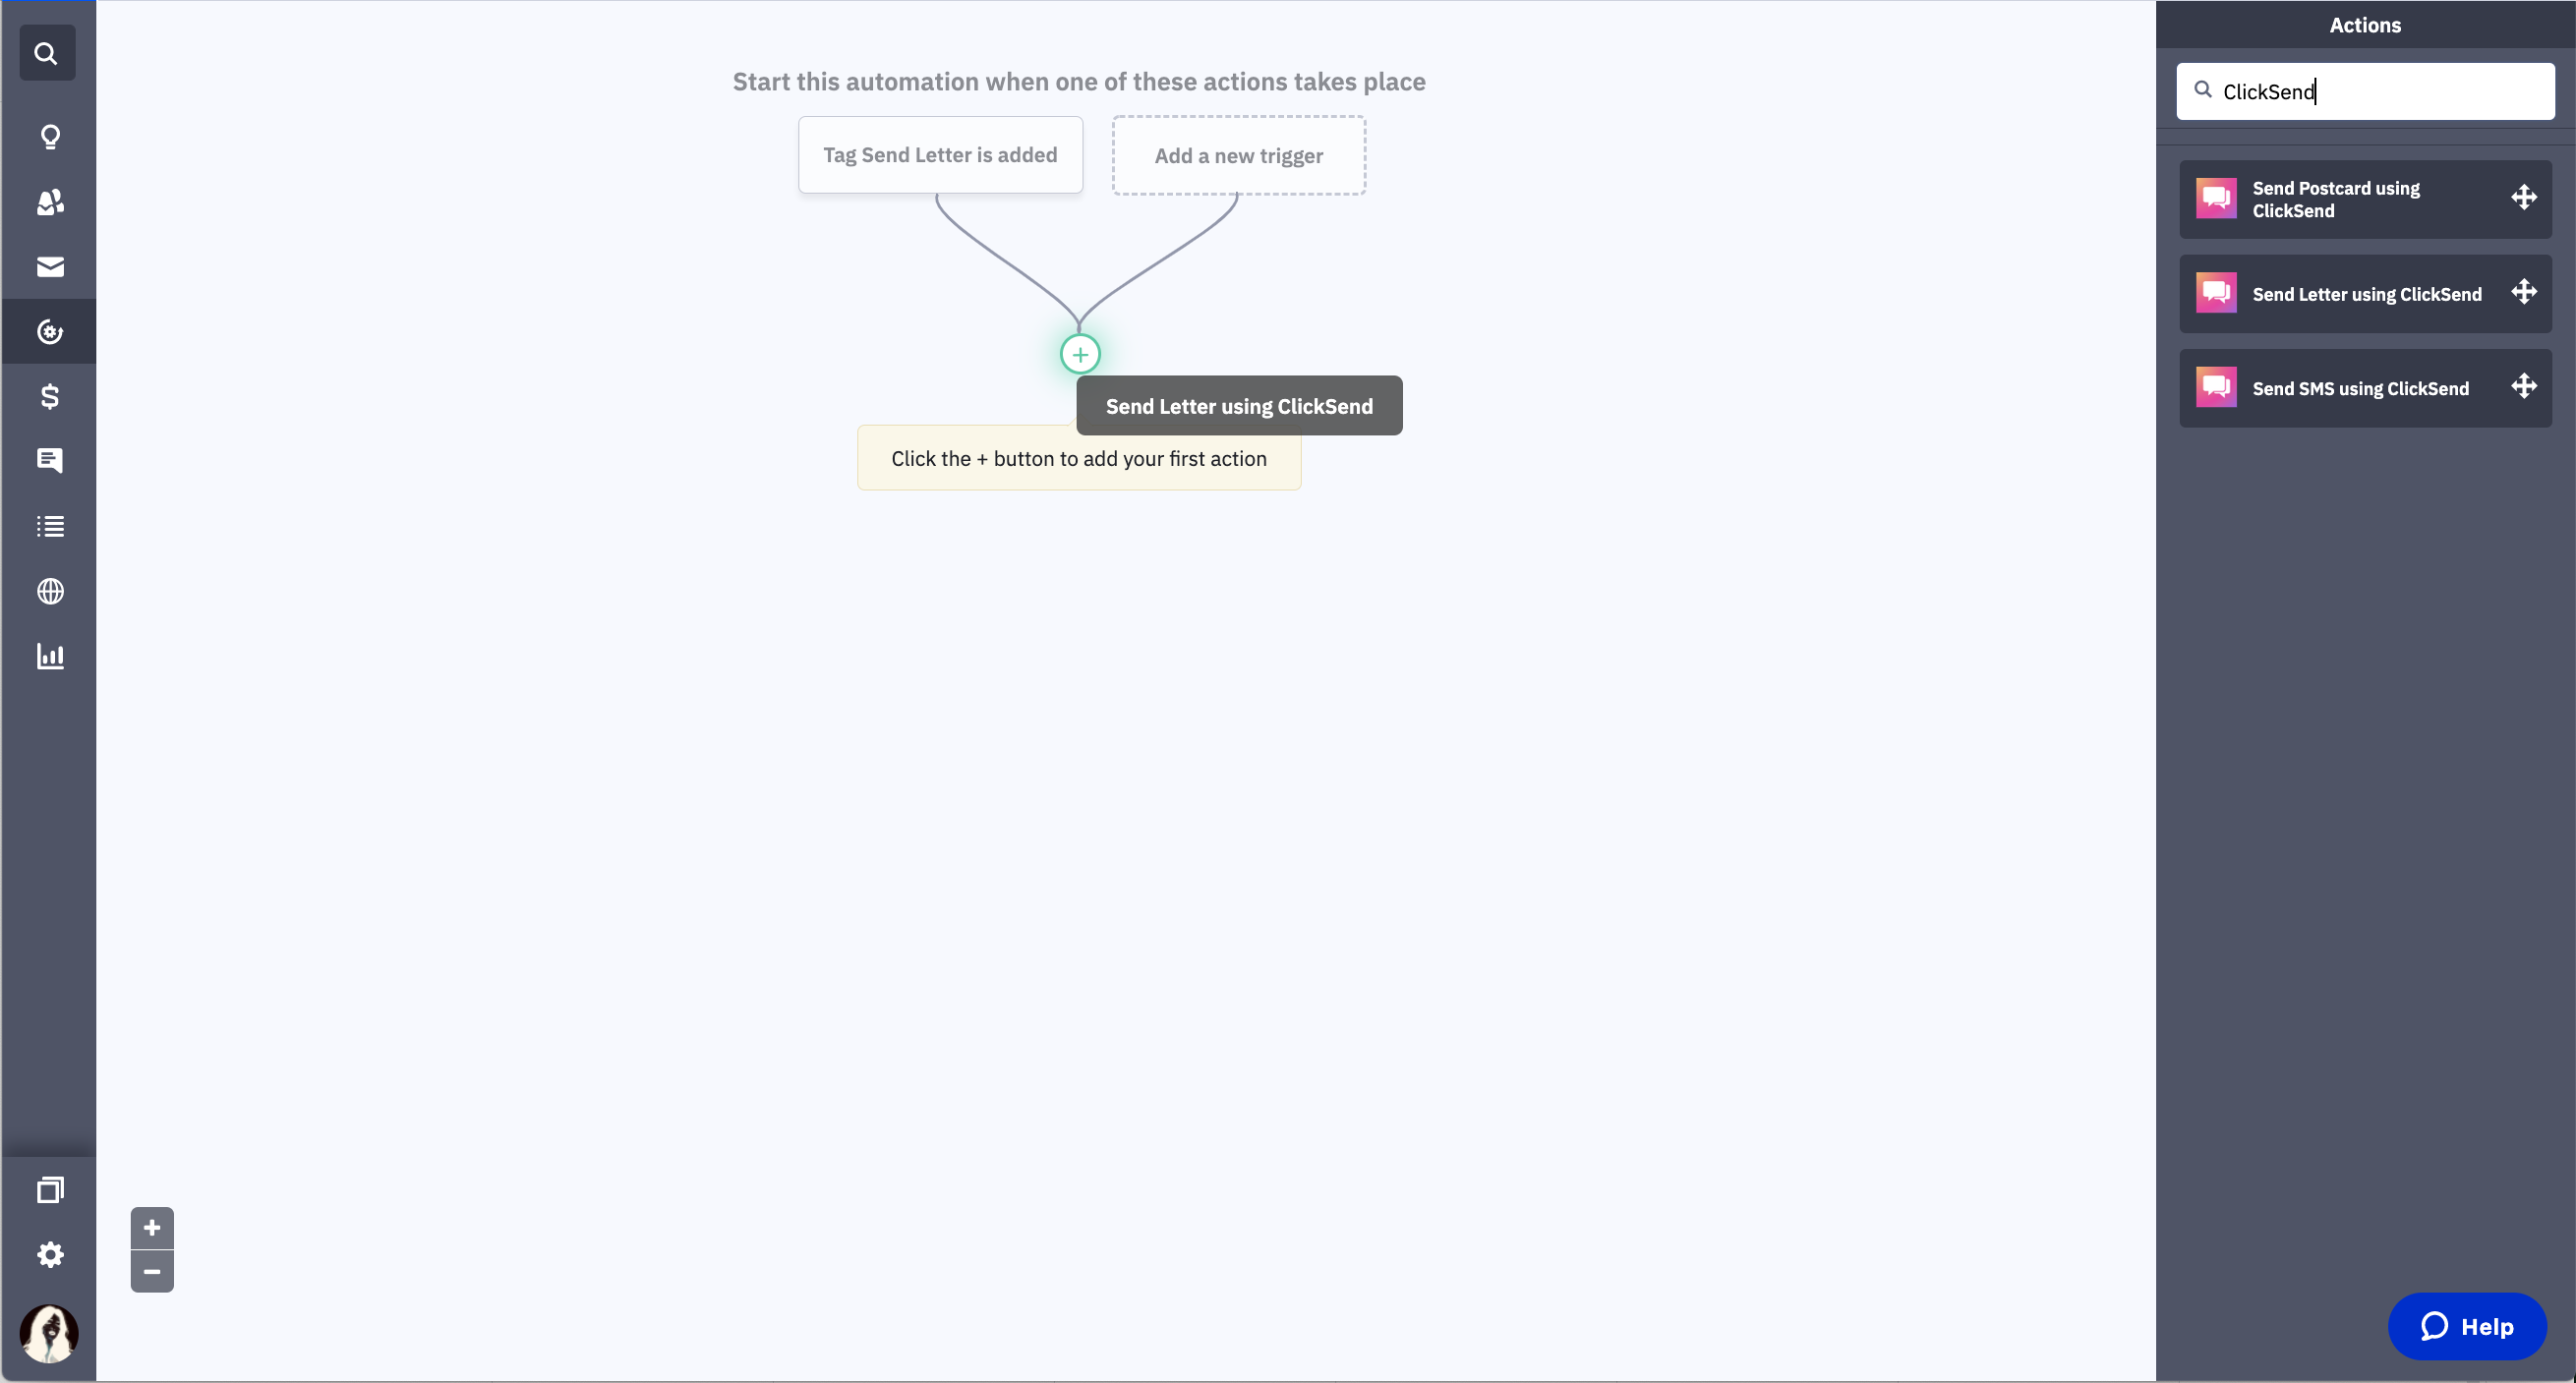
Look for ClickSend under actions and drag 'Send Letter CX app' to the streamline.
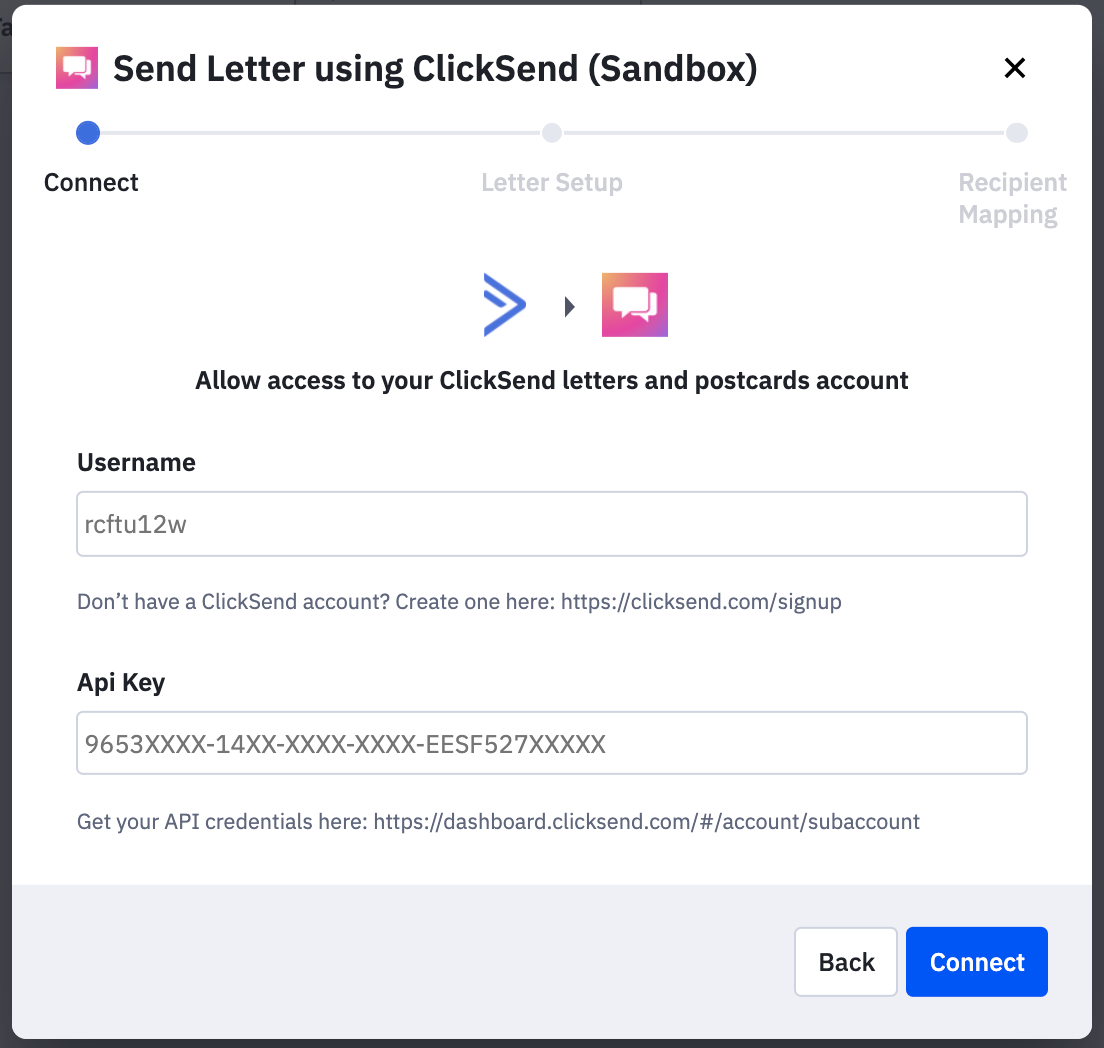
You will be then required to enter your ClickSend account credentials.- 'username' is the username you use in ClickSend - 'api_key' is the API key found in the ClickSend dashboard: https://dashboard.clicksend.com/#/account/subaccount
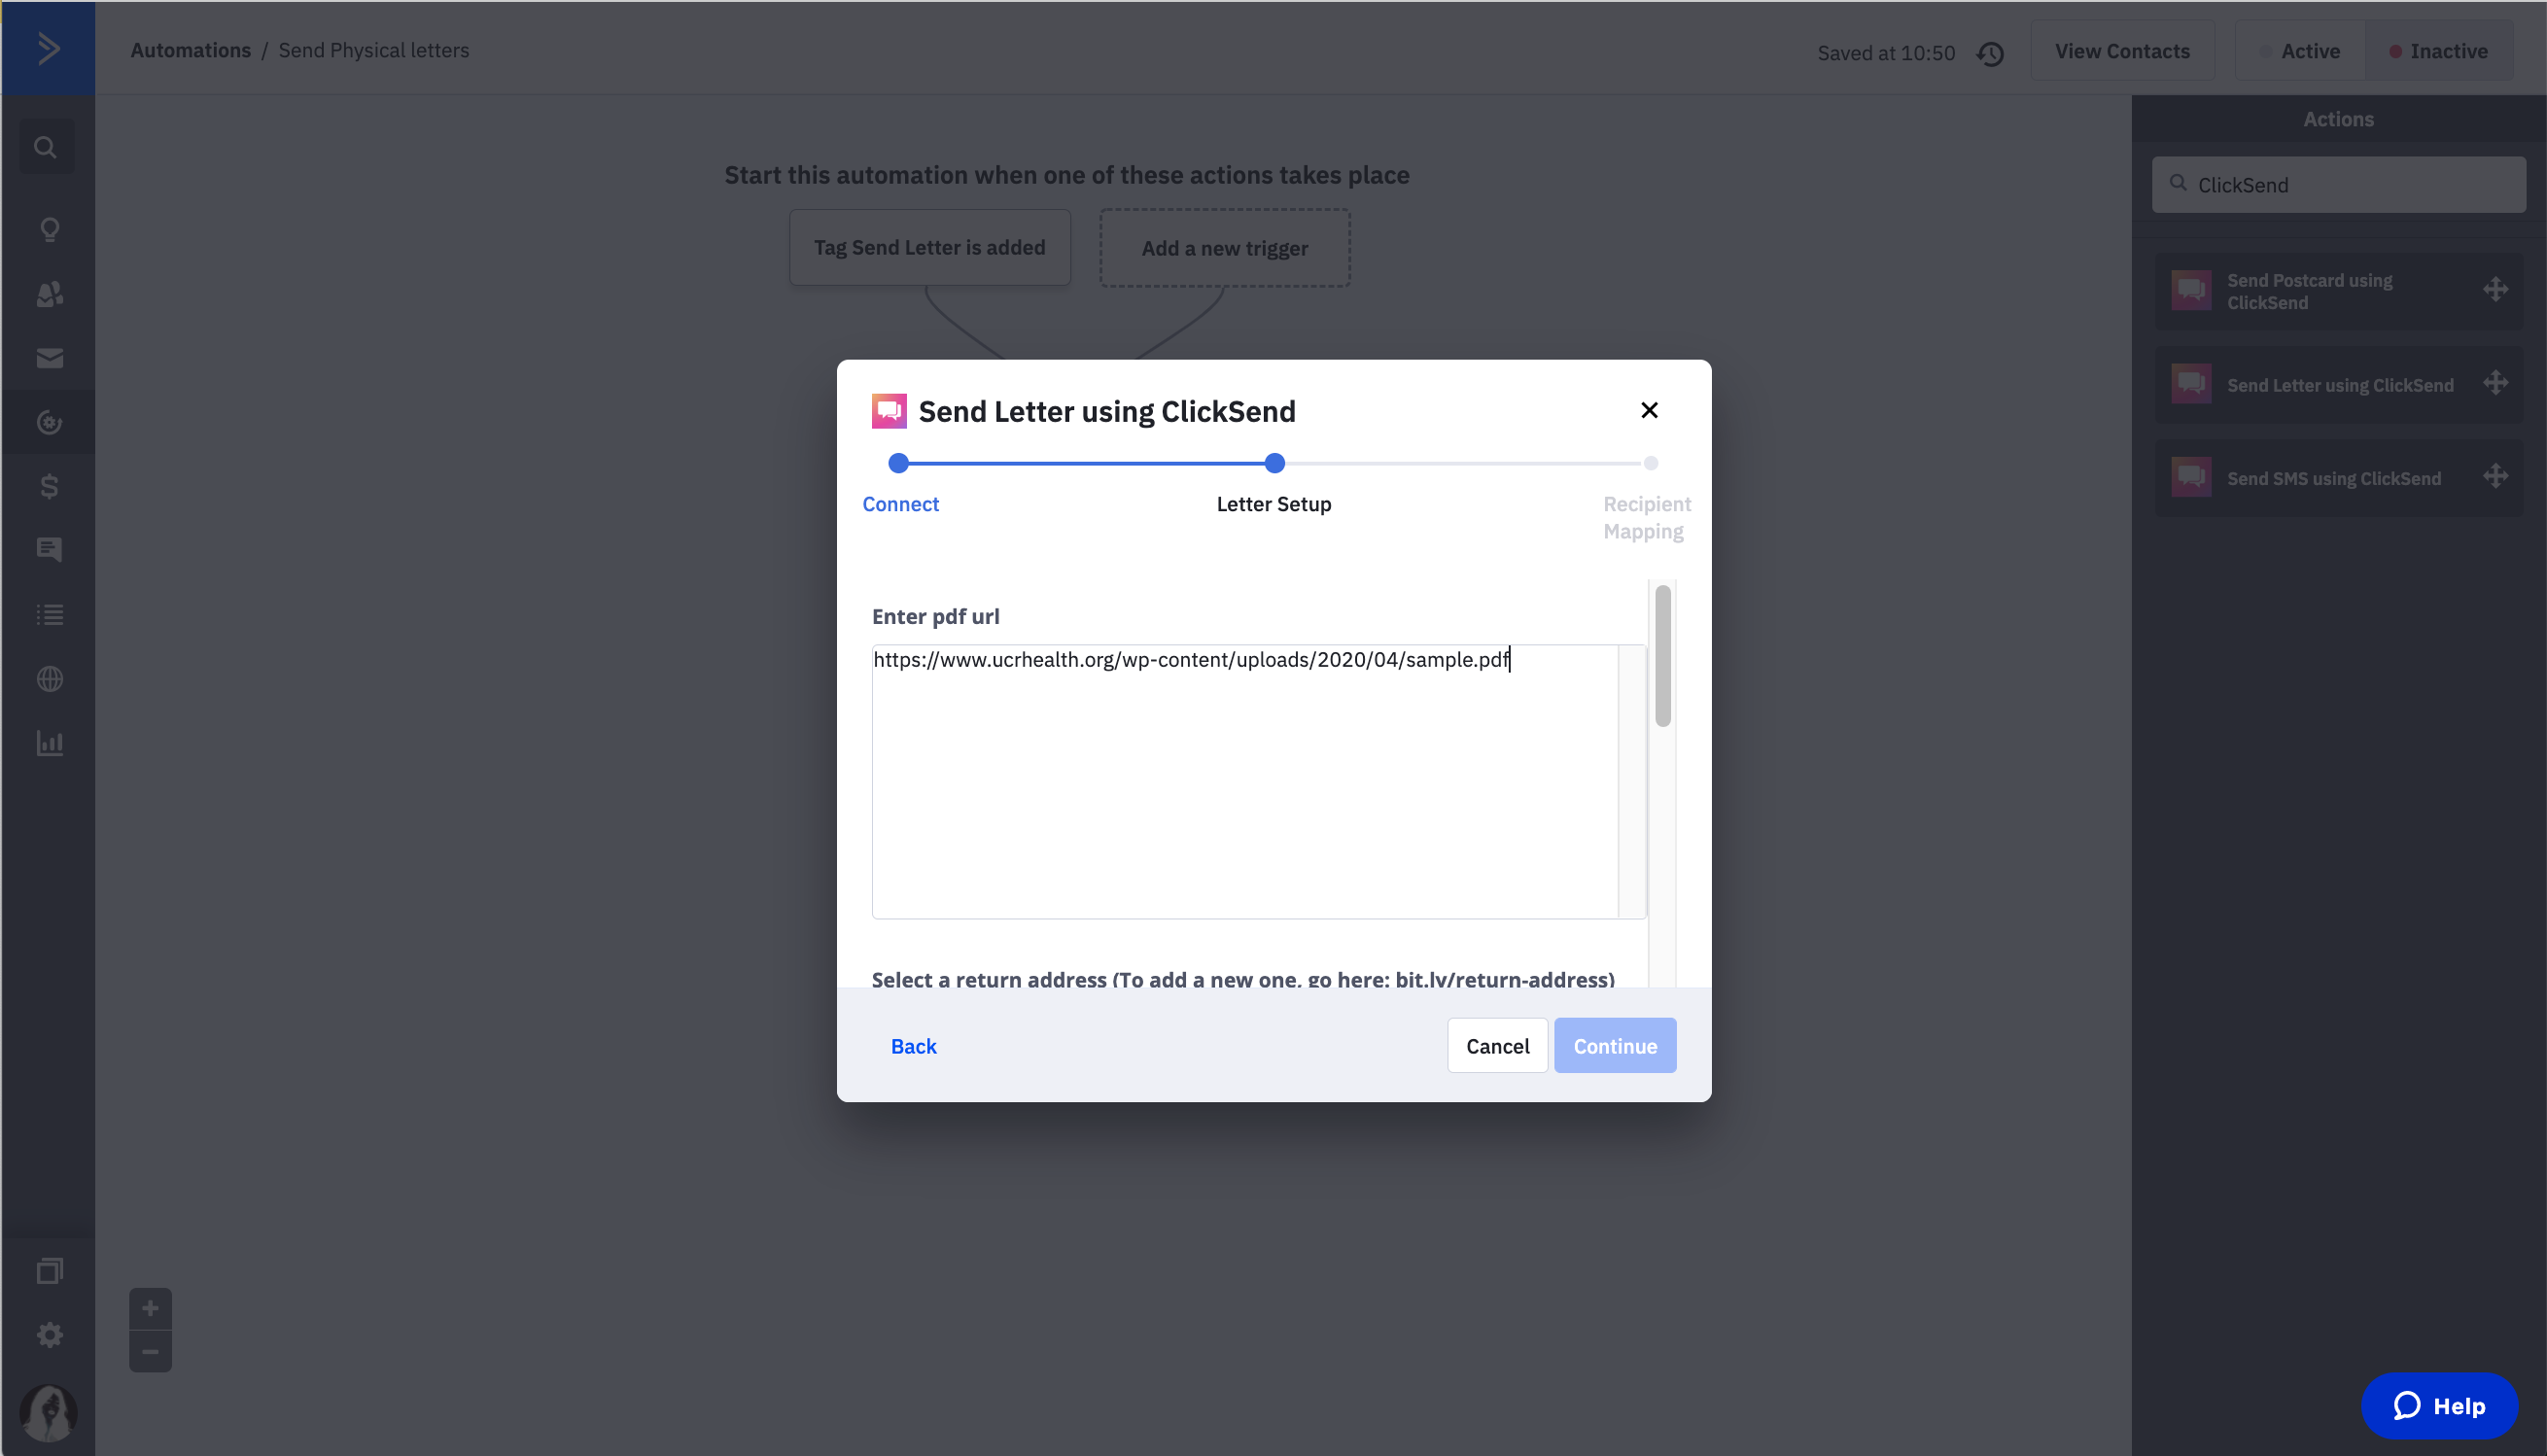
Next Step is setting up the letter. Paste your PDF url. We can only support up to maximum of 60 pages and a file size of 10 mB. Your letter must be following the specifications here and you can only paste one url.Then continue filling up the fields as you scroll down.
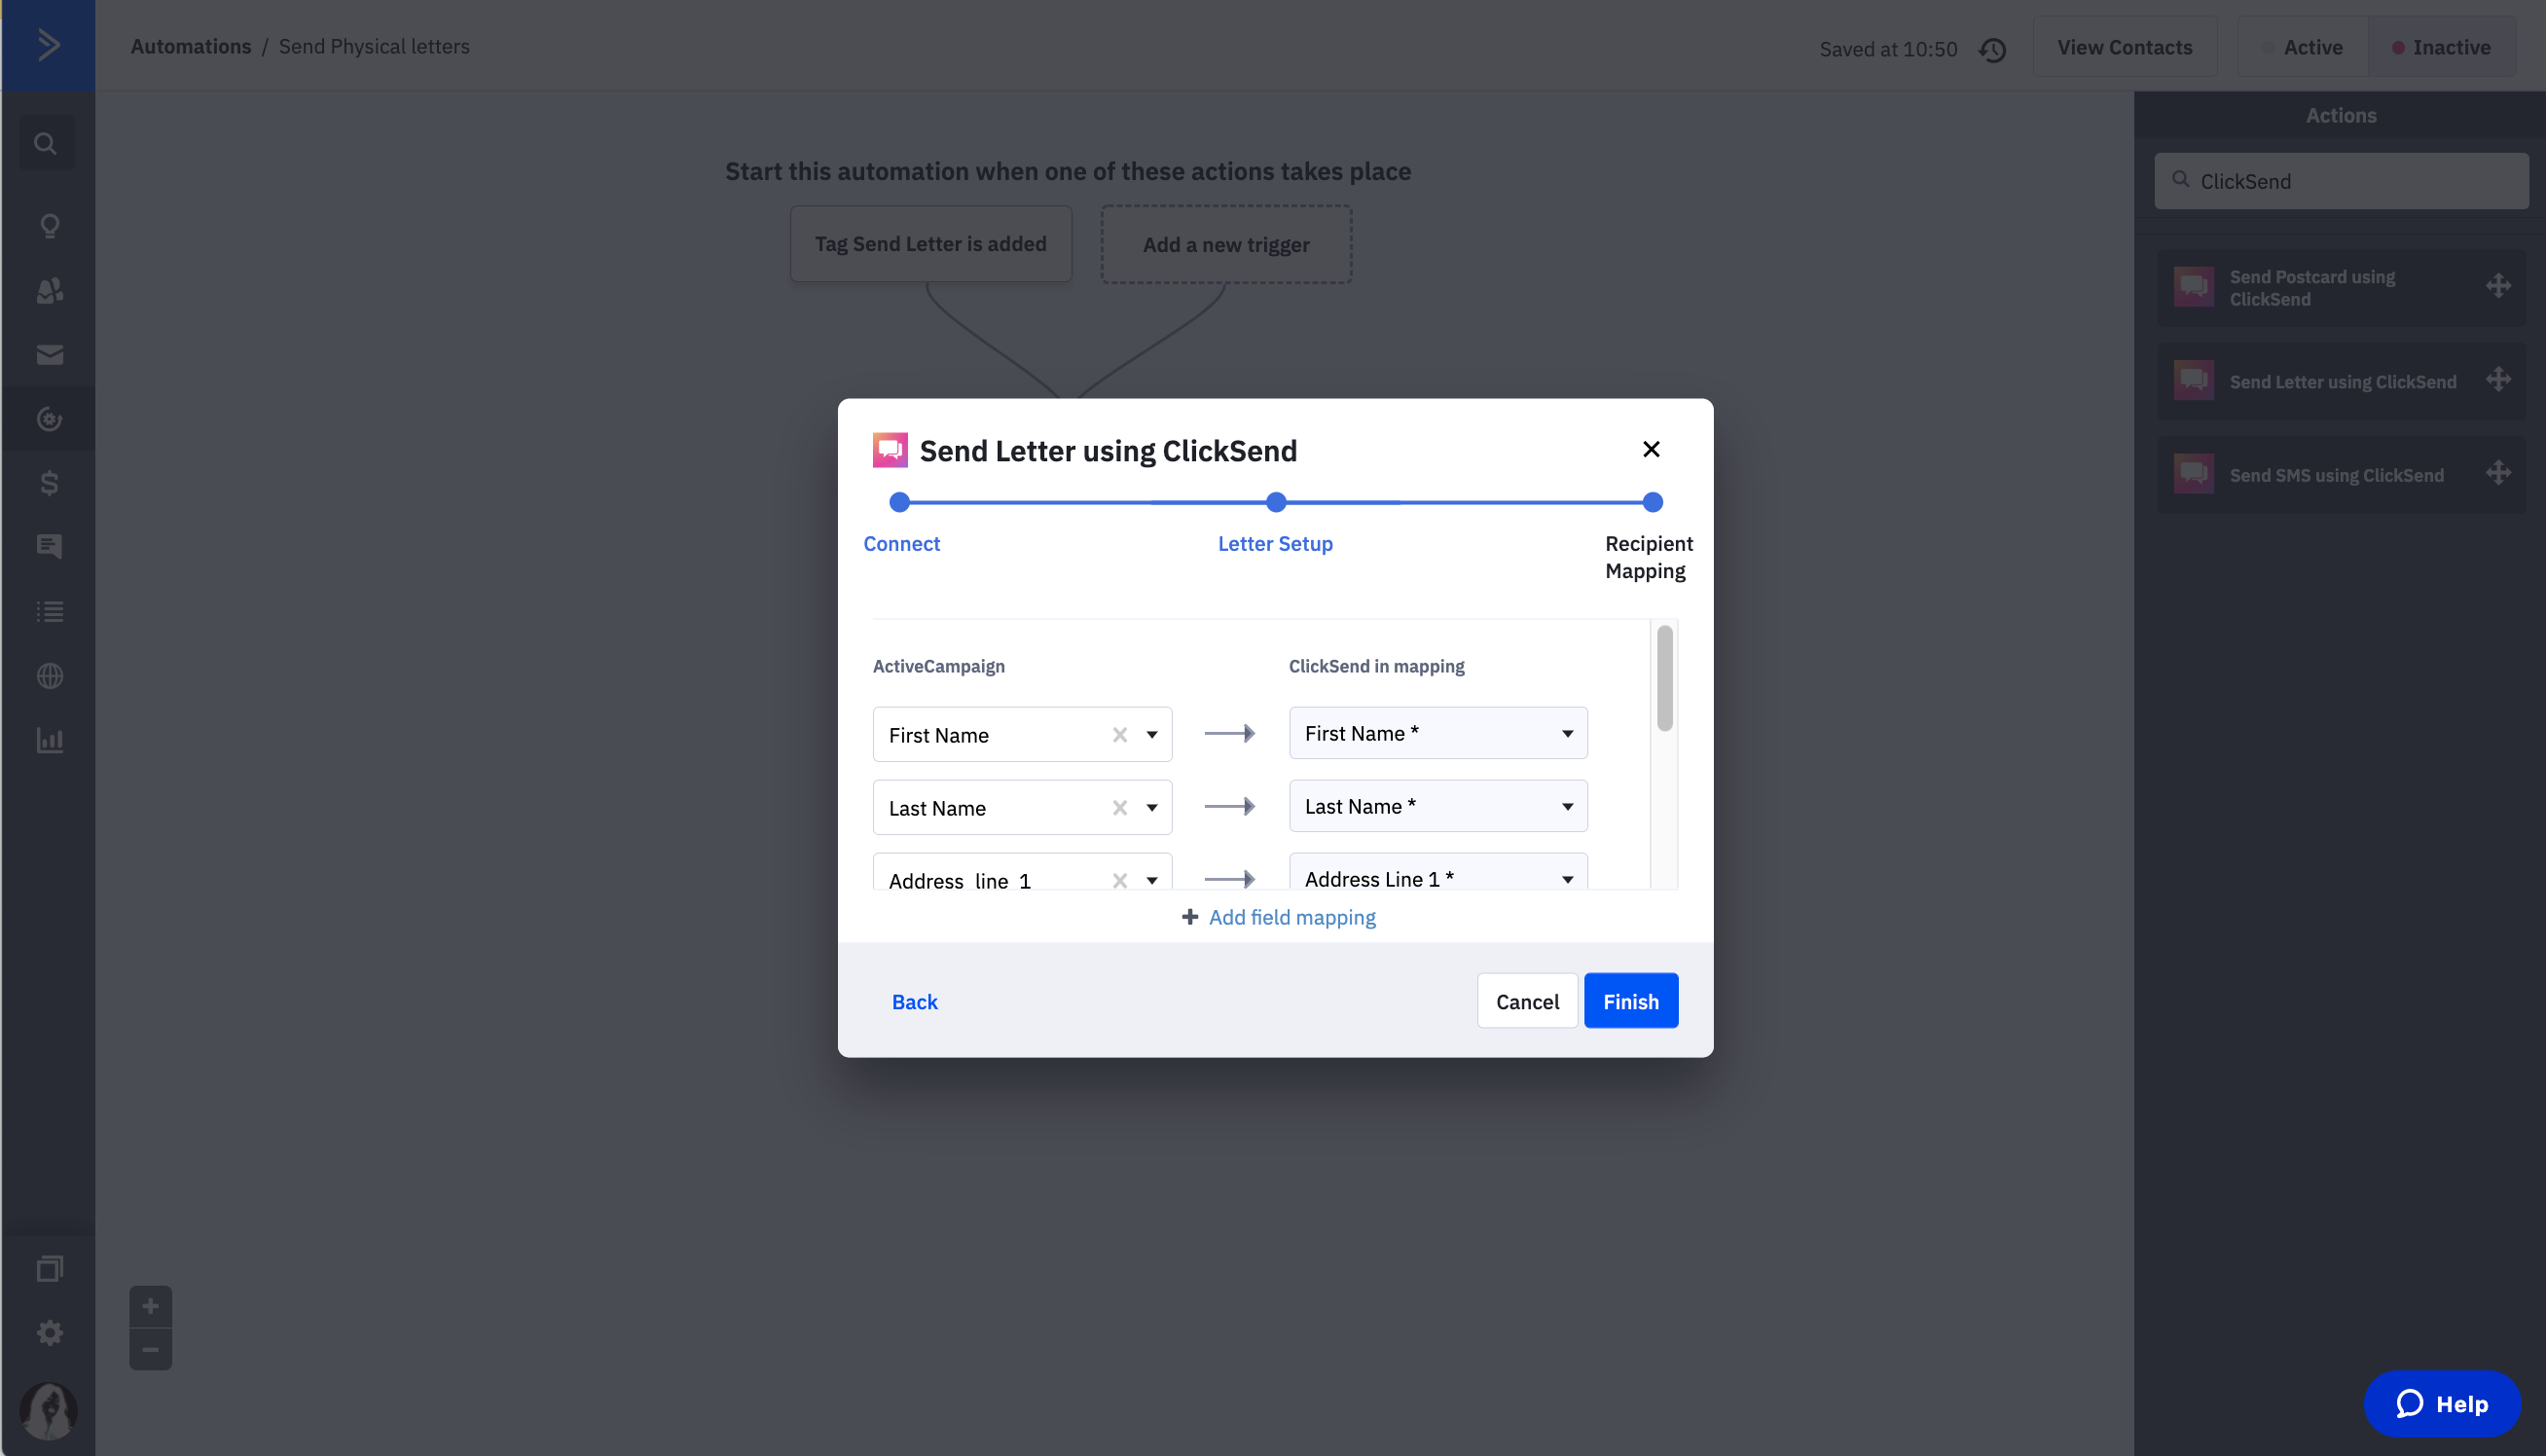
Recipient Mapping - you are now going to call the Address fields you've added on the contacts. Map them correctly.
Click Finish when you're done and activate this automation.
How to trigger to send the letter?
As mentioned above, the trigger we picked is Tag. We'll have to be inside the ActiveCampaign platform and go to Contacts.
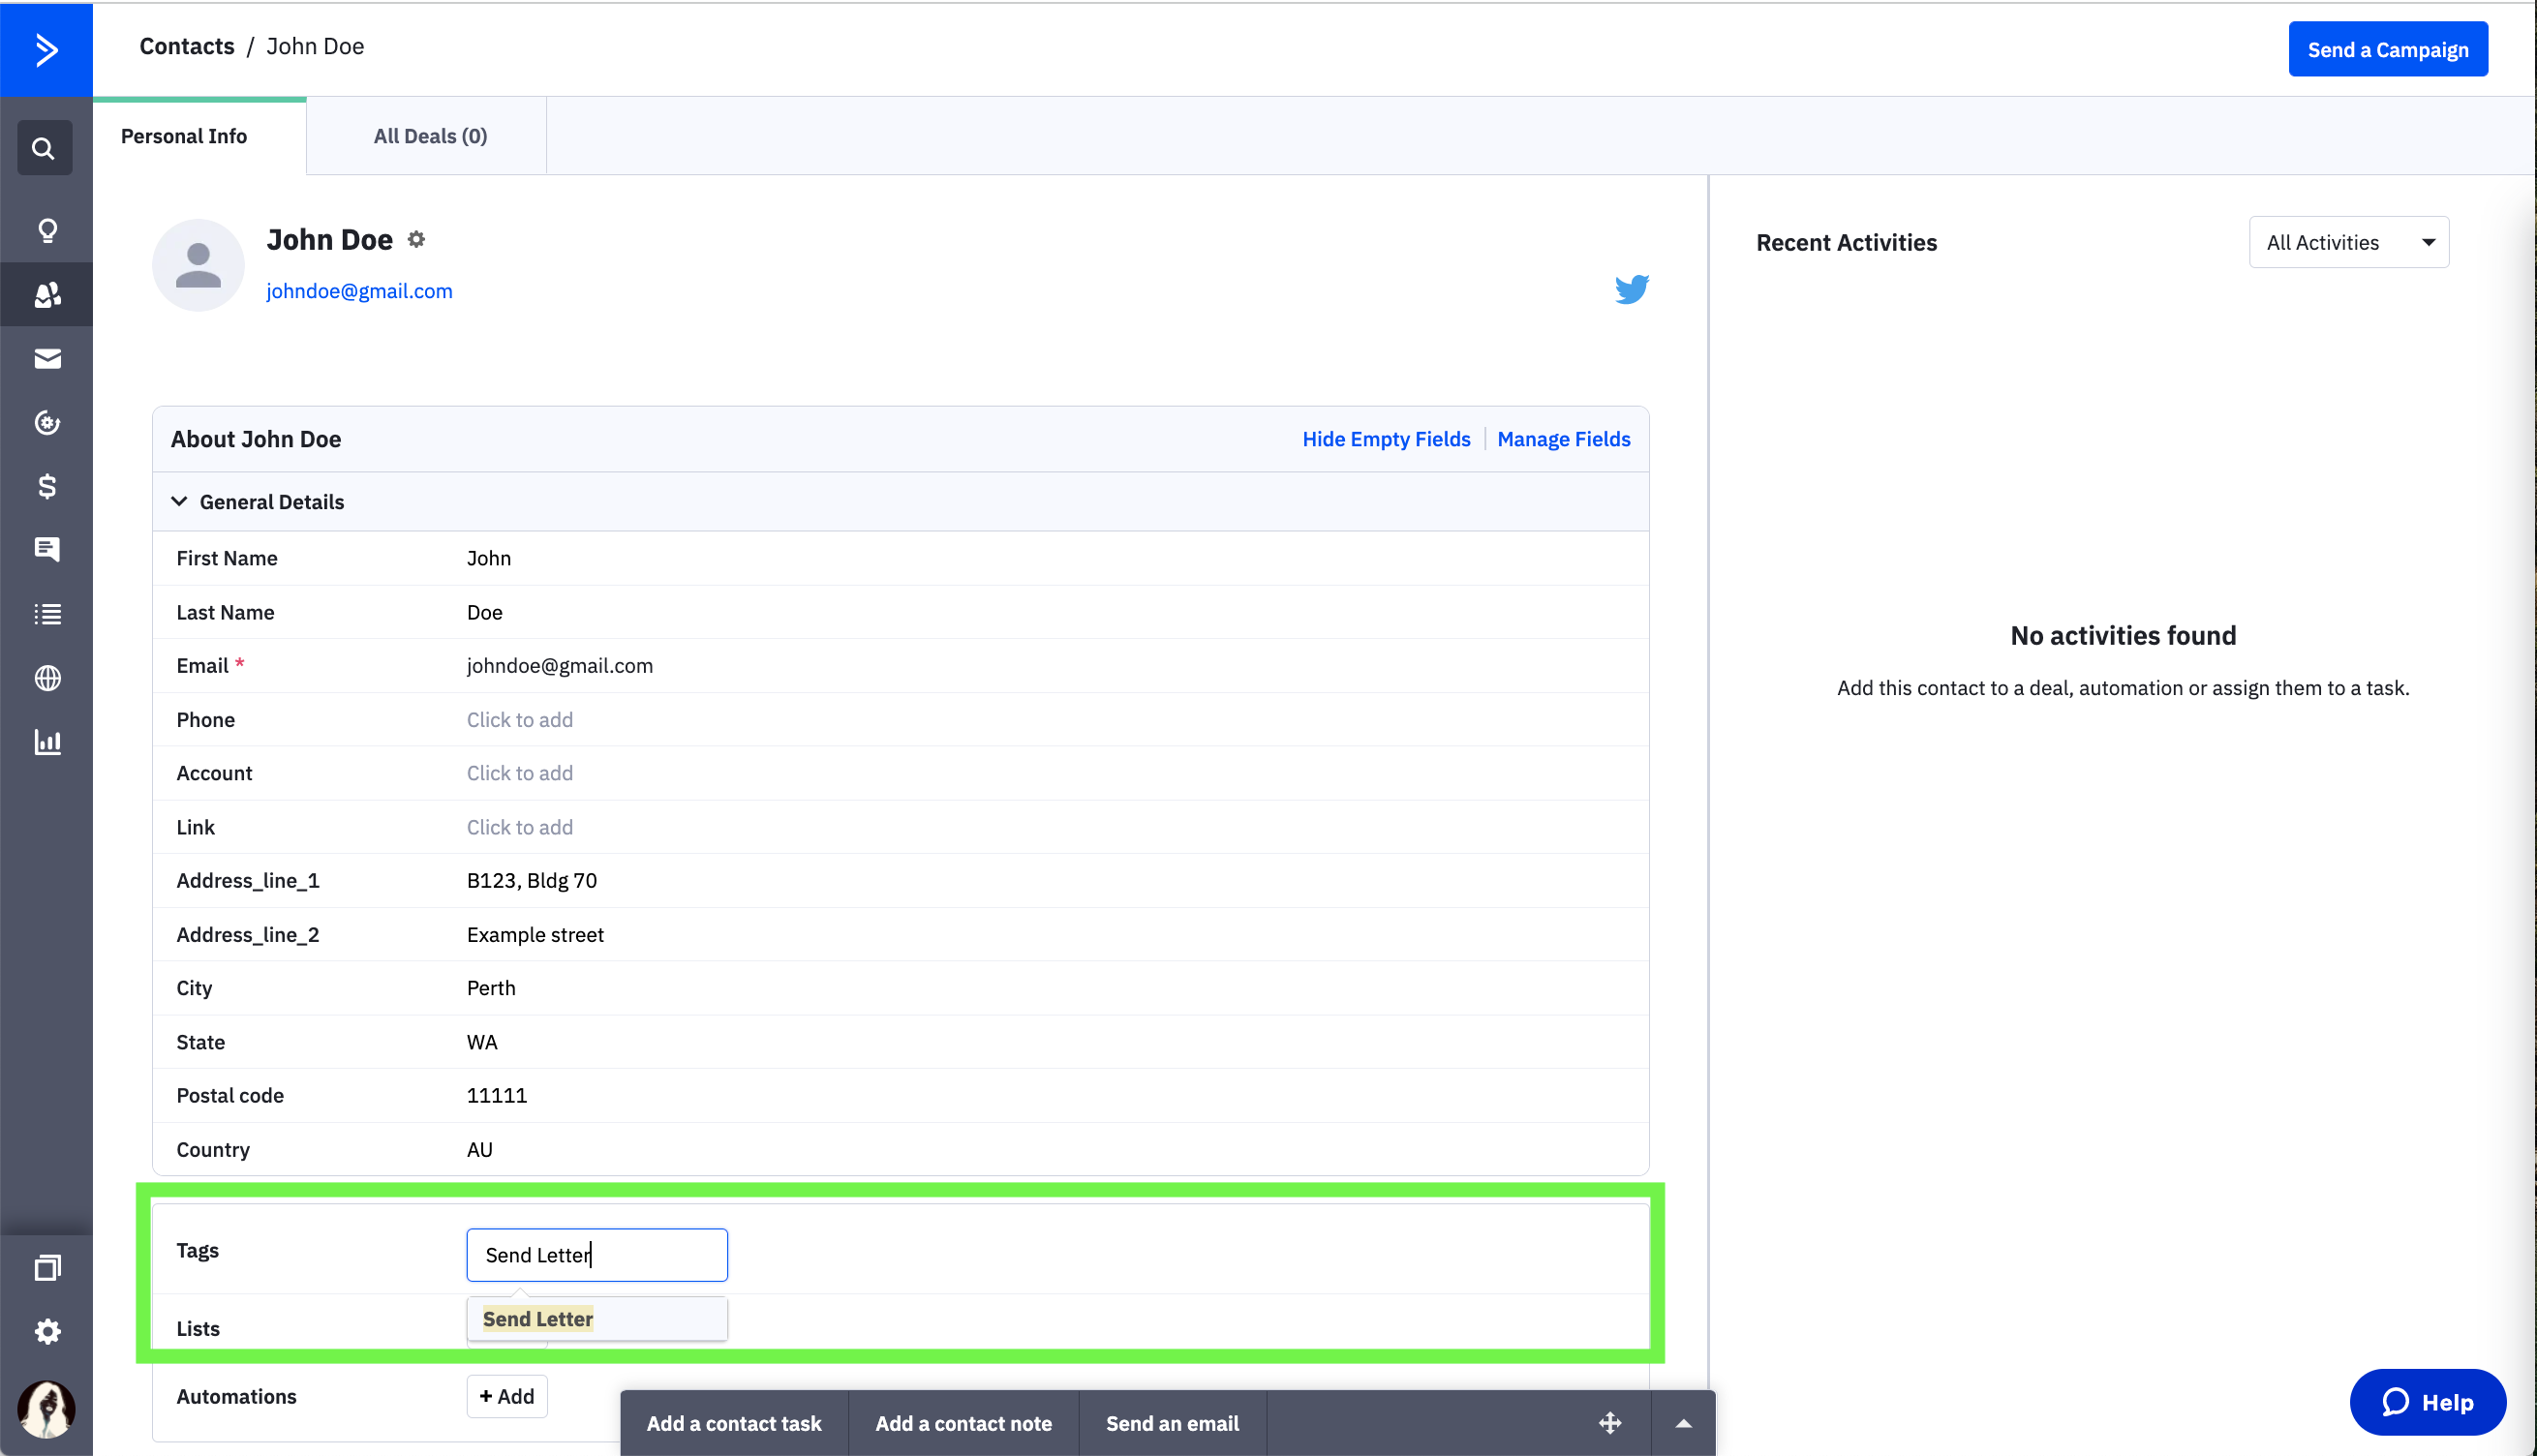
Add the tag you set up to trigger the Send Letter automation.
Just underneath the General details, add the tag you set up to trigger the Send Letter automation.
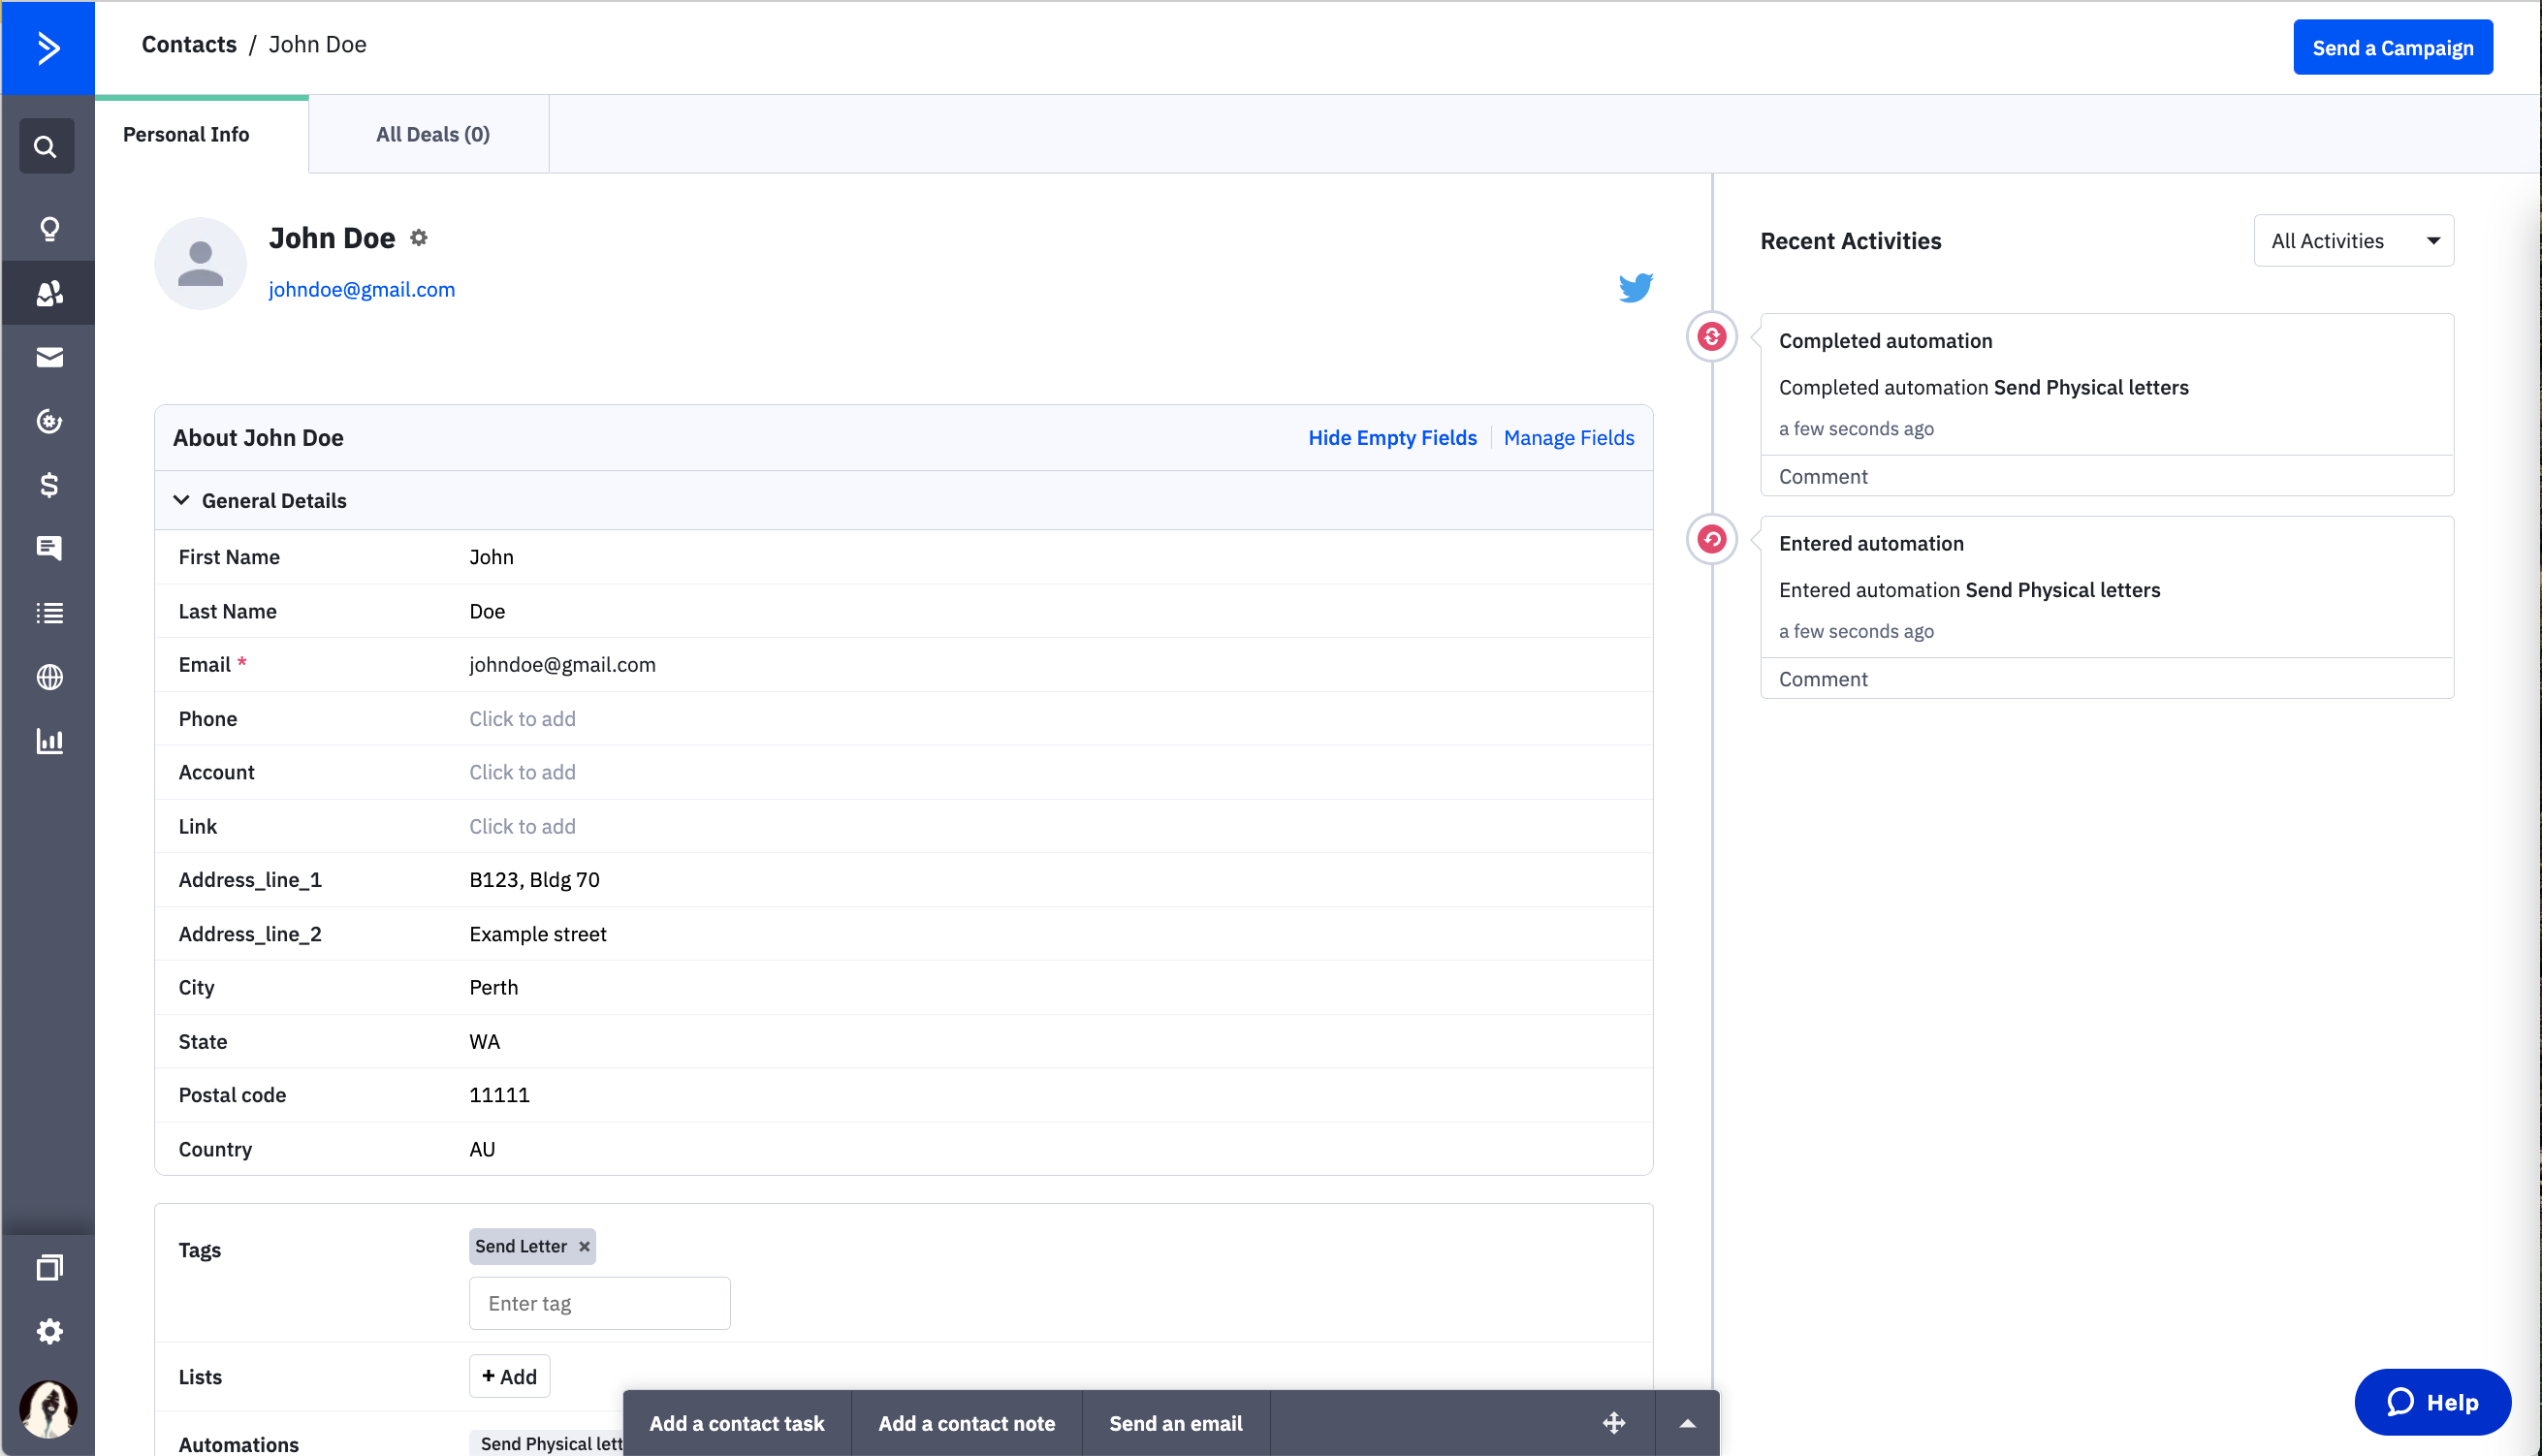
Recent Activities
Upon adding the tag, you should be able to see them going through the automation under Recent Activity logs at the right side of the Contact page.
Monitoring sent letters
Monitor your letters through ClickSend dashboard. On these logs, you can filter and export the history.
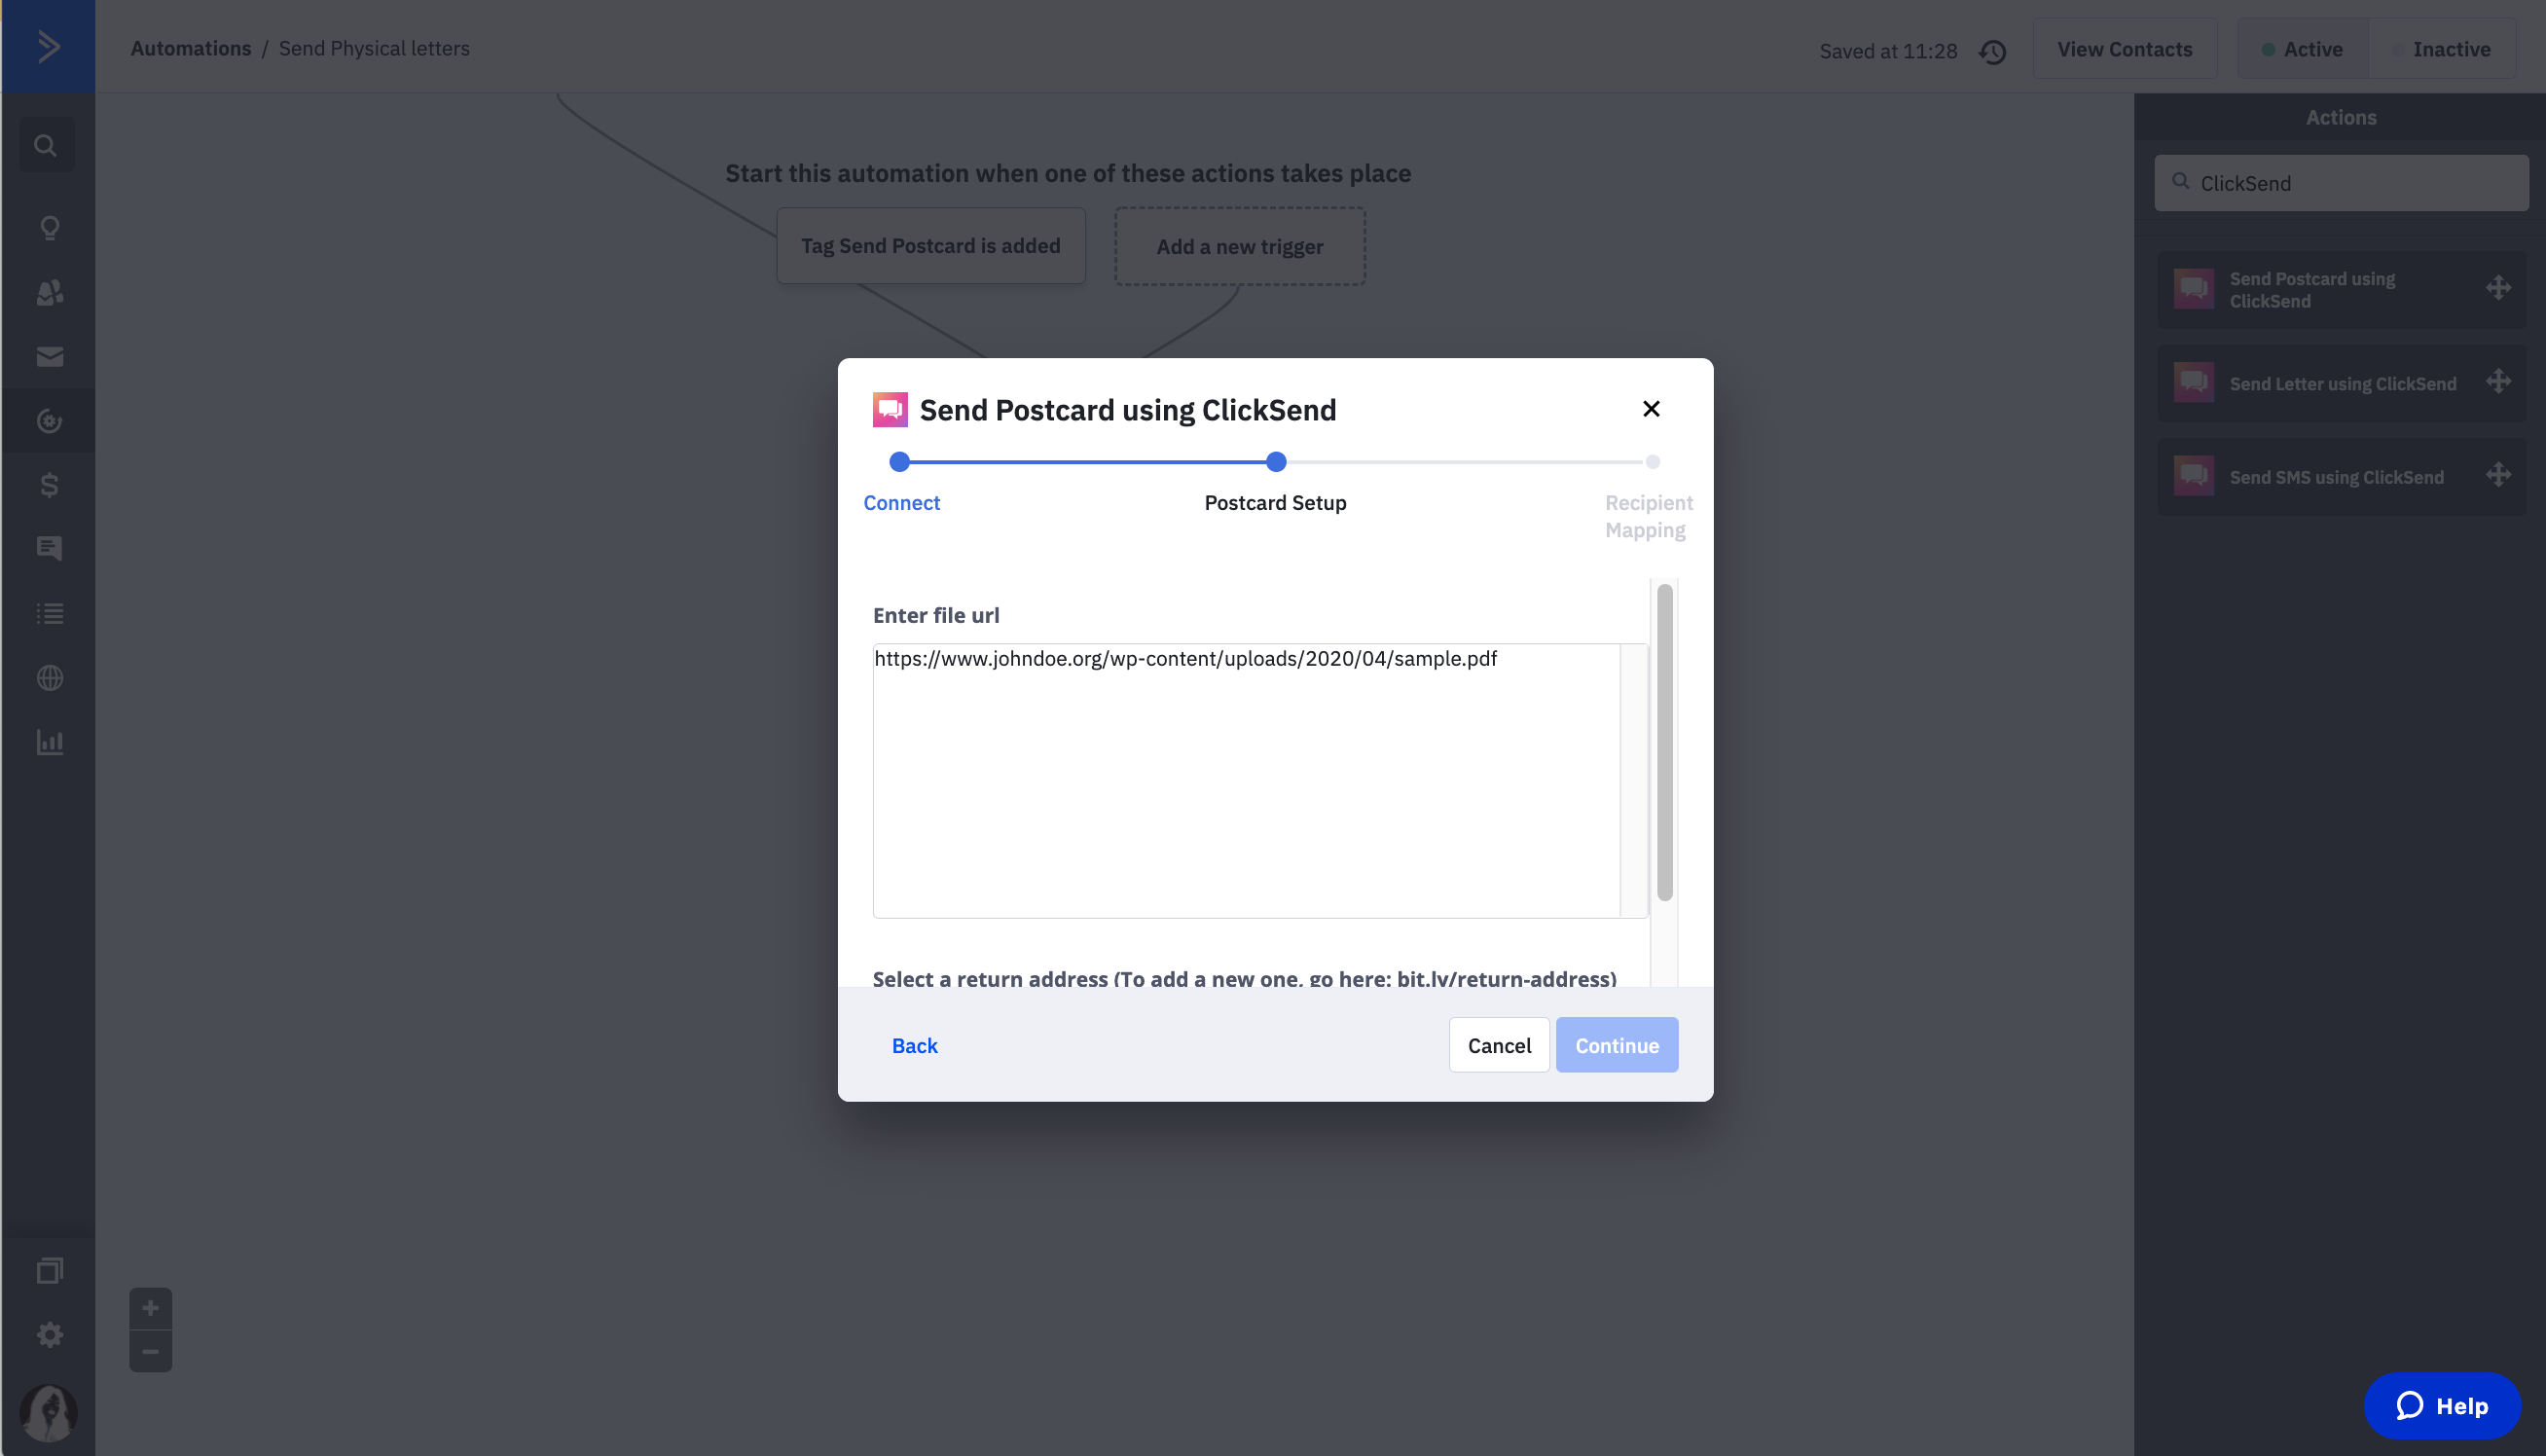
Send Postcards
Same with Send Letter CX App, you have to drag the Send Postcard app to the streamline. No need to re-add your credentials if you have added it already previously. Just select the existing account connected.
Your PDF must come as url and is following the specs here. You can only enter one pdf url.
Return address is required. You may create a new one here or select an exiting return address.
Recipient Mapping - Again, you are going to call the Address fields you've added on the contacts. Map them correctly.
Click Finish when you're done and activate this automation.
To trigger this Send Postcard automation, you have to add the tag to a contact.
Monitoring sent postcards
Monitor your postcards through ClickSend dashboard. You can also filter these logs and export them to a CSV same with letters.