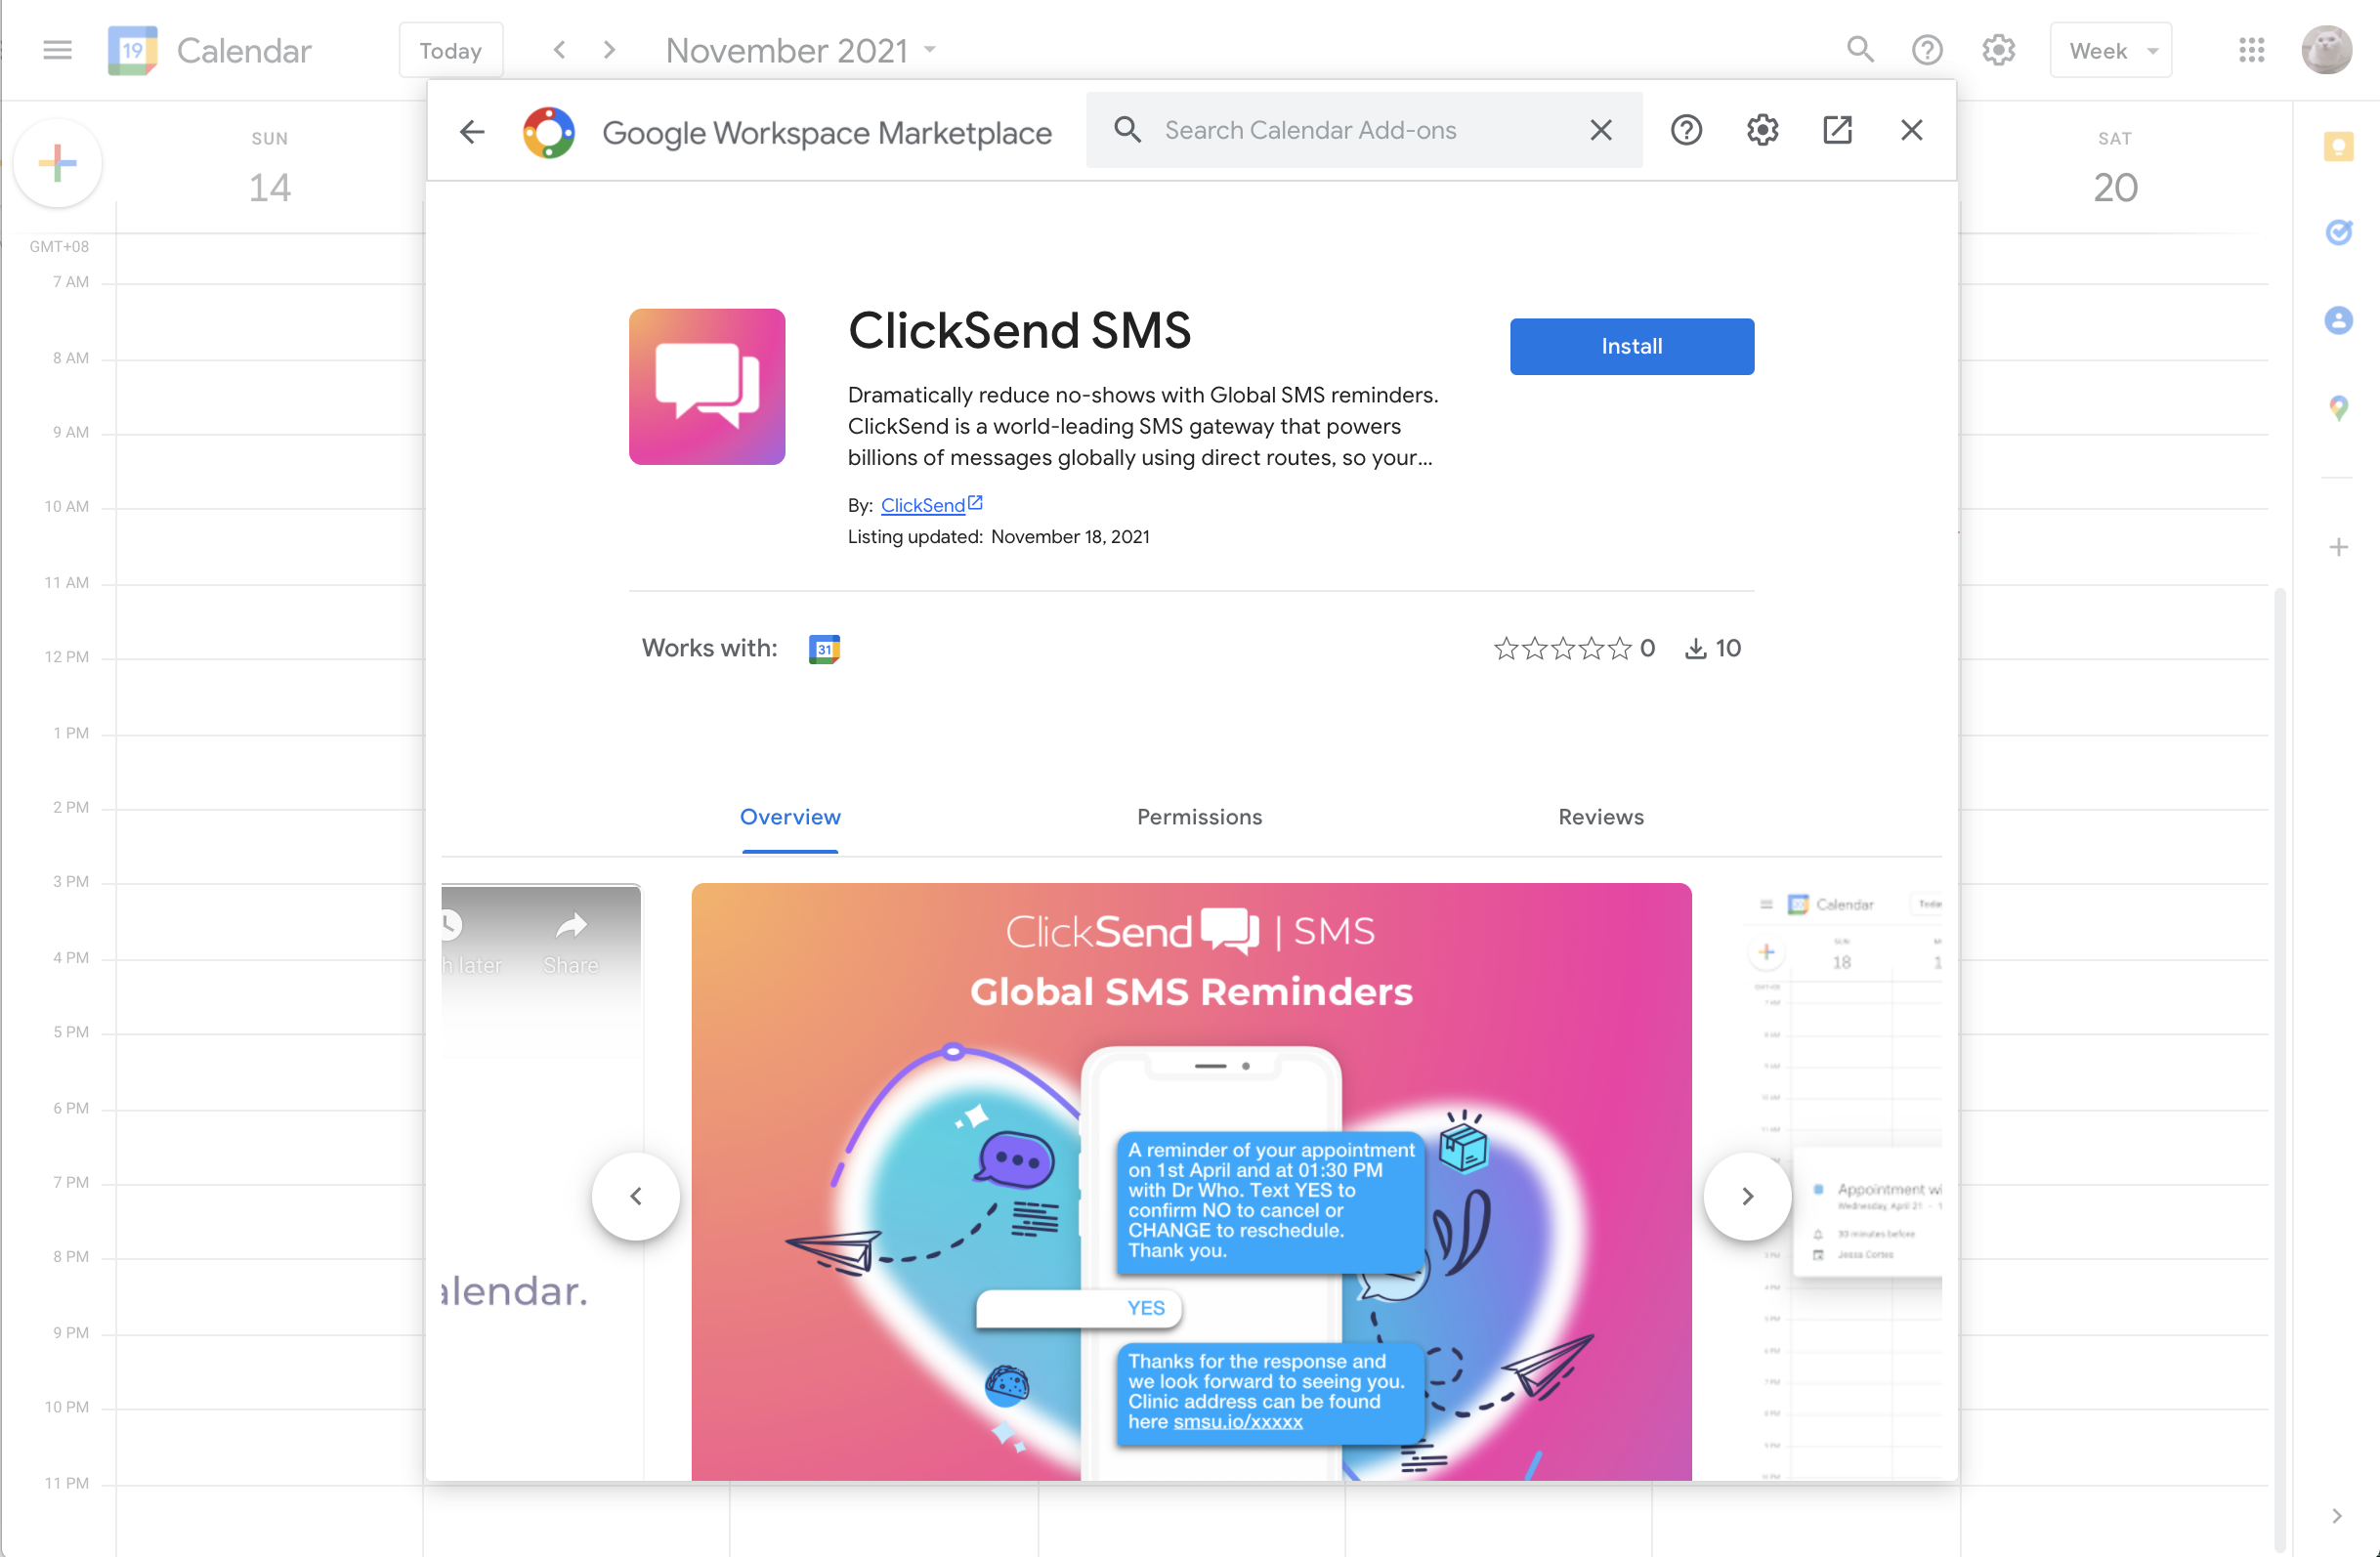
Dramatically reduce no-shows with our ClickSend SMS add-on in Google Calendar. Get the free add-on here.
This article will guide you how to use the SMS add-on in Google Calendar:
Instructions
Install the add-on to your Google Calendar account.
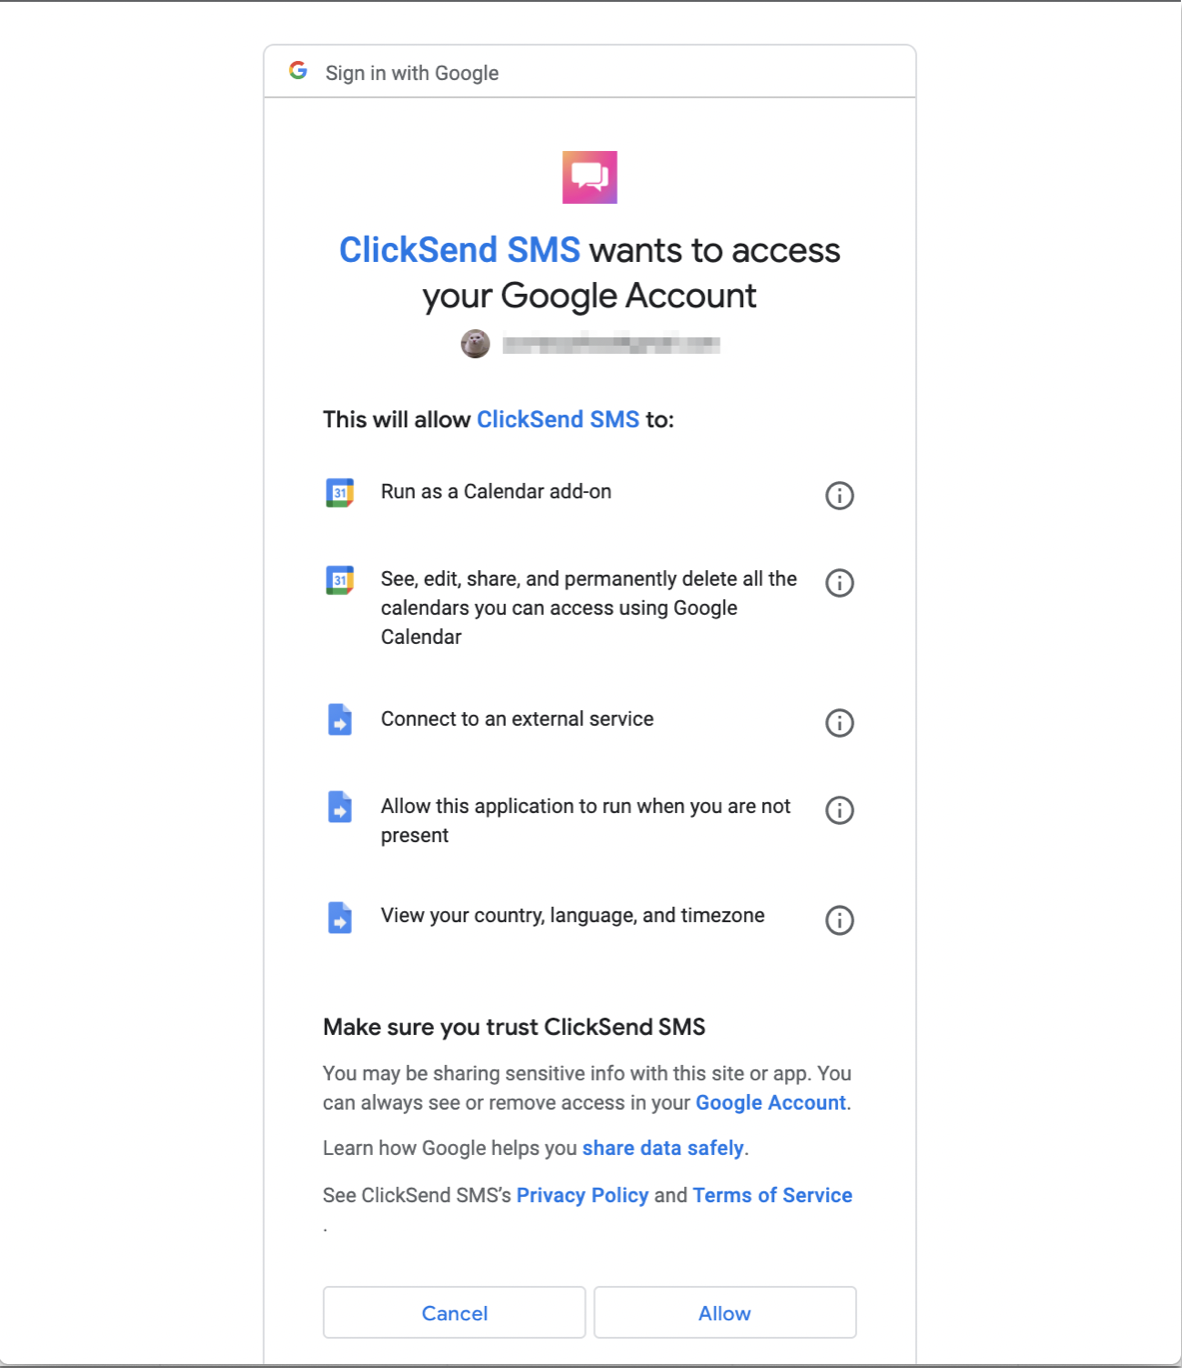
Allow permissions to proceed on installation.
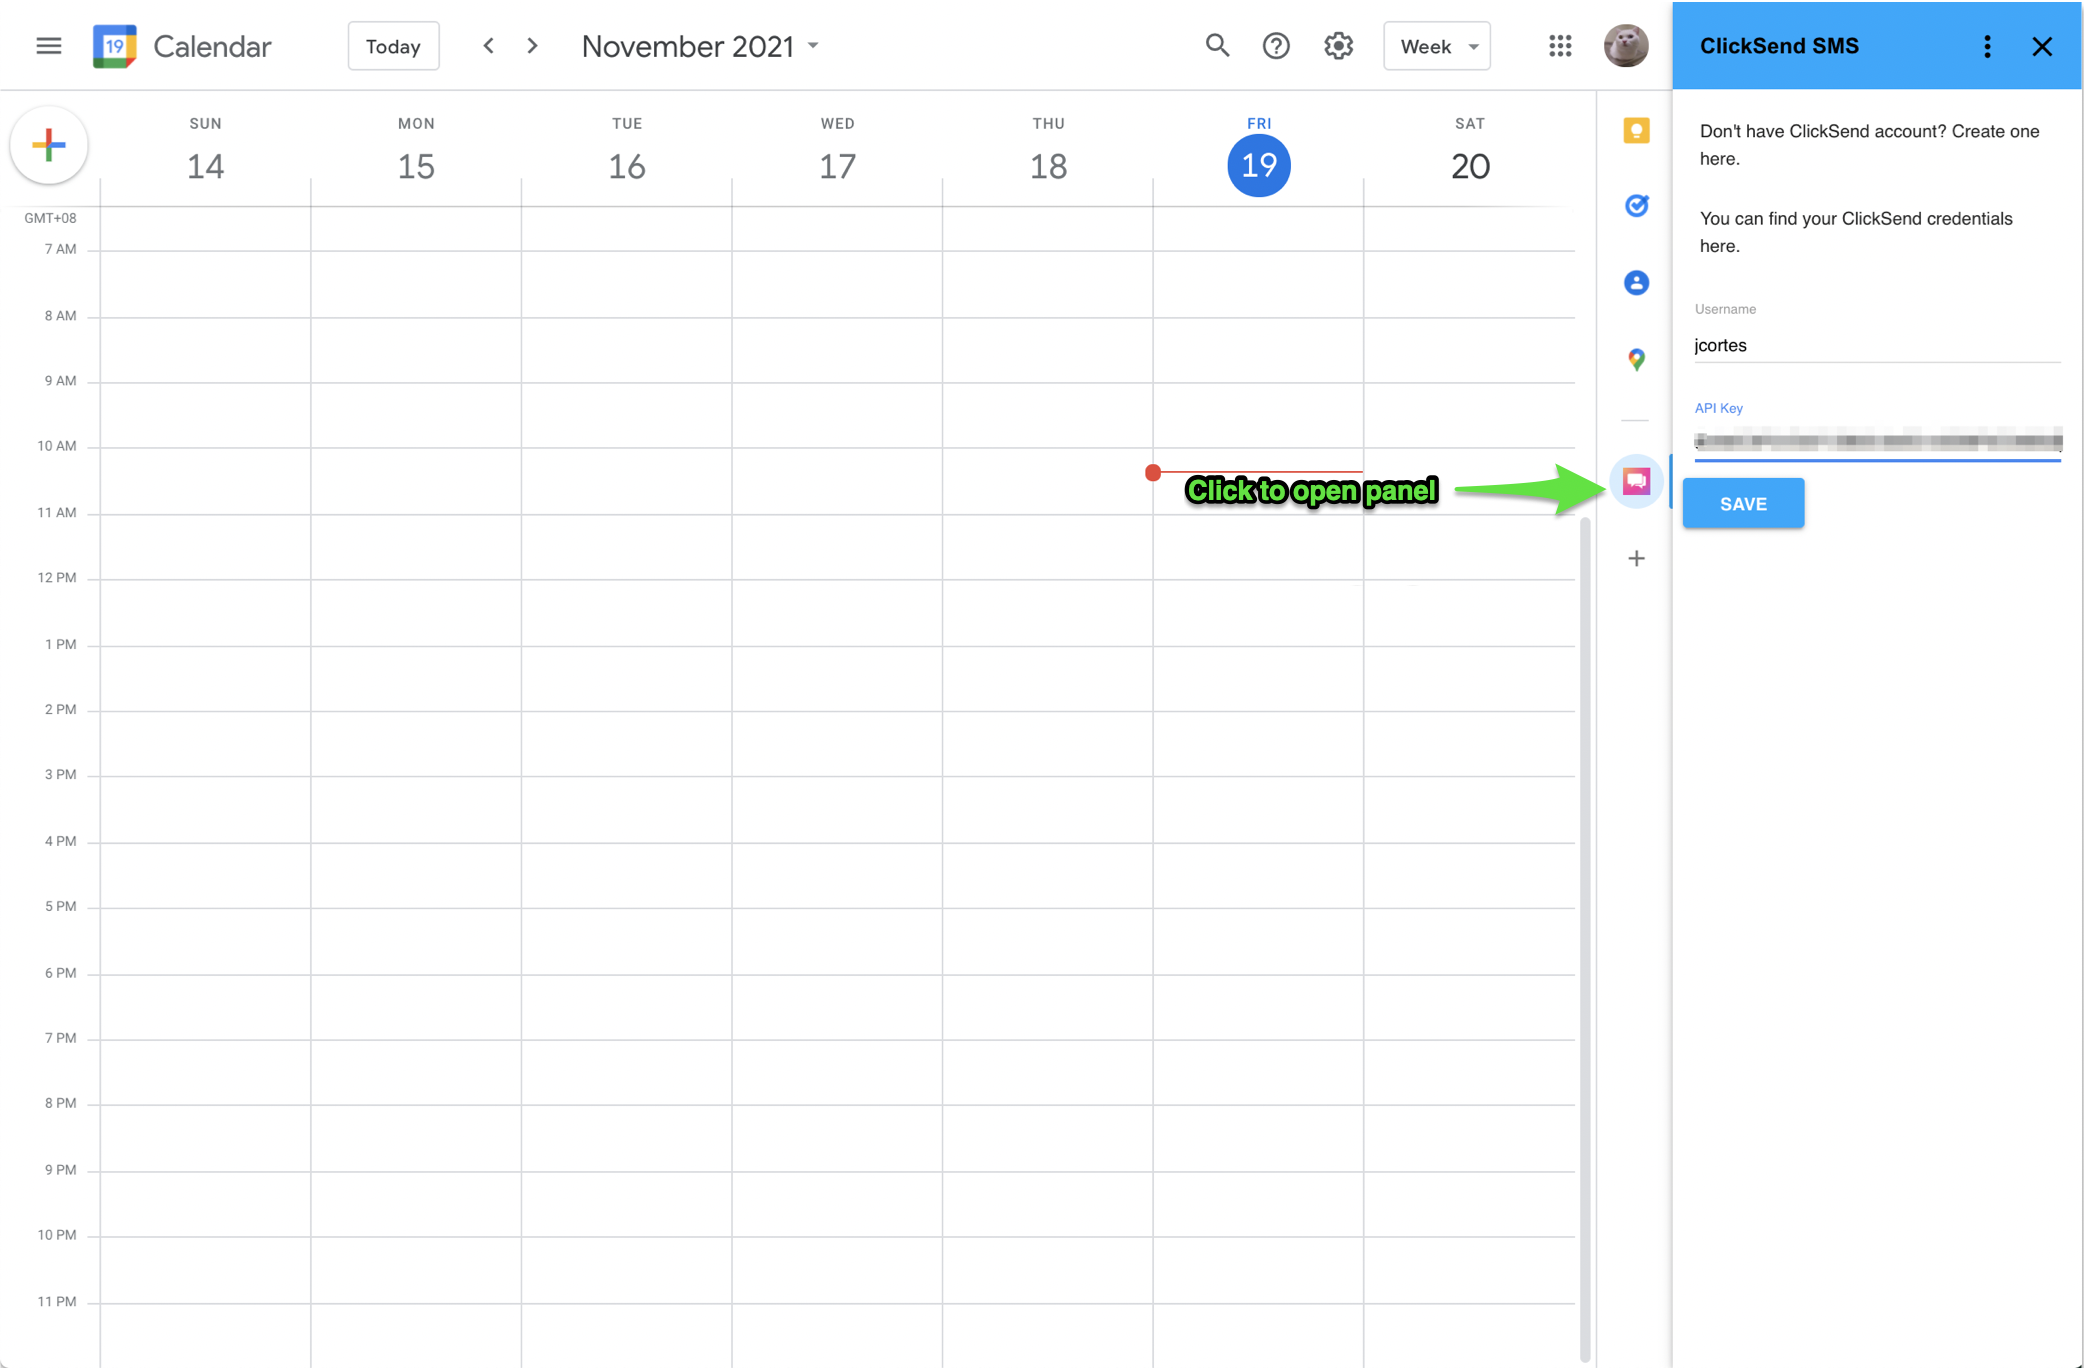
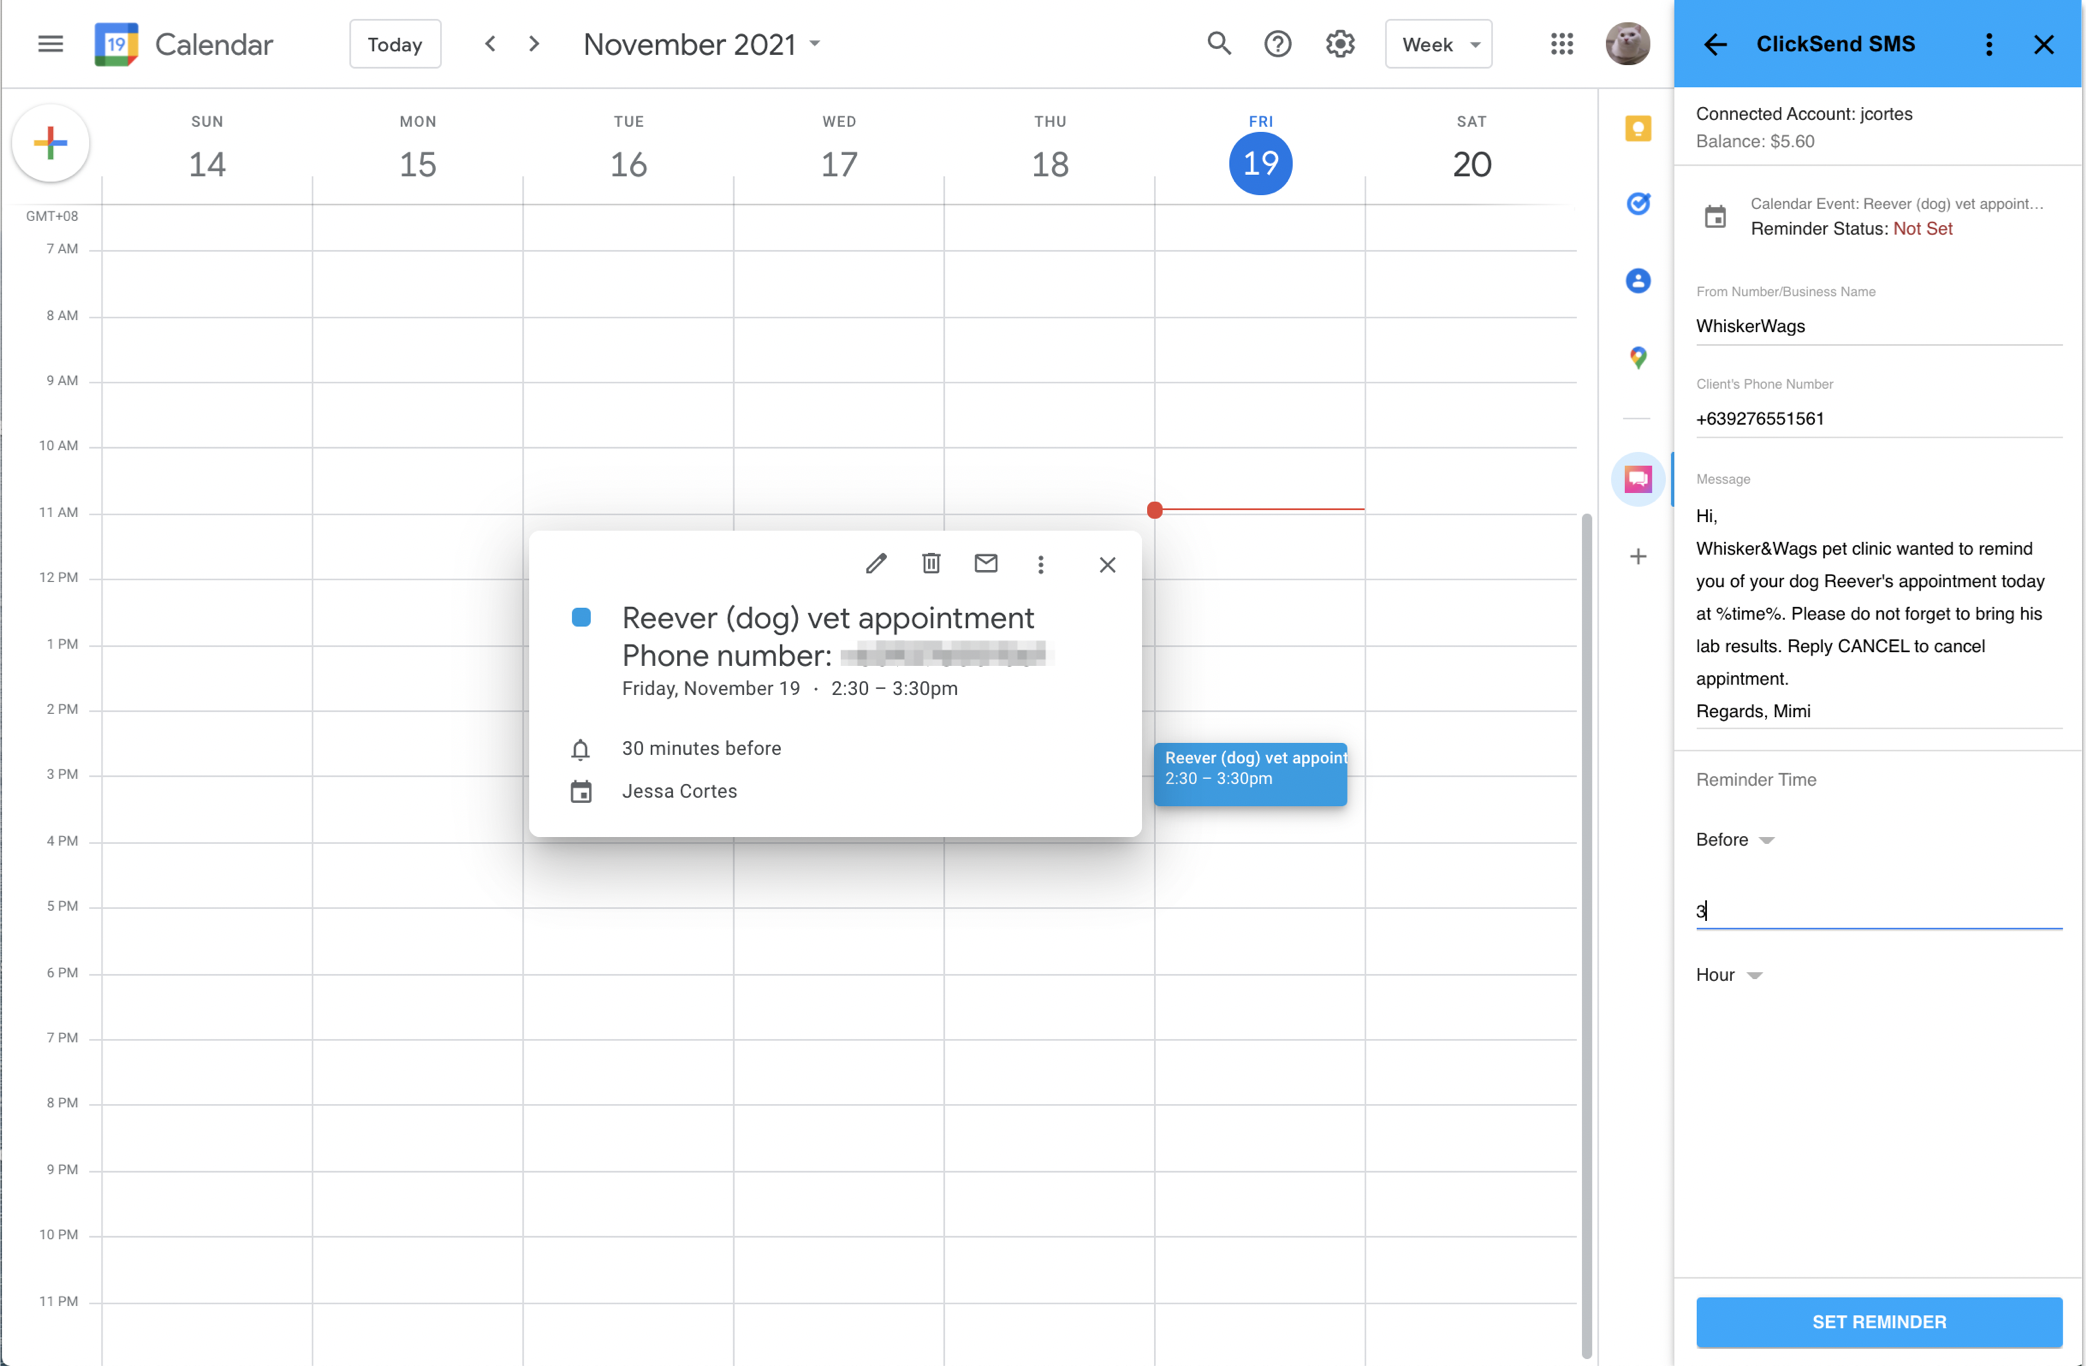
Find our logo at the right sidebar and click to expand a panel. You will be then required to add your ClickSend API credentials to connect.- 'username' is the username you use in ClickSend - 'api_key' is the API key found in the ClickSend dashboard: https://dashboard.clicksend.com/#/account/subaccount Save to connect.
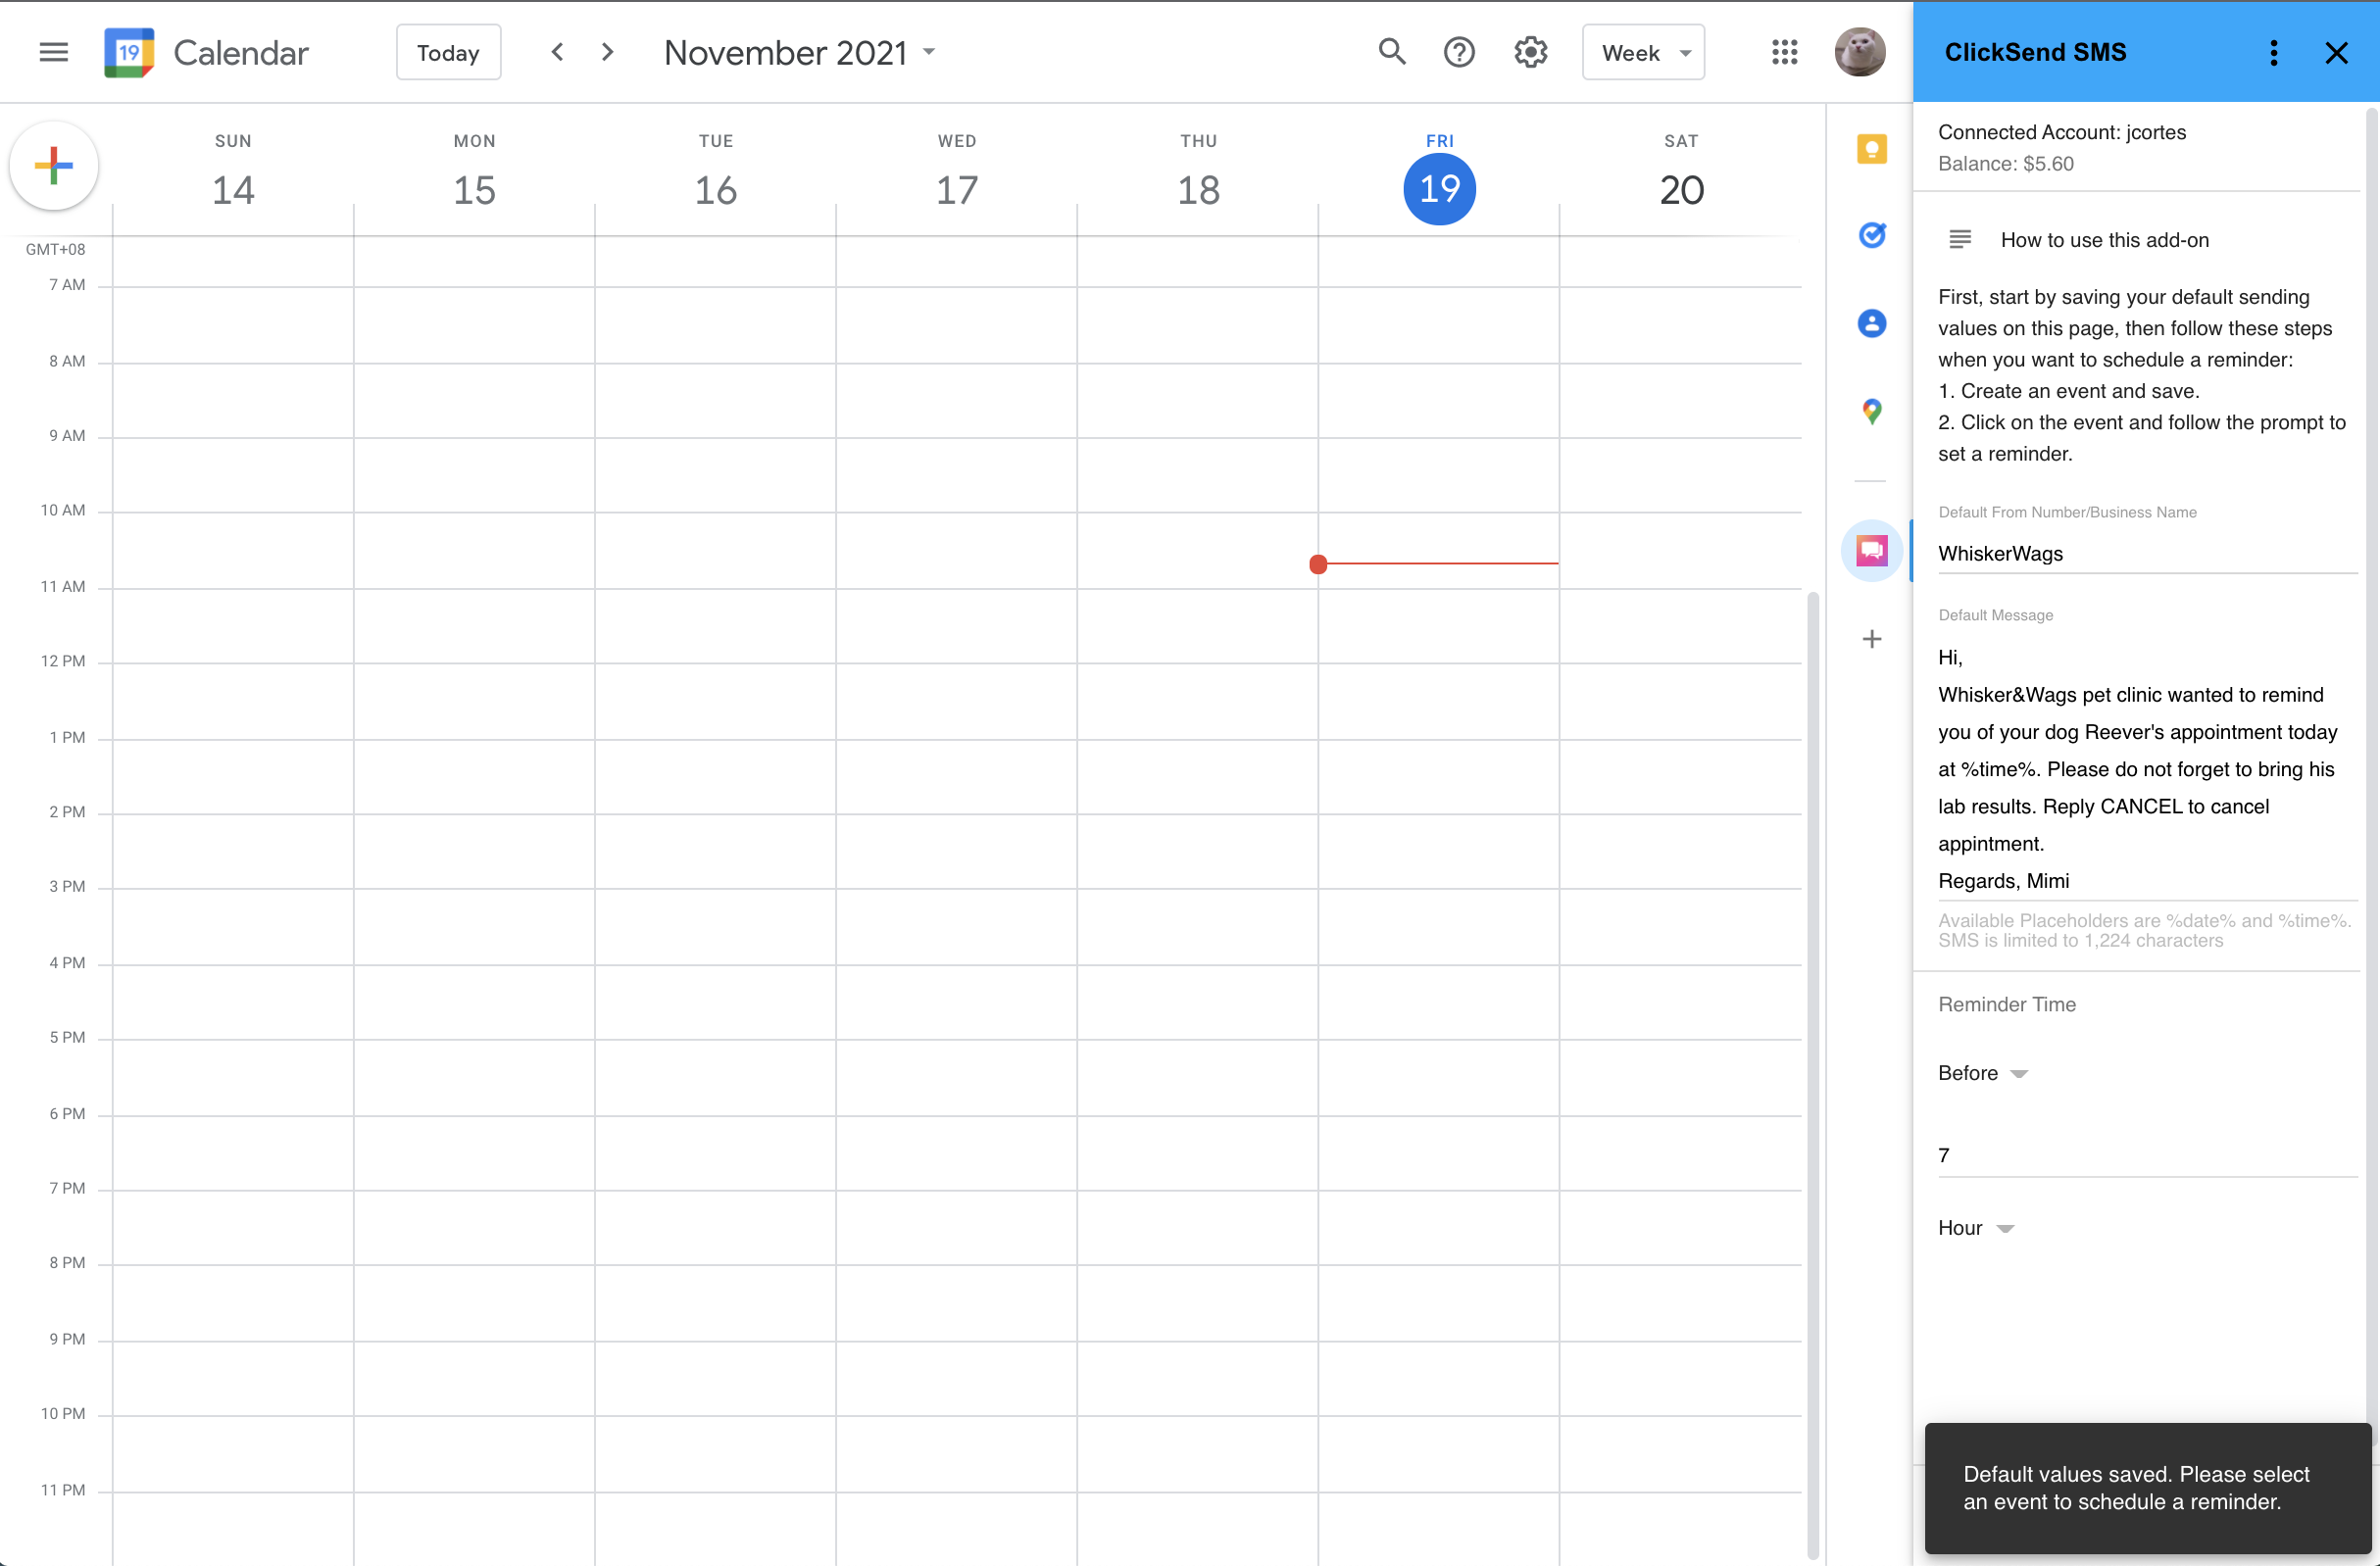
To start sending, compose your message and you can optionally save it by default for next time. This is to have less time composing when you set up another reminder. To save a default message and other values. Click Save at the bottom and a pop up notification appears confirming it has been saved.
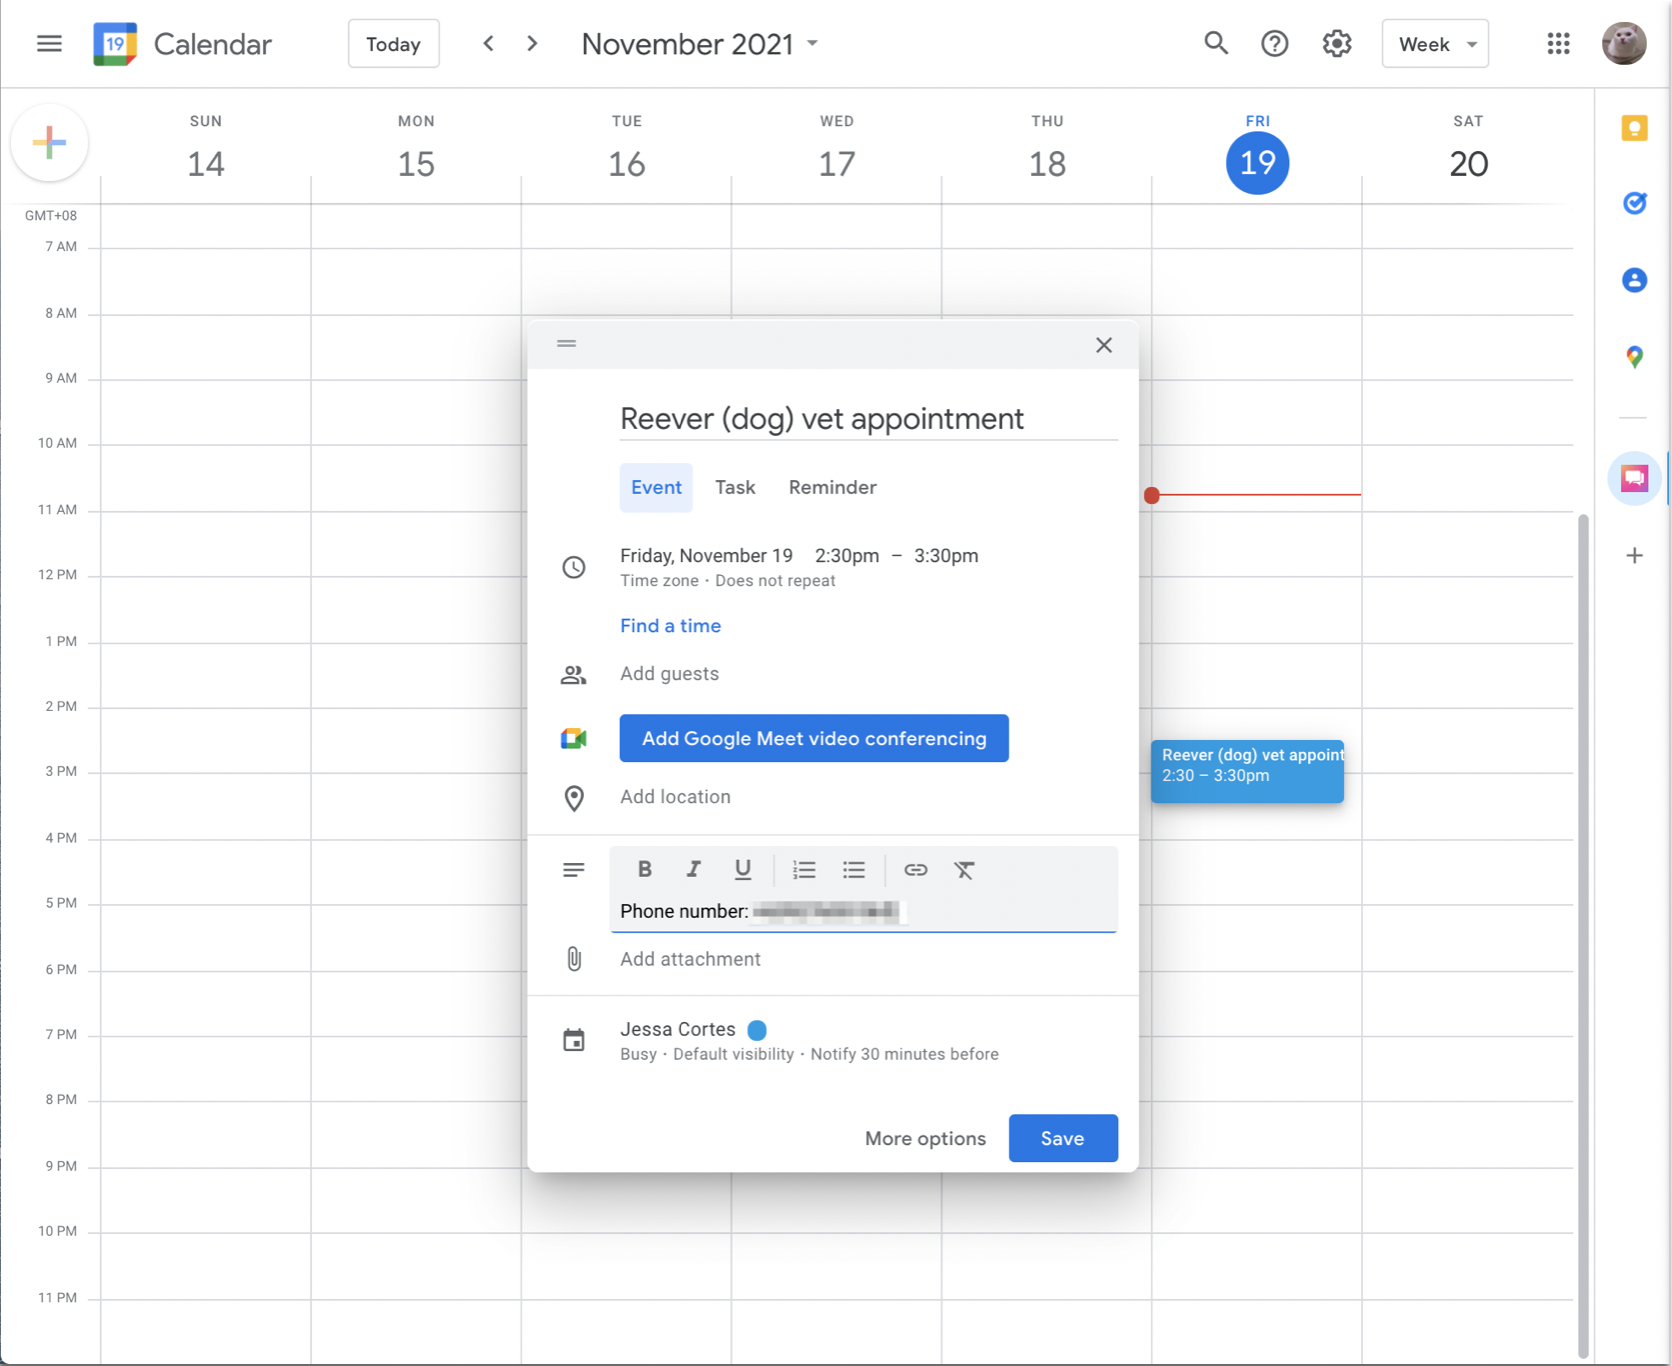
Create an event. You can attach phone numbers in the description or in the title of the event. The phone number will be fetched automatically to the To field. If you happen to put phone numbers both in description and title, add-on will prioritise to fetch the phone number from the description.It allows local number (Eg. 0411111111) as long as you have a correct default country code on your account. If sending outside the country code, use international number (Eg. +61411111111). Save to create.
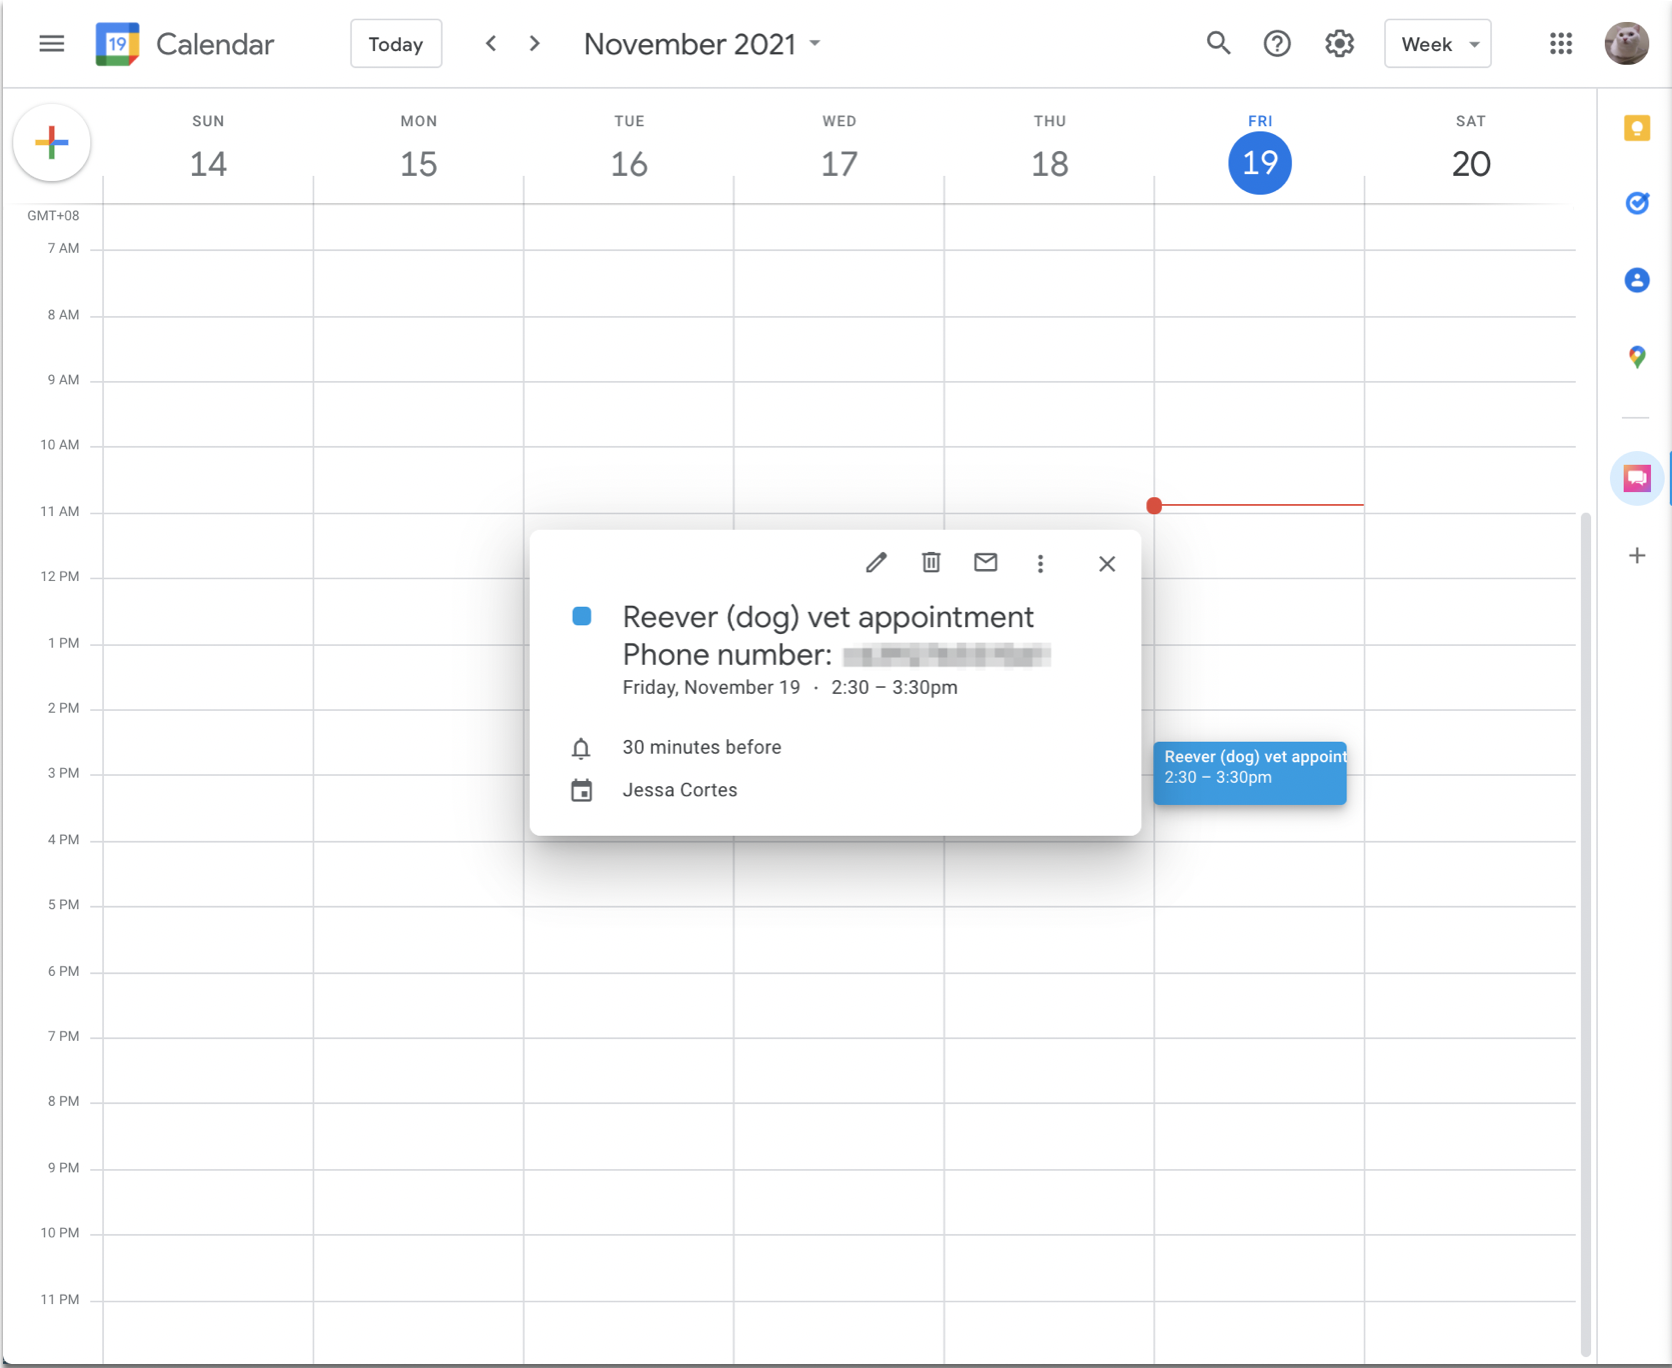
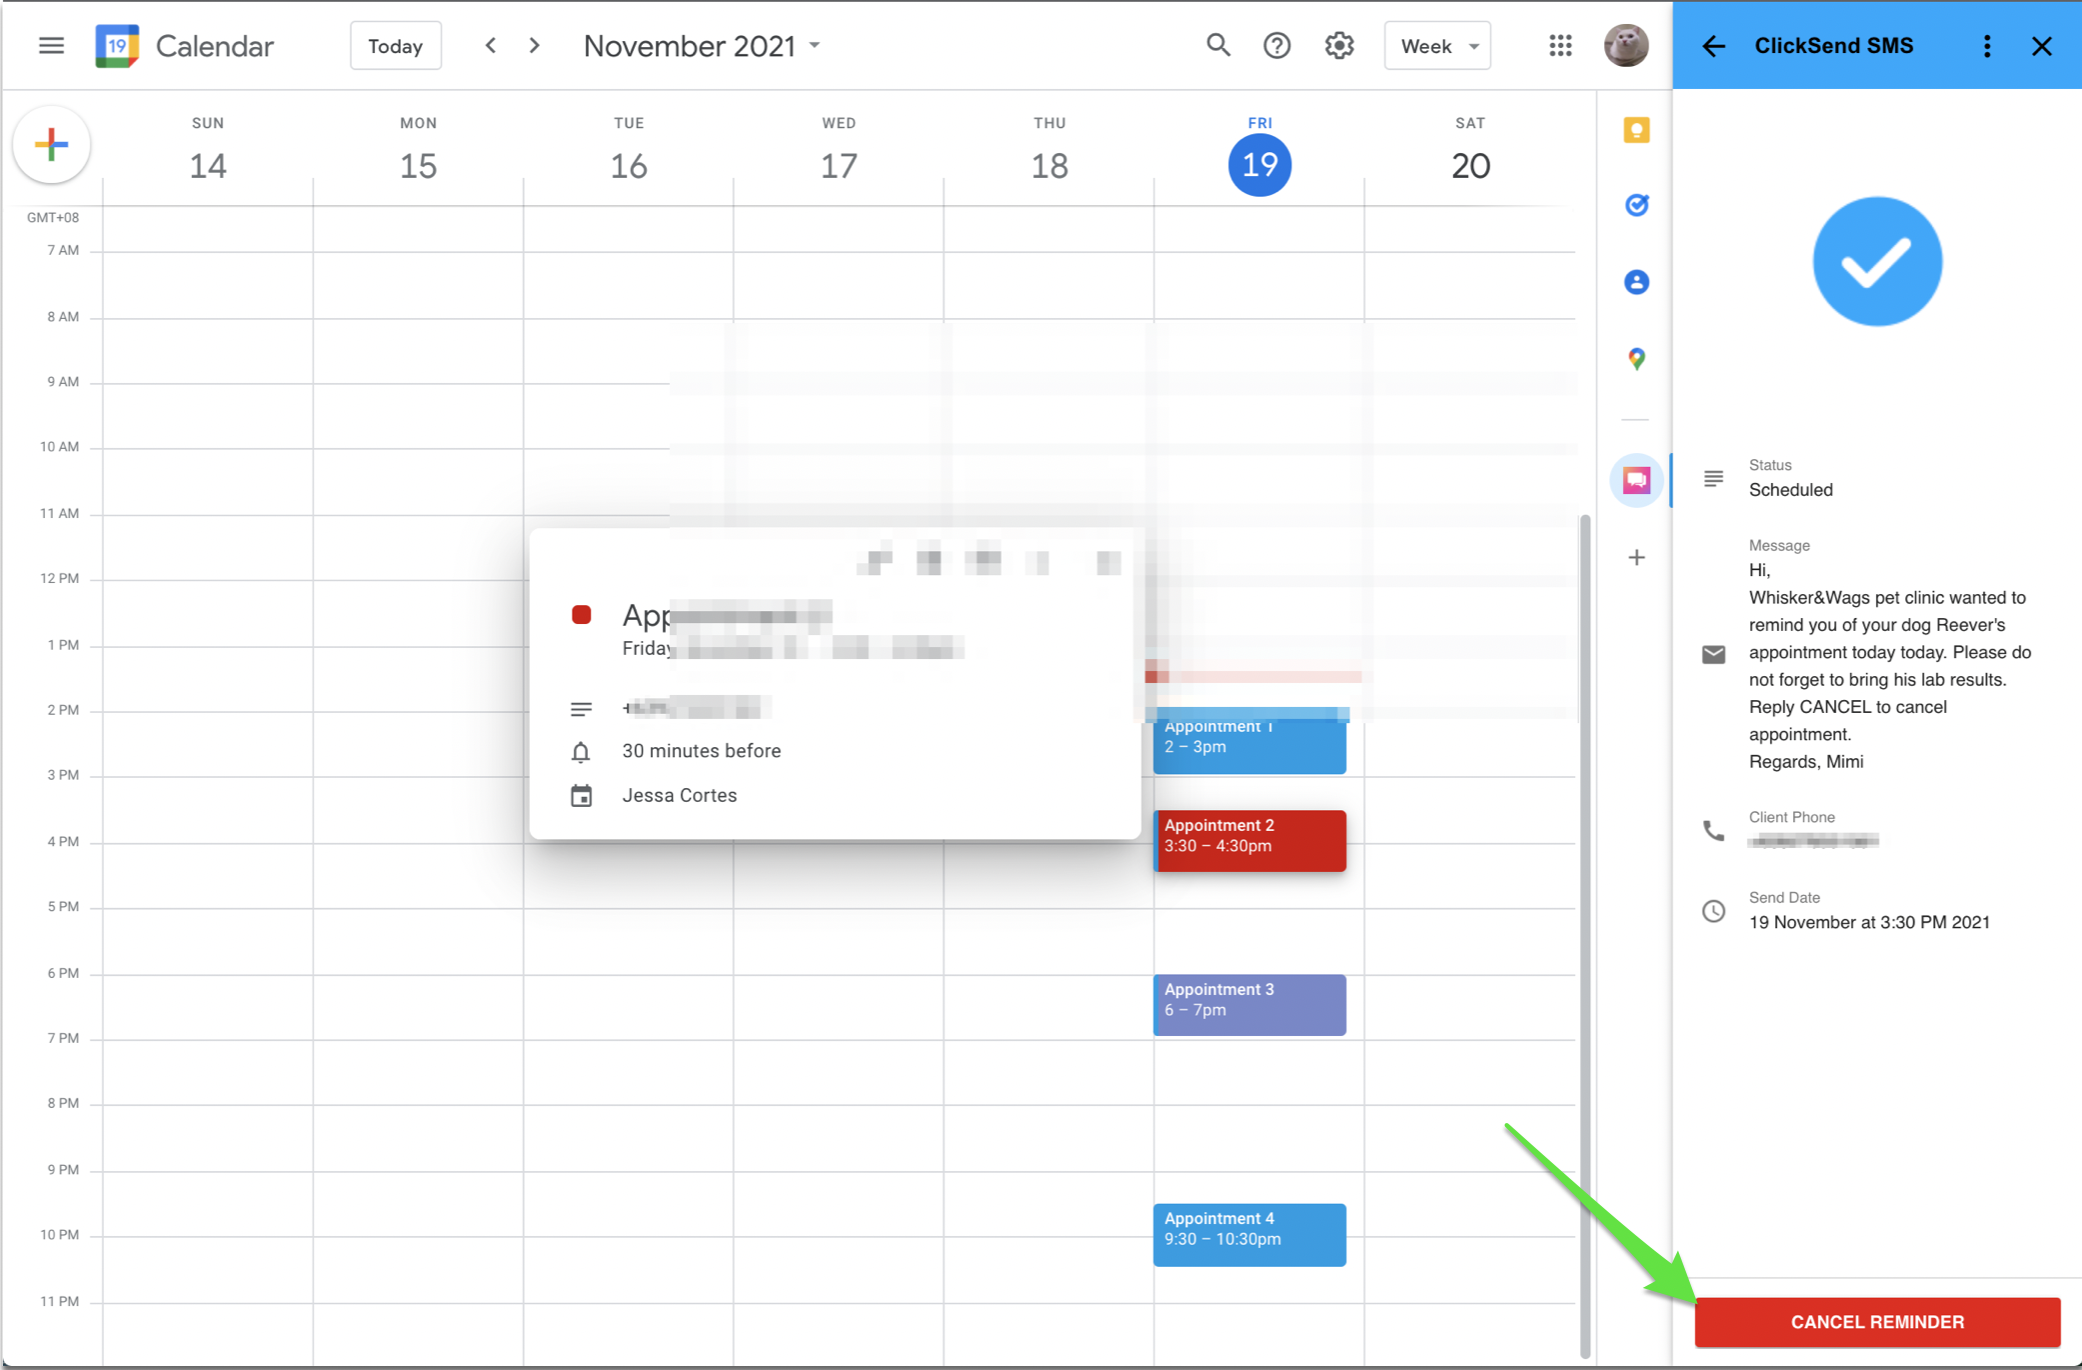
Click on the event. Default message and other values are editable. When satisfied, click Set Reminder.
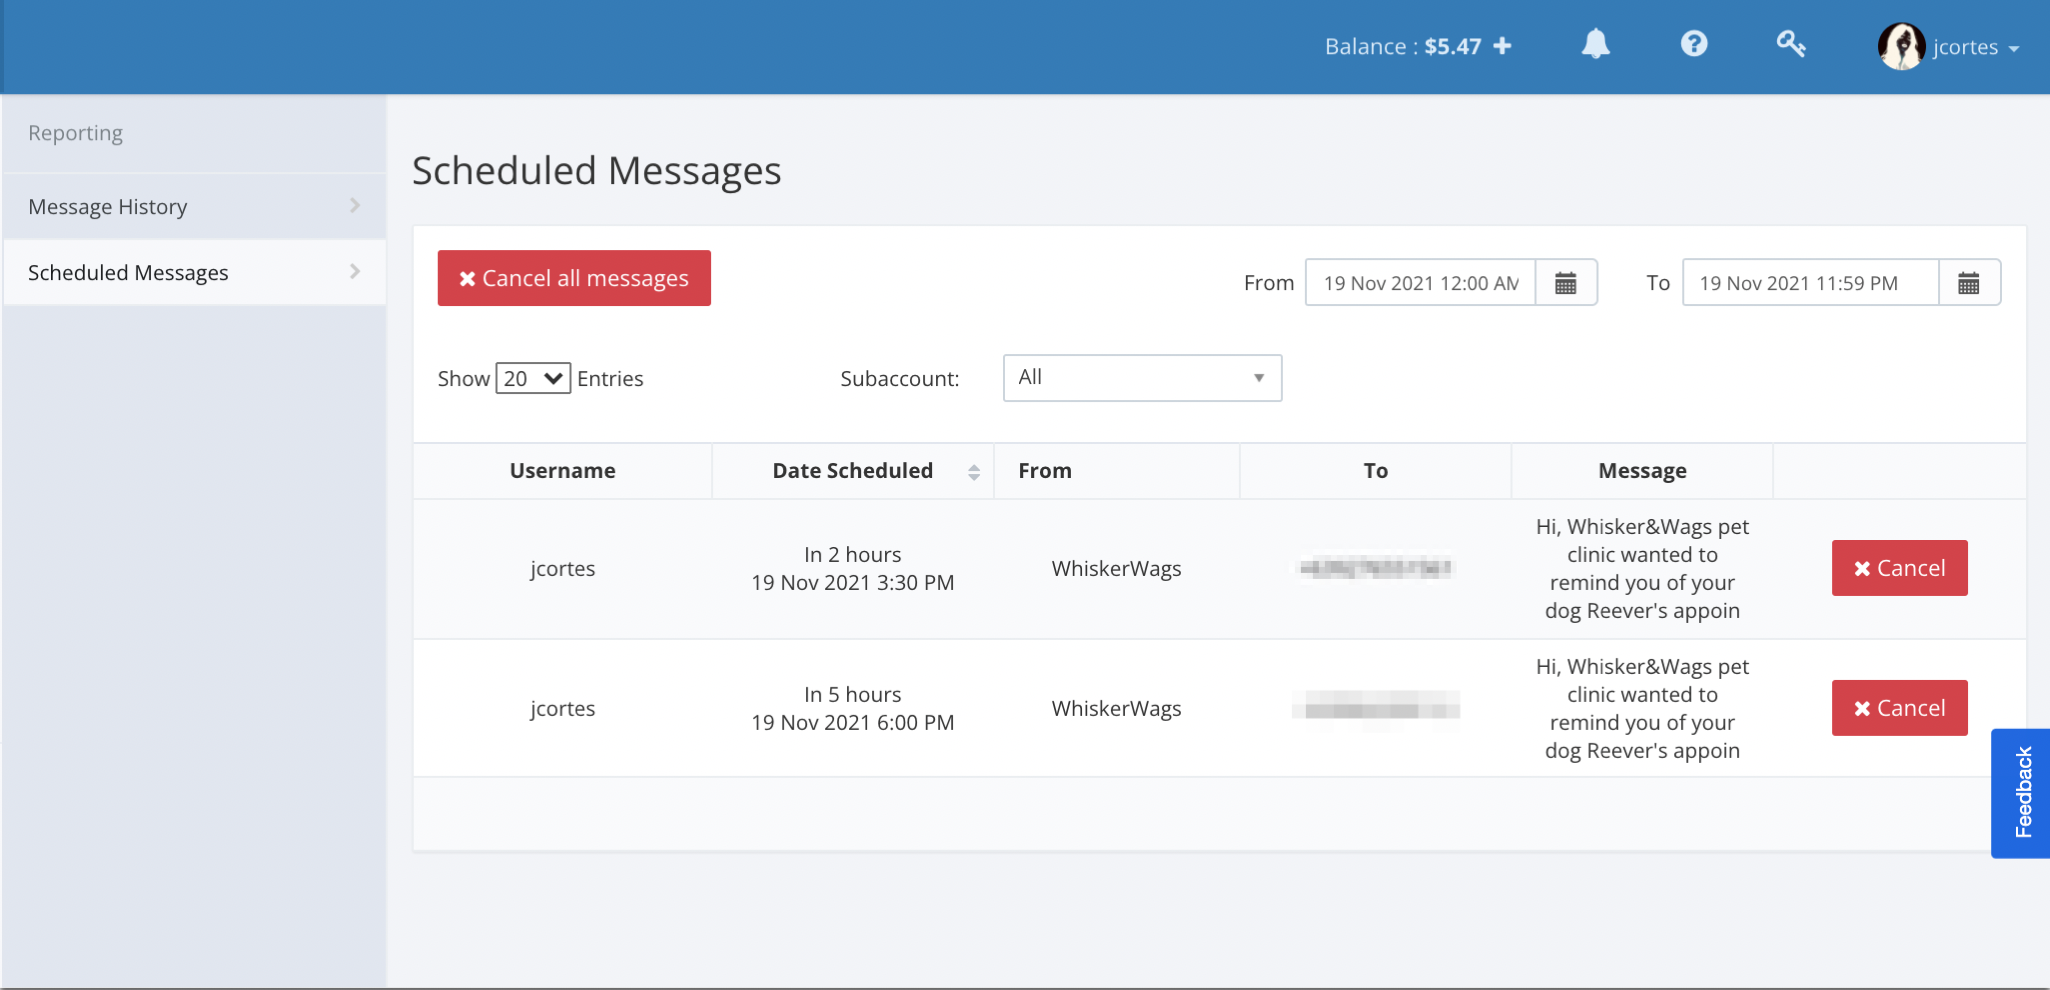
Scheduled and sent reminders are to be monitored in the ClickSend dashboard history. If an SMS is not sent yet, you can cancel the reminder either on the history or on the Calendar.
Events
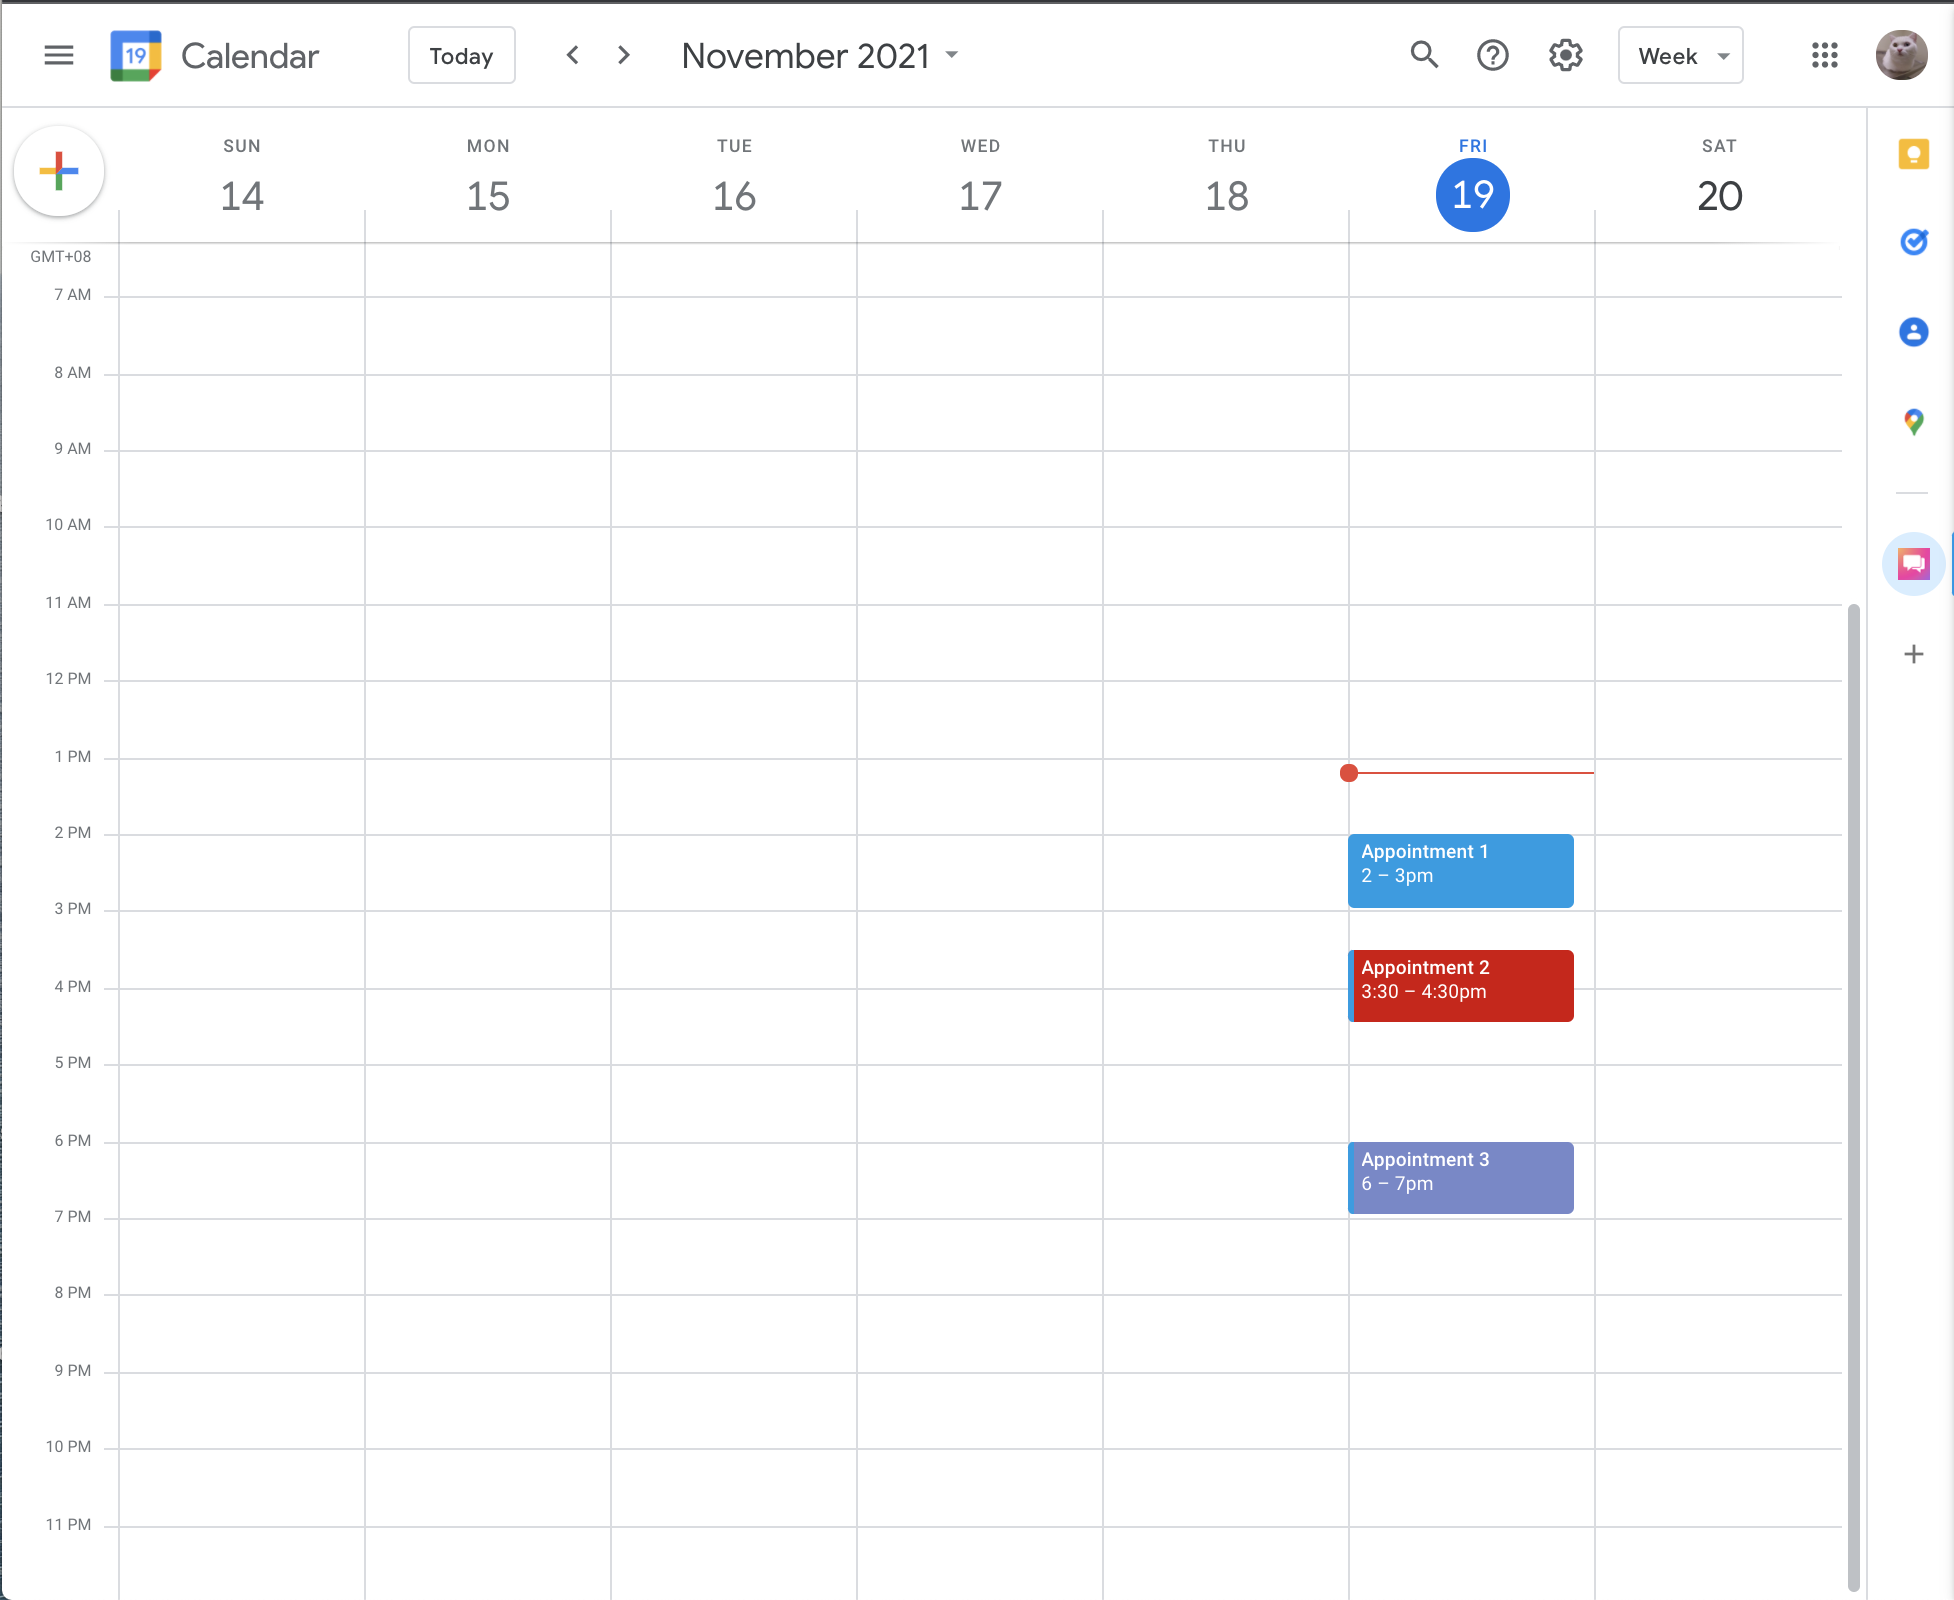
When setting up reminders, you may notice they change color. Below represents what they meant:
Blue - no set up reminder
Red - already has a set up reminder
Purple - reminder has been cancelled. You can manually set up a reminder again to it.
Other way to schedule SMS in the Google Calendar
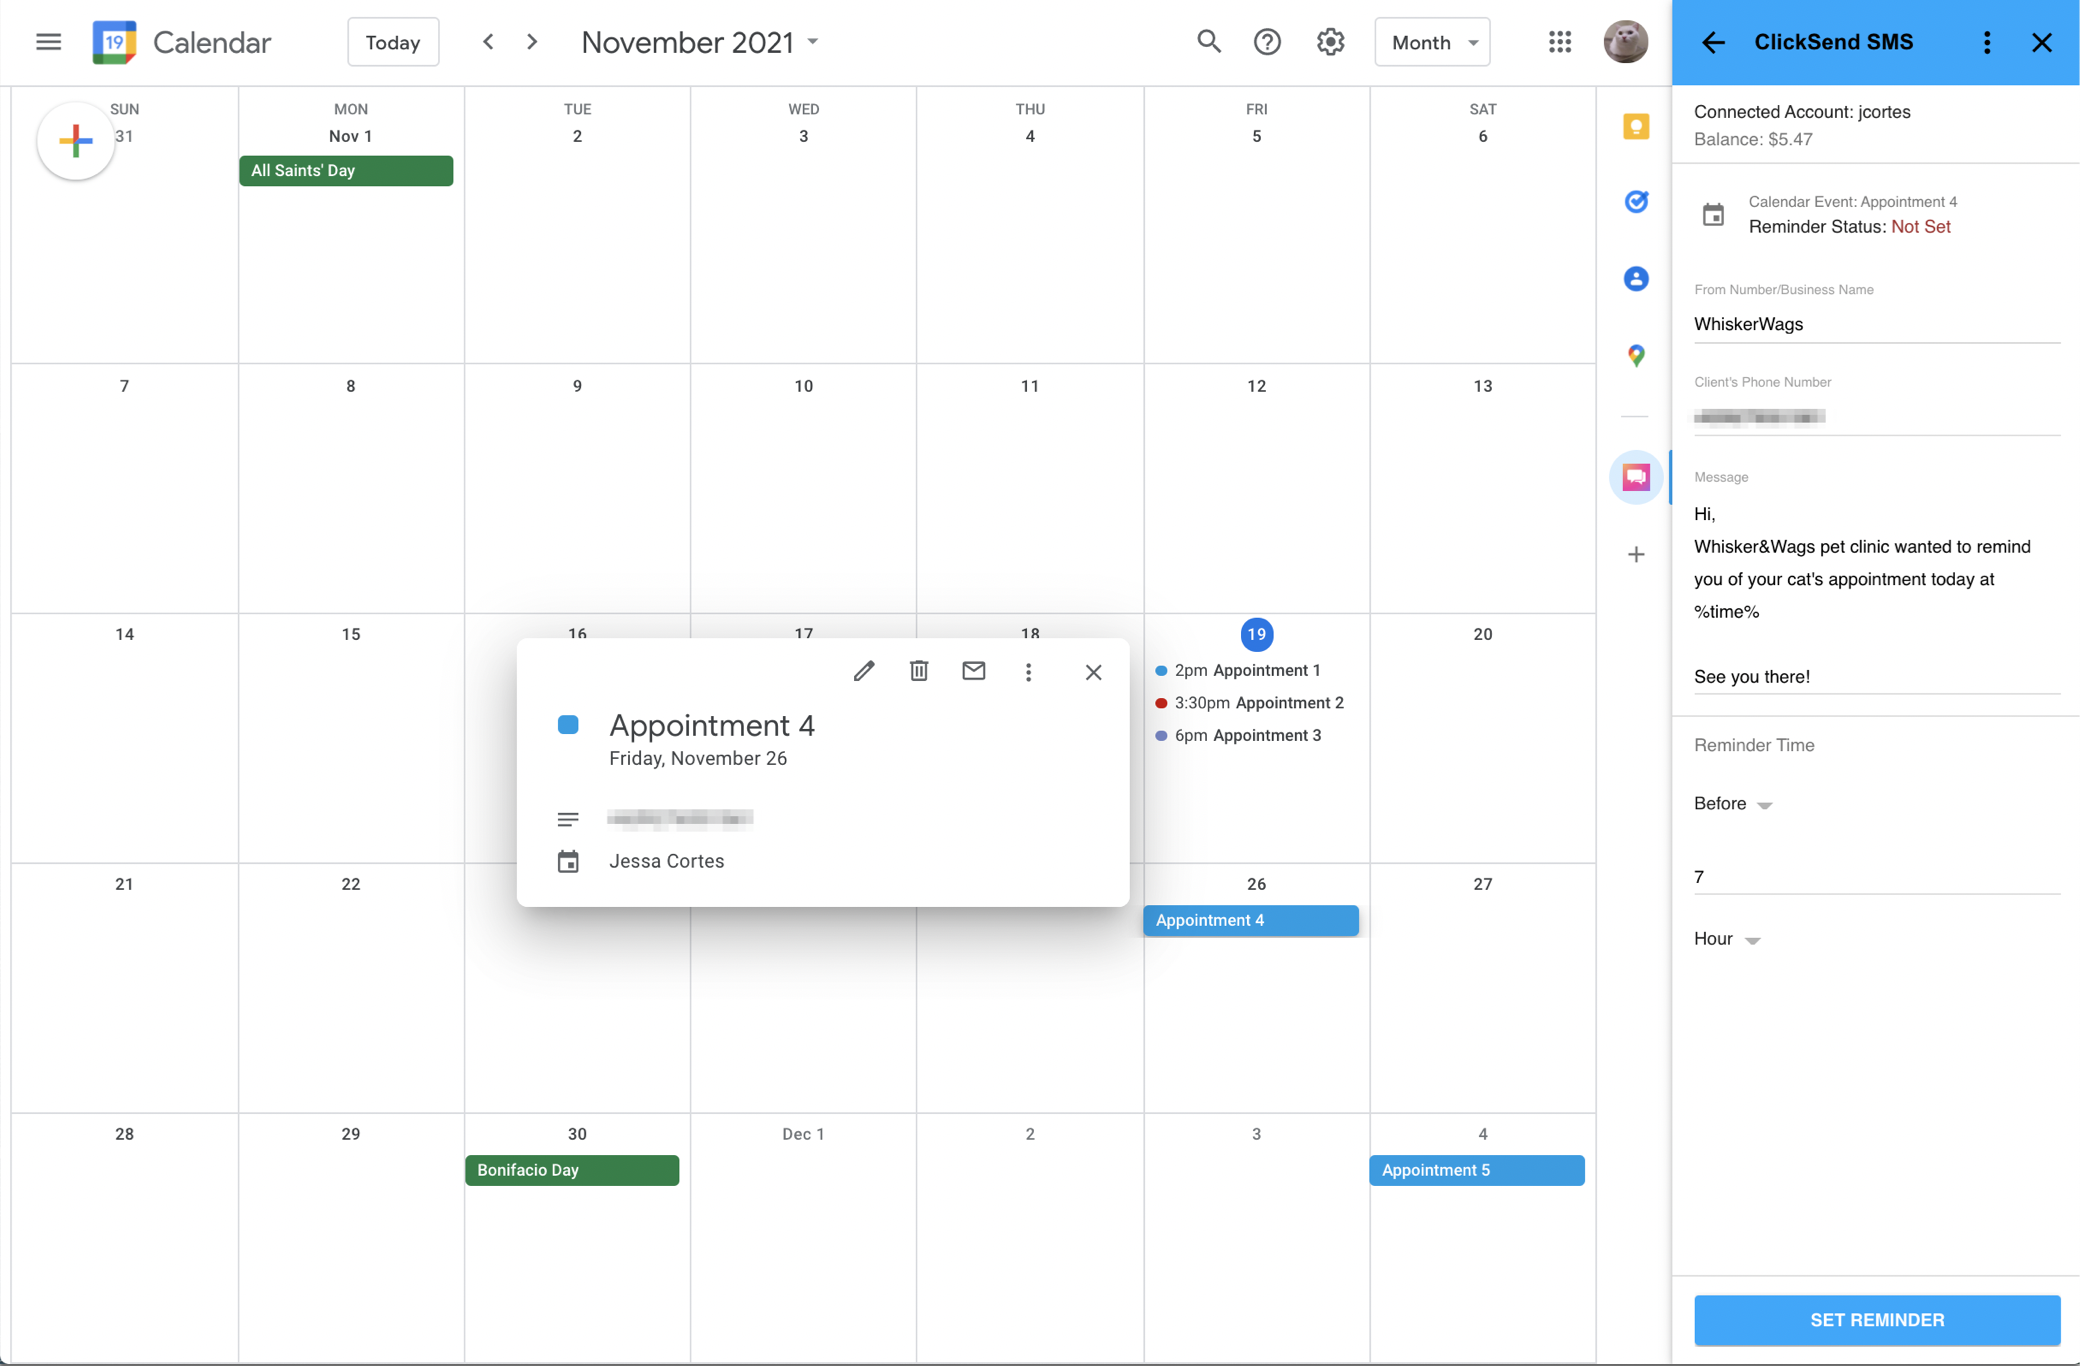
ClickSend SMS Add-on also supports months and days view.
With ClickSend SMS, you can catch up with you customers and reduce no shows on your business.
Google Calendar Integration with Zapier
You need a Zapier account first. If you don't have an account, click here to create a Zapier account.
Introduction
In this article, we will try integrating both ClickSend and Google Calendar. So what we want to achieve here is to send an SMS to a specified number when a before an event is about to occur as a reminder.
So, let's get started.
Instructions
Login to your Zapier account. And then click Make a Zap! button.
Let's search and select Google Calendaras our trigger app. Next, check Event Start as our trigger action. Then click Save + Continue button.
Let's link your Google Calendar account. Select Choose Account. Click Connect an Account button. Enter your Email Addressand Password or select your account from the list. Then click Allow button. Then click Save + Continue button.
Let finish up our trigger app setup. Go back to your Zapier setup page. Then click Fetch & Continue button. Lastly the Continue button.
Ok, let's set up our Action app. Let's search and choose ClickSend. Next select Send SMS to Contact Listas our action. Then click Save + Continue button.
Next, let's add your ClickSend account. Click Connect an Account button. There should be a popup saying to add or allow your Zapier and ClickSend account to be linked together. Type in your ClickSend username and API key. Click the Test button to check if it was successful. Then click Save + Continue button.
Let's set up our SMS message. In the To input box, enter the number that you want to be informed when an event is about to start. Enter a custom generic message into the Message input box about the event such as the Summary, Description, EventBegins, EventEnds, Location, etc... Set the From input box as Google Calendar or something else meaningful. Then click Continue button.
Let's finish up everything. Click Create & Continue button. Then the Finish button. Lastly, name your Zap, and turn it ON