Samanage Integration
Prerequisite
You need a Zapier account first. If you don't have an account, click here to create a Zapier account.
Introduction
In this article, we will try integrating both ClickSend and Samanage. So what we want to achieve here is to notify us with an SMS to our personal mobile number every time we have a new Samanage risk.
So, let's get started.
Instructions
Step 1:
Login to your Zapier account. And then click Make a Zap! button.
Step 2:
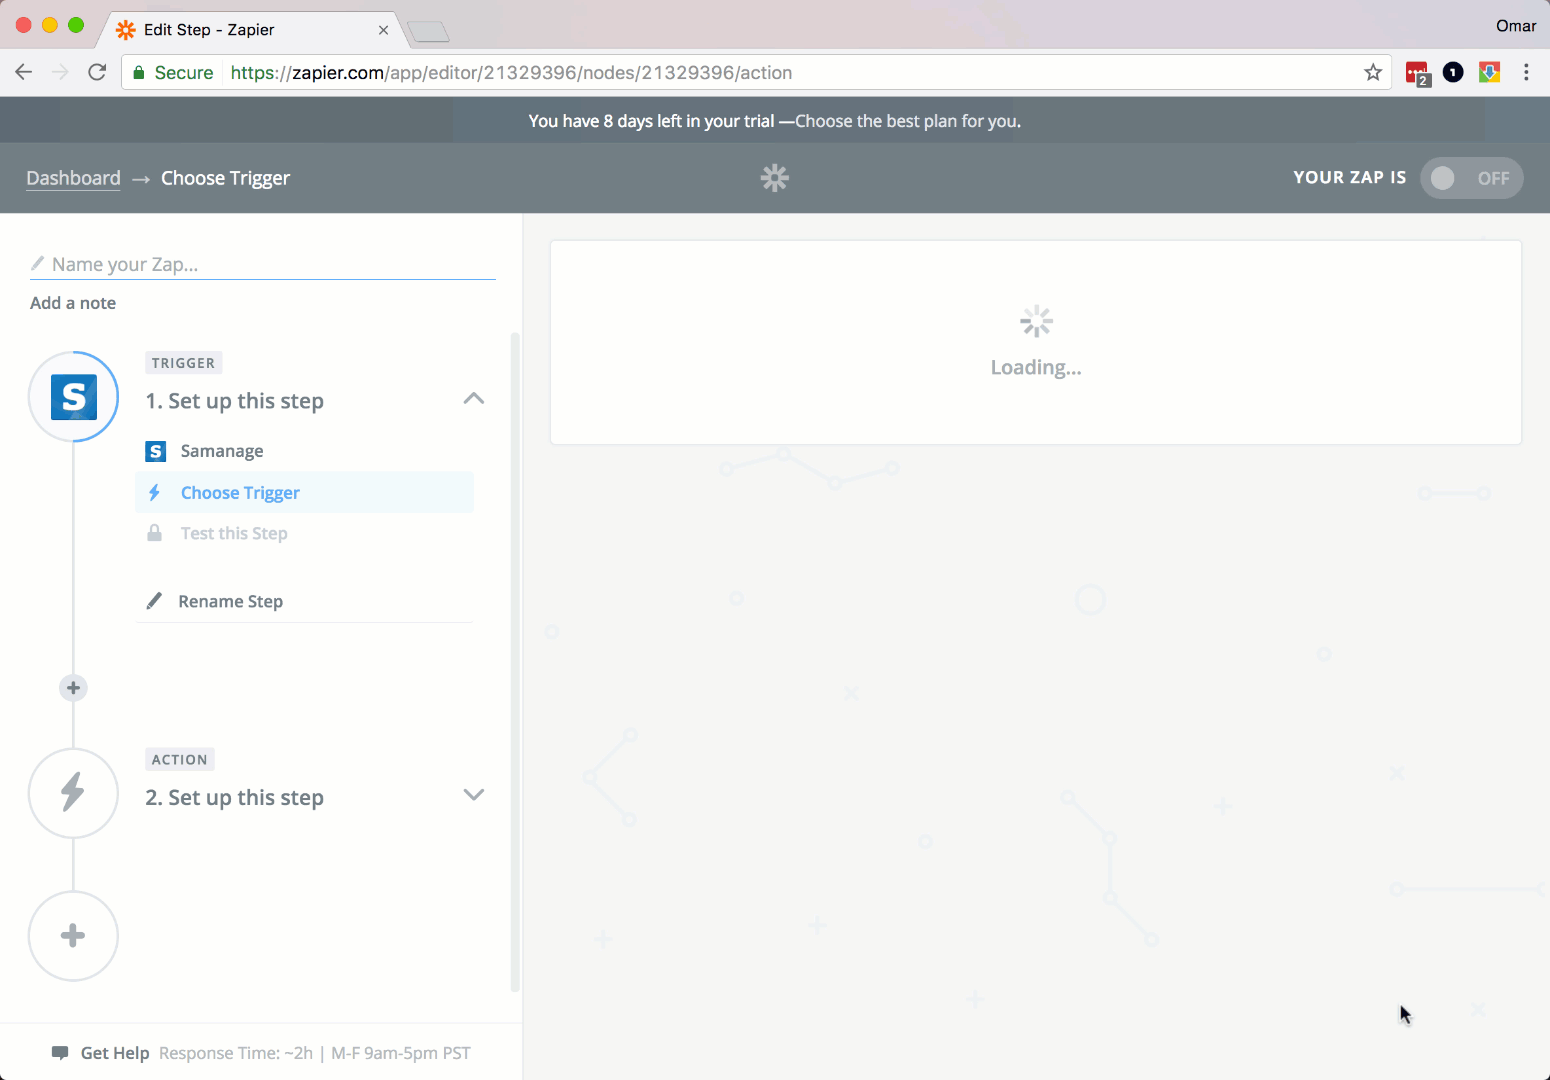
Let's search and select Samanage as our trigger app. Next, check New Risk as our trigger action. Then click Save + Continue button.
Step 3:
Let's link your Samanage account.
Make sure you are already login to your Samanage account.
Click Connect A New Account button.
A popup should show saying to allow Zapier to access your Samanage account.
Go ahead and login with your Samanage account. Then click Yes, Continue button.
Then click Save + Continue button.
Step 4:
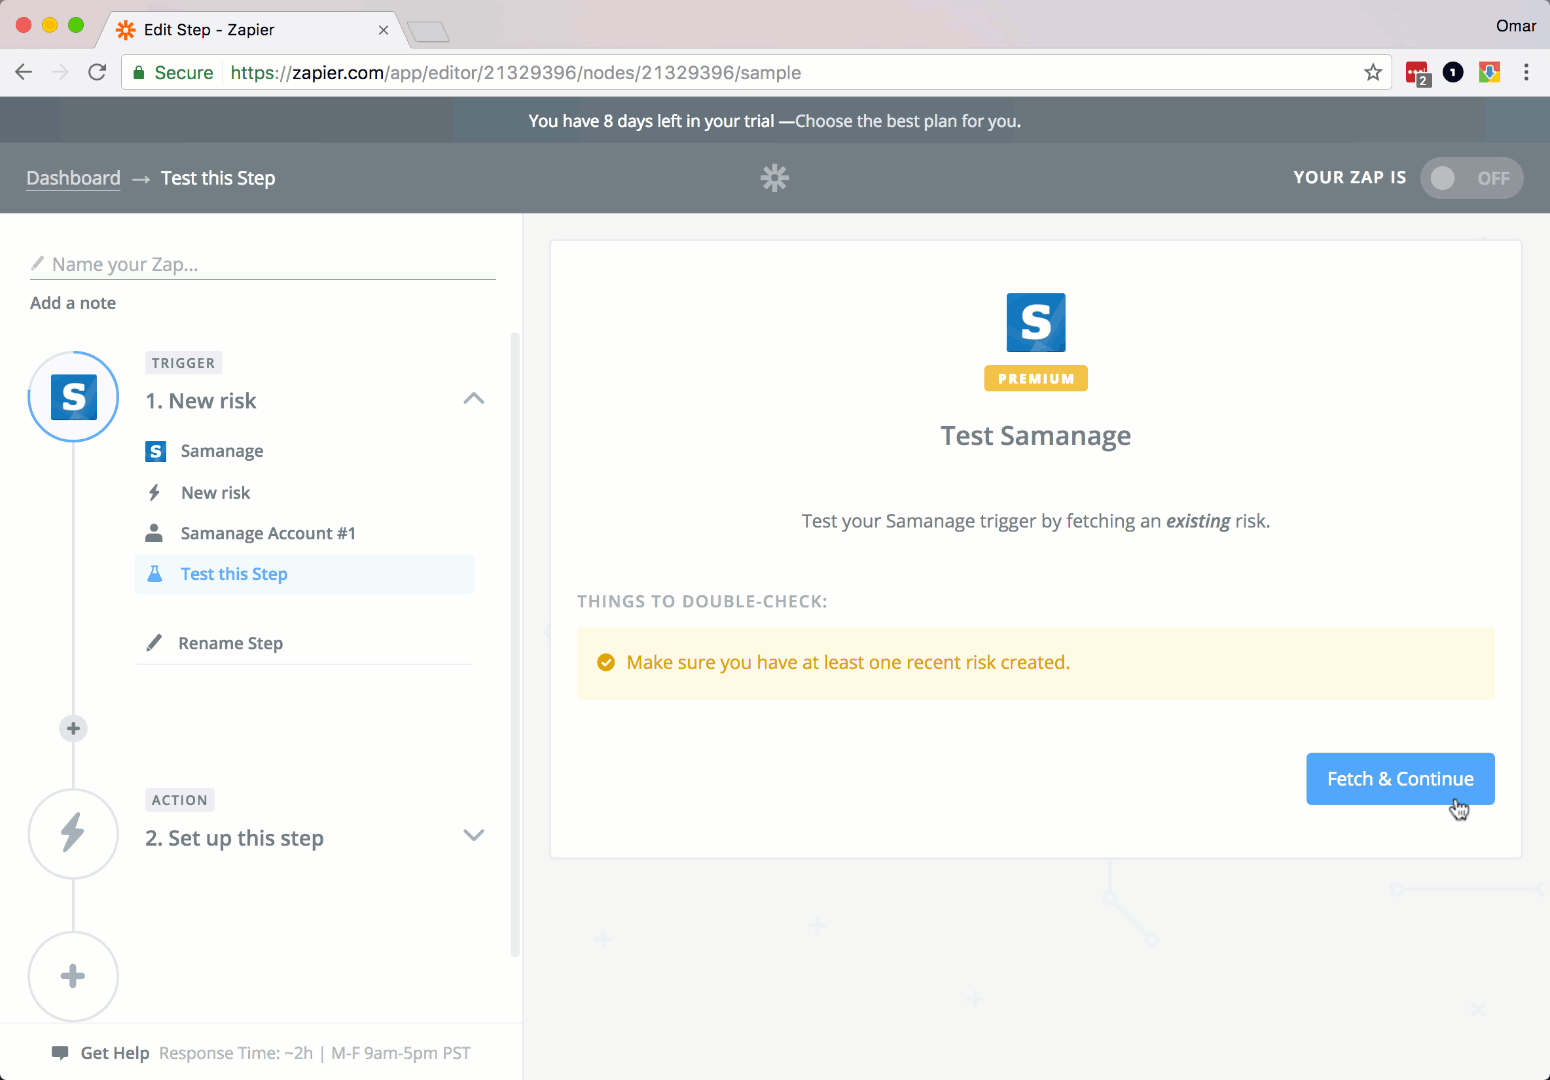
Let finish up our trigger app setup.
Go back to your Zapier setup page.
Then click Fetch & Continue button.
Lastly the Continue button.
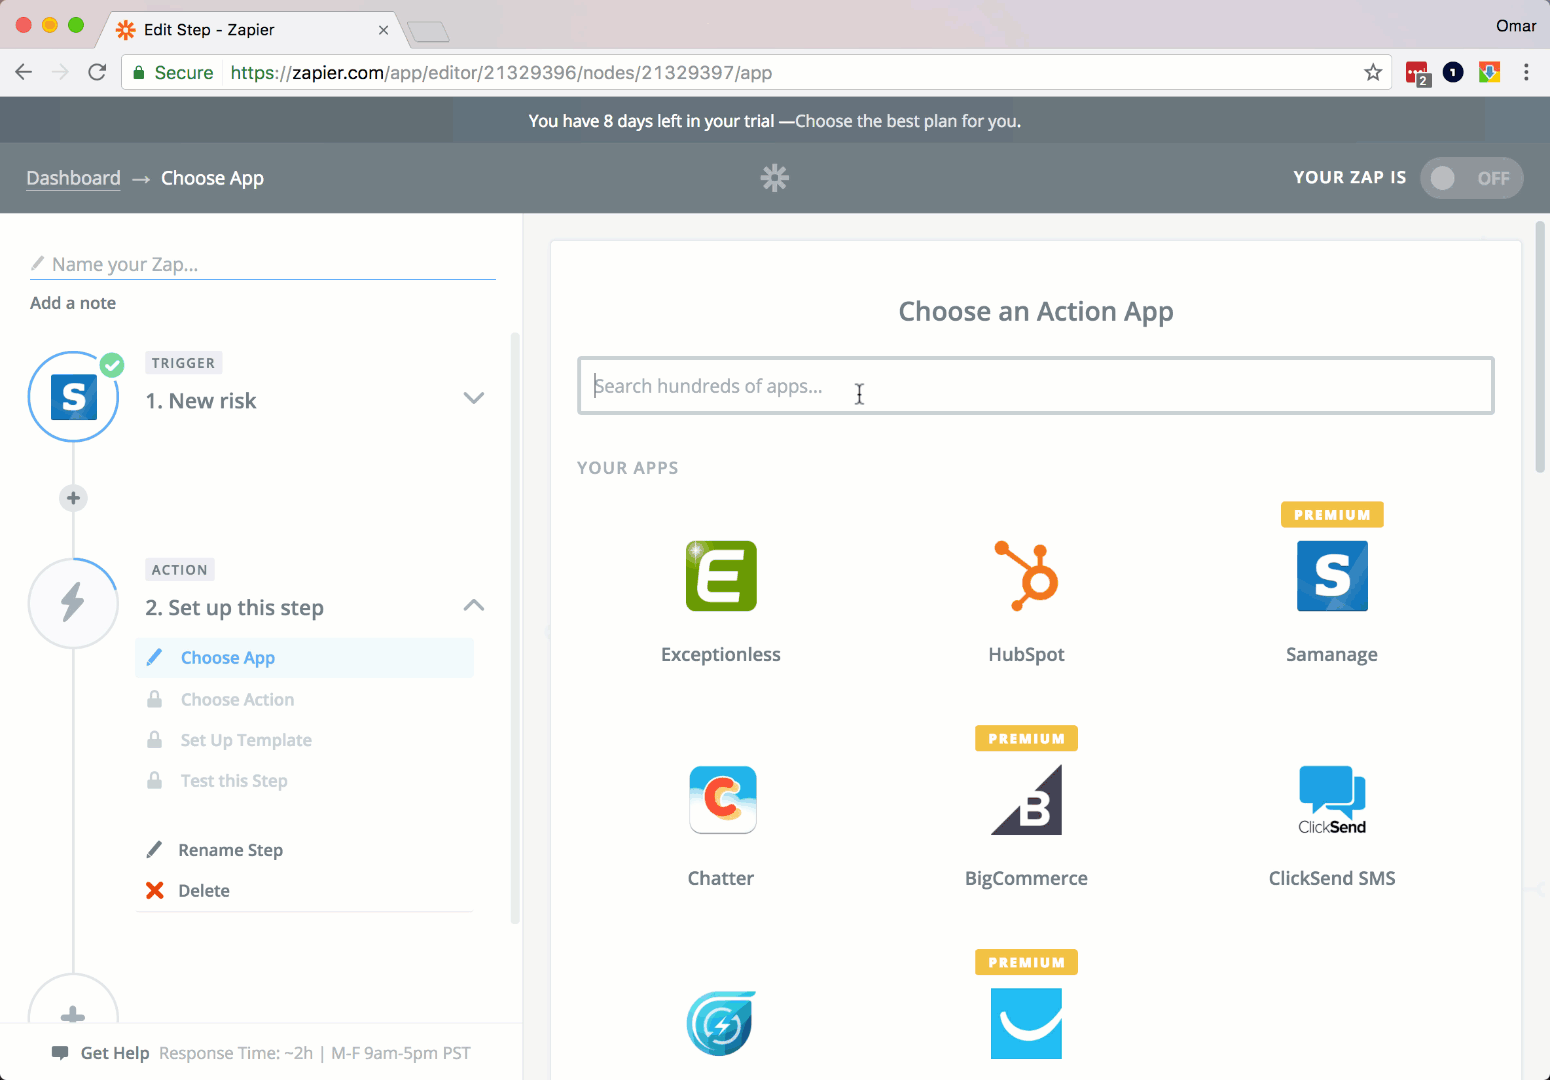
Step 5:
Ok, let's set up our Action app. Let's search and choose ClickSend. Next select Send SMS as our action. Then click Save + Continue button.
Step 6:
Next, let's add your ClickSend account. Click Connect A New Account button.
There should be a popup saying to add or allow your Zapier and ClickSend account to be linked together.
Type in your ClickSend username and API key.
Then click Save + Continue button.

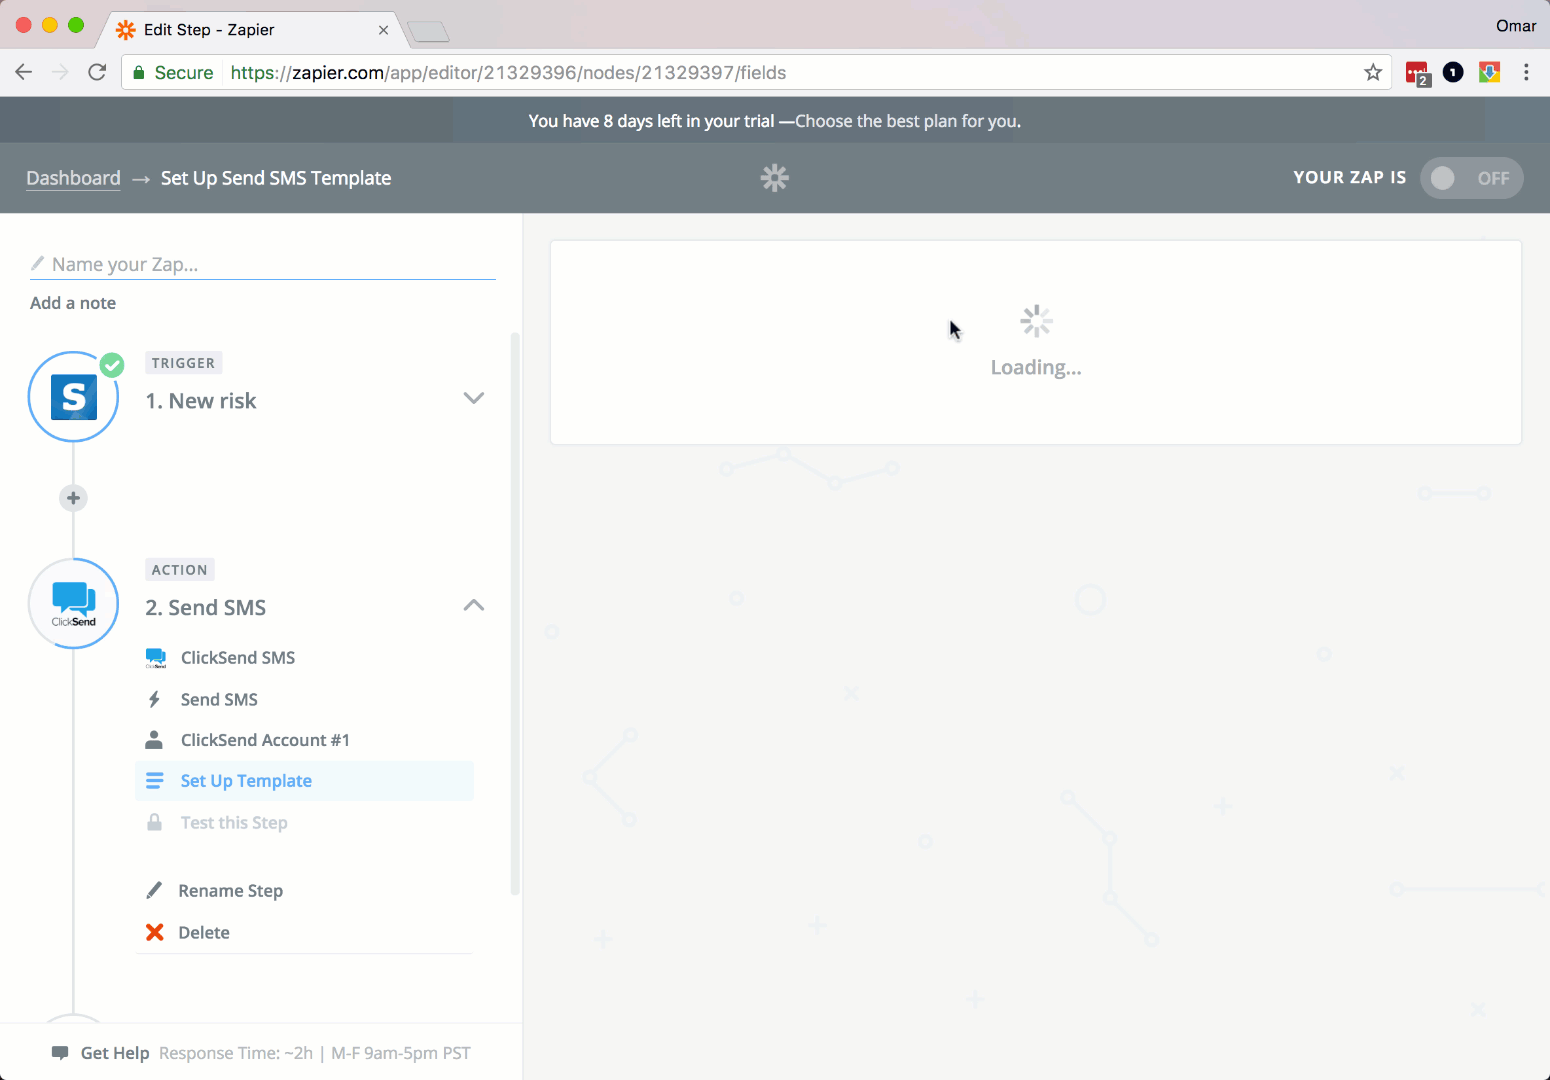
Step 7:
Let's set up our SMS message.
In the To input box, enter your mobile no. This will be the recipient of the message.
In the Message input box, enter your custom message.
You can add Schedule or From fields optionally. Here, we will leave them blank at the moment.
Then click Continue button.
Step 8:
Let's finish up everything.
Click Create & Continue button.
Then the Finish button.
Lastly, name your Zap, and turn it ON

Conclusion
In this article, we learned how to connect ClickSend and Samanage. We also learned how to send an SMS via ClickSend every time we have a new Samanage risk. It's pretty easy right?!
Also note that ClickSend can also do more actions, like sending a Voice message and more. Don't hesitate to try the other ClickSend actions to personalize more your integrations.
Happy integrating! :)
Setting up incident alerts
Prerequisite
You need a Zapier account first. If you don't have an account, click here to create a Zapier account.
Introduction
In this article, we will try integrating both ClickSend and Samanage. So what we want to achieve here is to send an SMS to specified contacts when a new incident occurs.
So, let's get started.
Instructions
Step 1:
Login to your Zapier account. And then click Make a Zap! button.
Step 2:
Let's search and select Samanage as our trigger app. Next, check New Incident as our trigger action. Then click Save + Continue button.
Step 3:
Let's link your Samanage account.
Select Choose Account.
Log in using your Samanage account.
Then allow access.
Then click Save + Continue button.
Step 4:
Let finish up our trigger app setup.
Go back to your Zapier setup page.
Then click Fetch & Continue button.
Lastly the Continue button.
Step 5:
Ok, let's set up our Action app. Let's search and choose ClickSend.
Next select Send SMS as our action.
Then click Save + Continue button.
Step 6:
Next, let's add your ClickSend account. Click Connect an Account button.
There should be a popup saying to add or allow your Zapier and ClickSend account to be linked together.
Type in your ClickSend username and API key.
Click the Test button to check if it was successful.
Then click Save + Continue button.
Step 7:
Let's set up our SMS message.
In the To input box, enter the number you want to be notified about new incidents.
(or use a contact list filled with all the contacts needing to be notified by using the Send SMS to Contacts List action).
Enter a custom generic message into the Message input box about the task using the Samanage placeholders. (Name, Email, Number, Description, Etc...)
Set the From input box as your name or the businesses name.
Then click Continue button.
Step 8:
Let's finish up everything.
Click Create & Continue button.
Then the Finish button.
Lastly, name your Zap, and turn it ON