Integrating ClickSend with Zapier for SMS and MMS campaigns
This guide will help you to set up and manage SMS and MMS campaigns easily using the ClickSend and Zapier integration.
Getting Started:
- Sign Up/Login:
- Connect ClickSend and Zapier:
- Log in to Zapier and navigate to the "Connected Accounts" section. Then add ClickSend as a connected account.
- Follow the prompts to authorise Zapier to access to your ClickSend account.
Creating SMS campaigns:
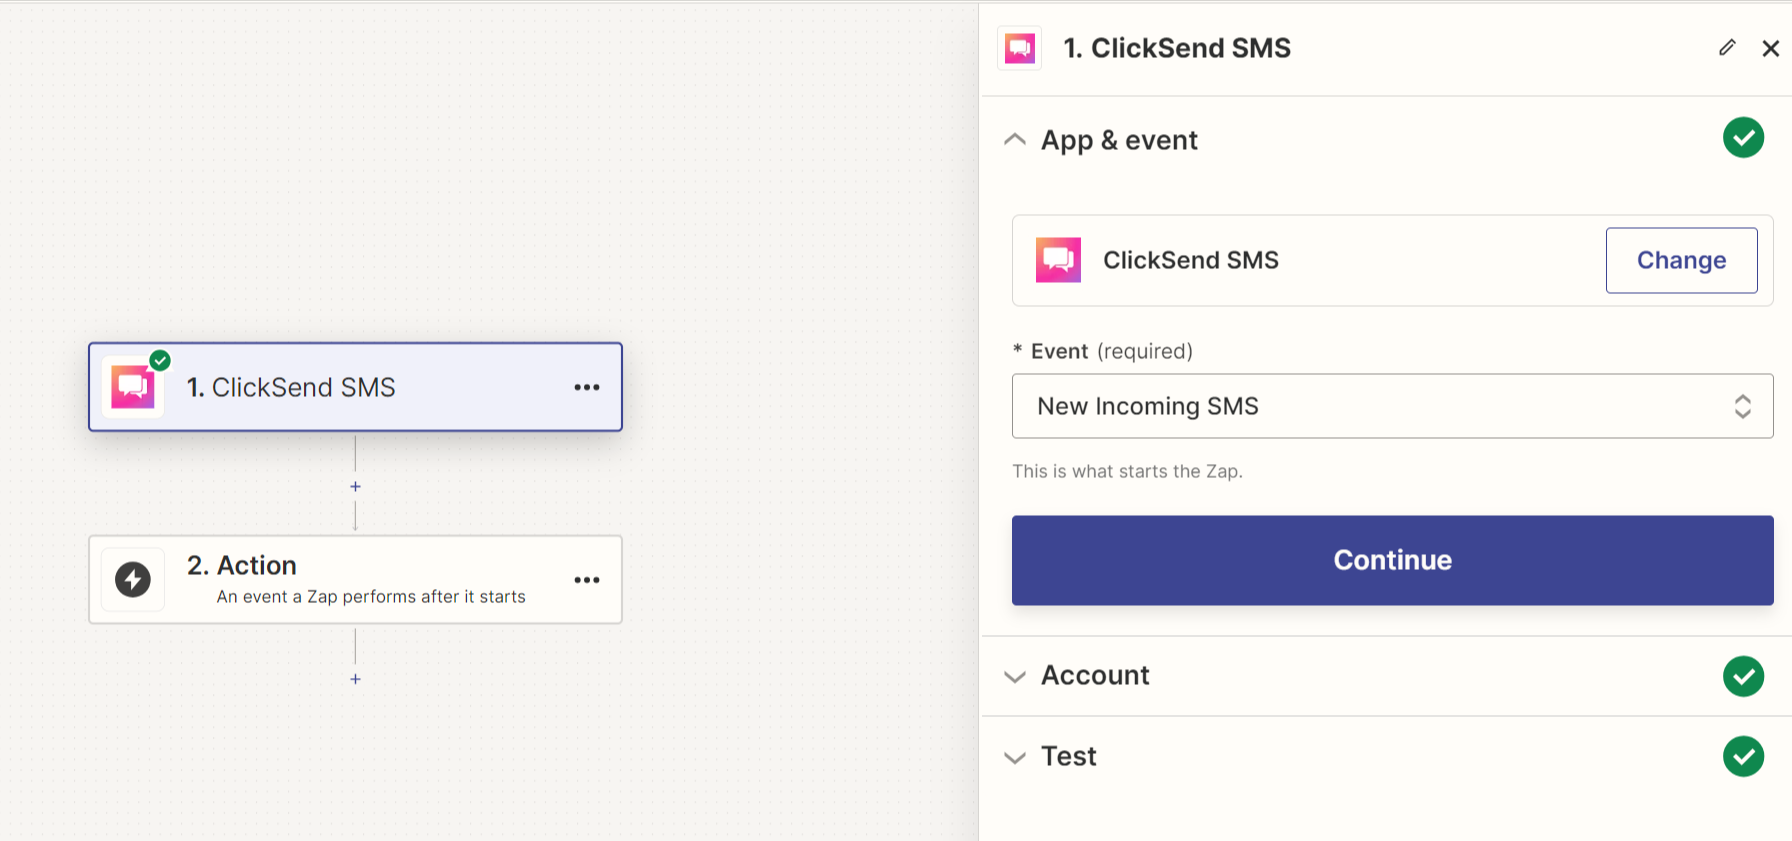
- Trigger:
- Select a trigger event in Zapier that will initiate your SMS campaign. Example trigger events are getting a new email subscriber, when a customer completes a form on your website and more.
- Select a trigger event in Zapier that will initiate your SMS campaign. Example trigger events are getting a new email subscriber, when a customer completes a form on your website and more.
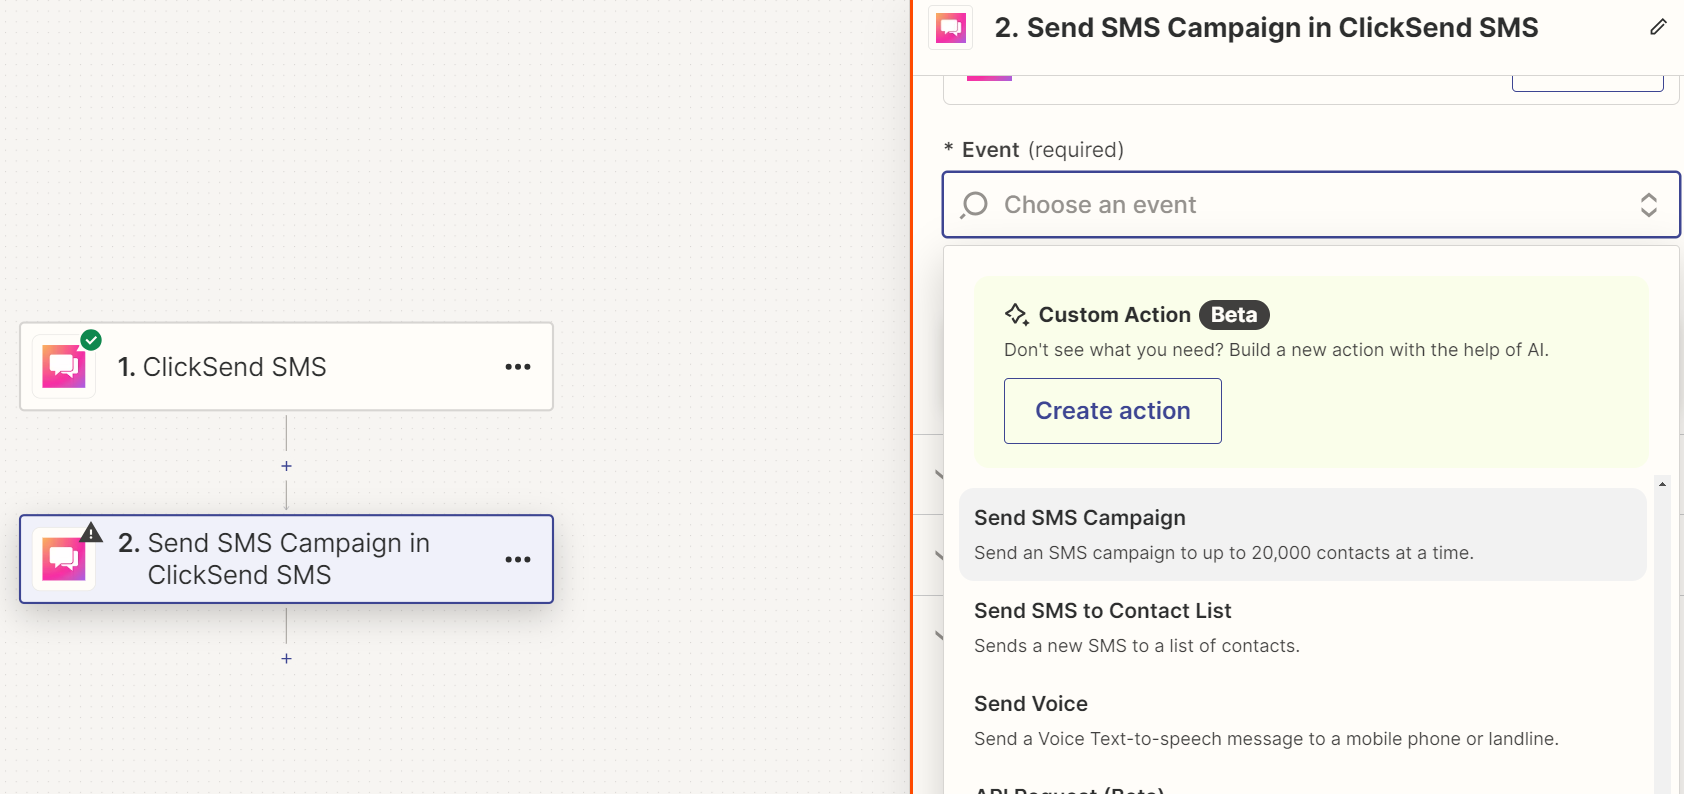
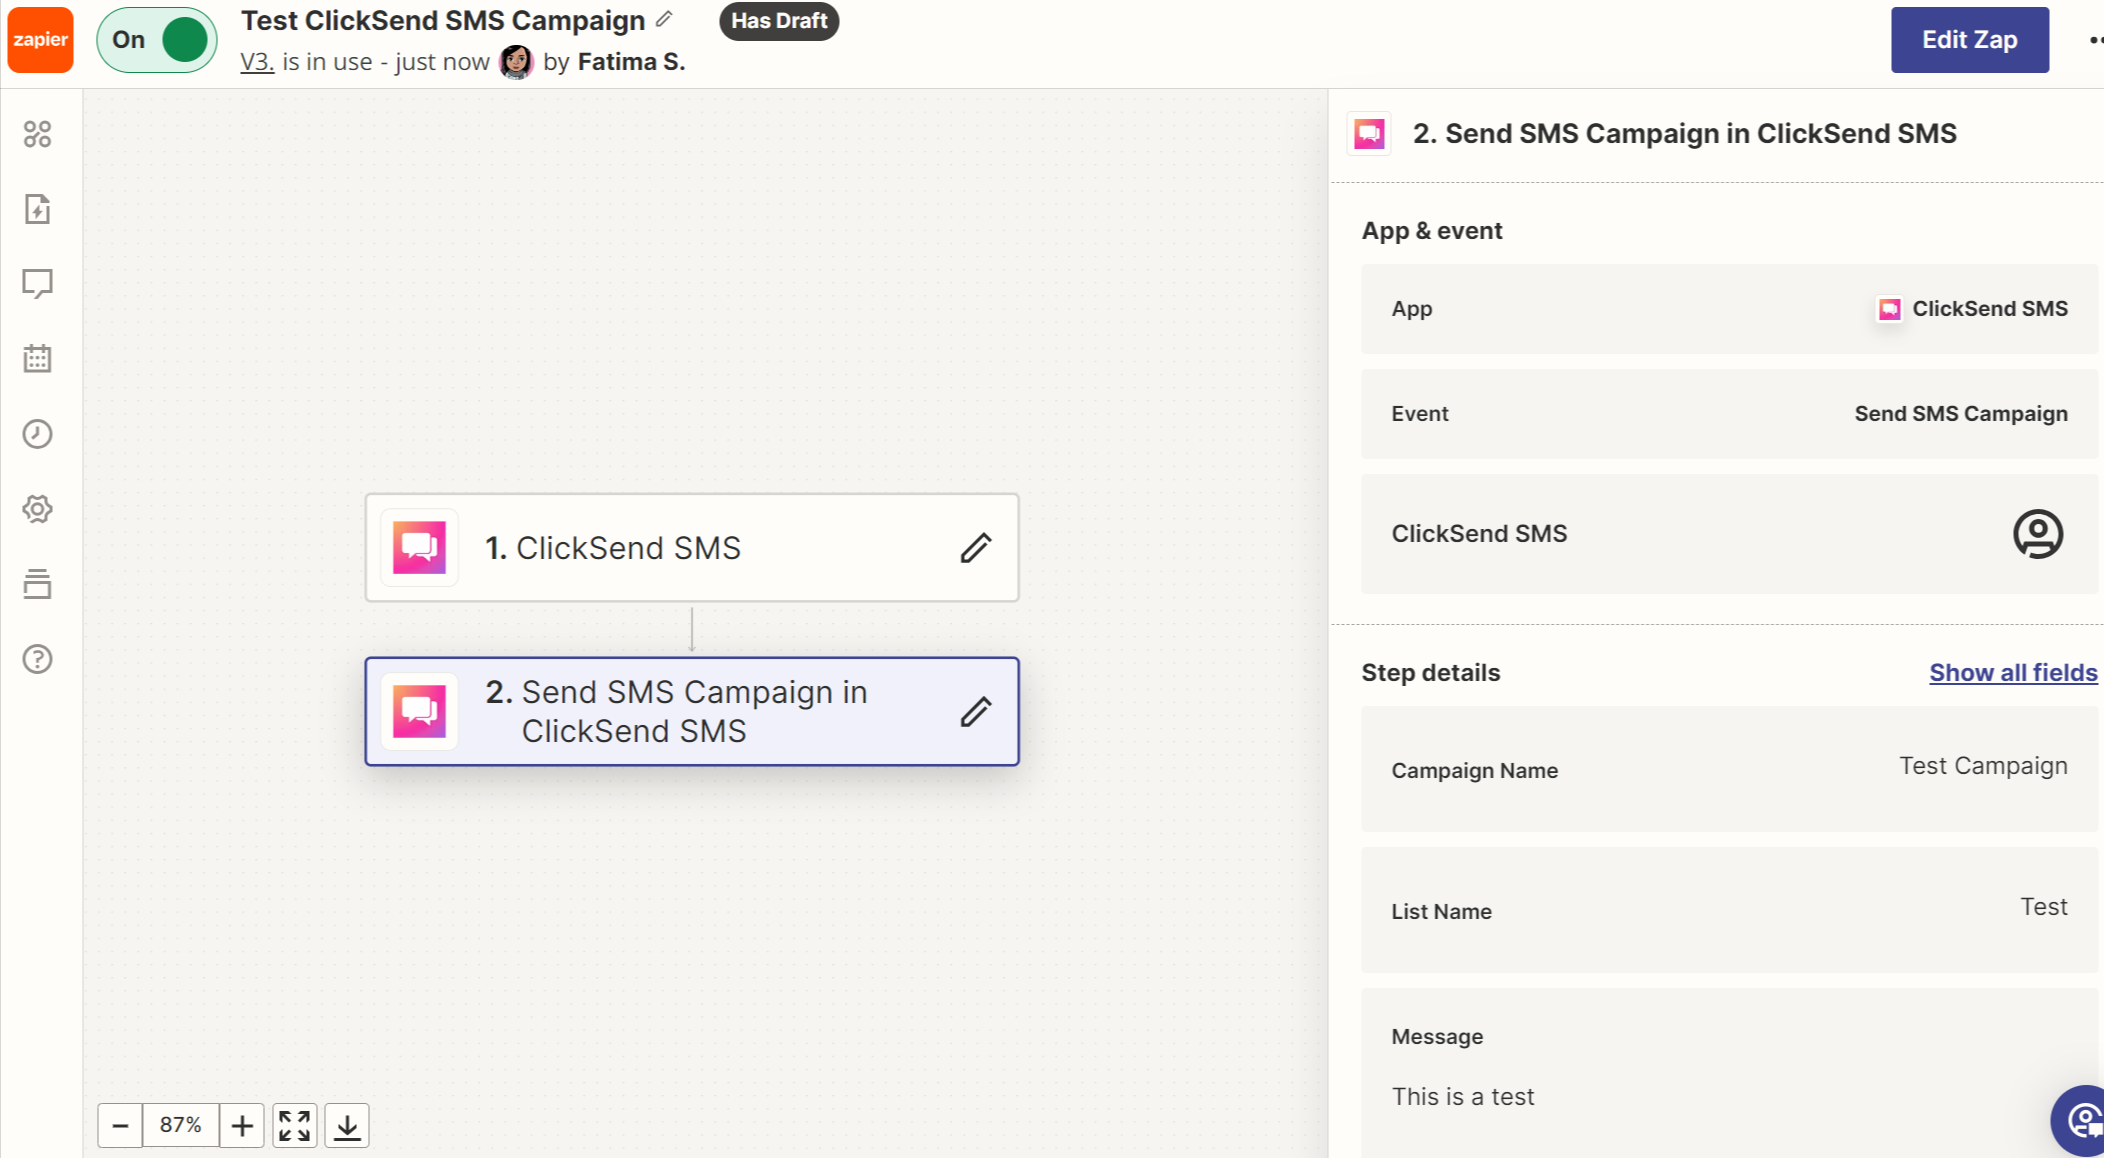
- Action:
- Choose ClickSend as the action app.
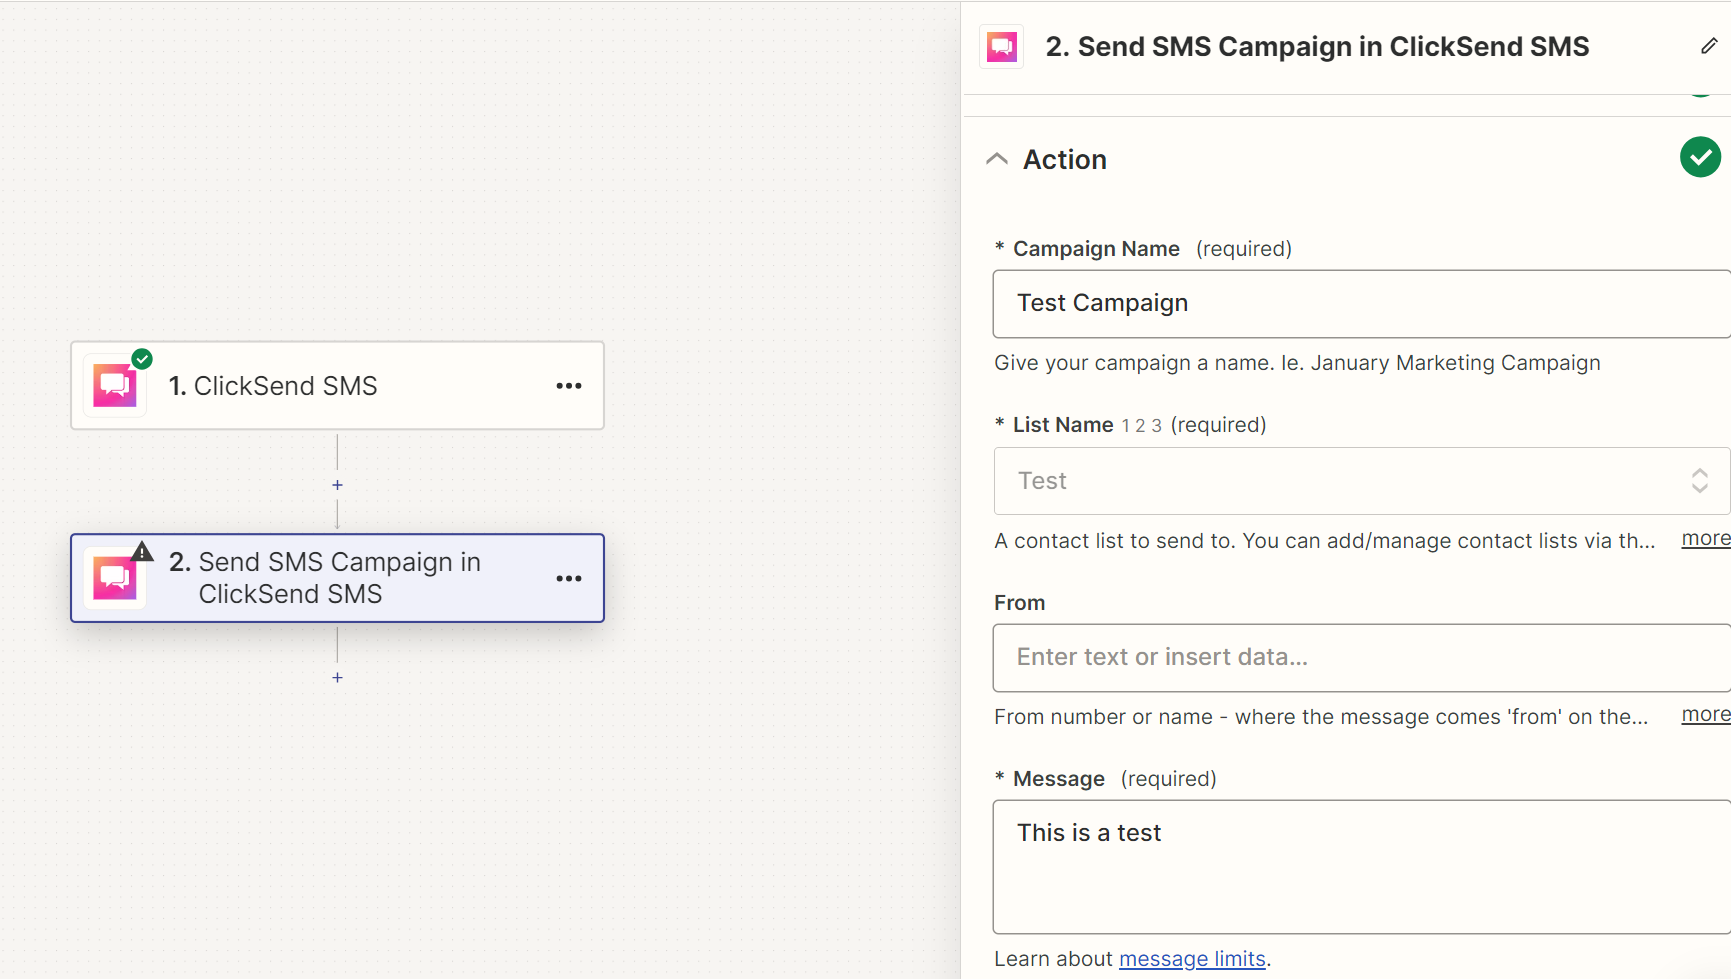
- Select the action event "Send SMS Campaign". Then complete the details for the campaign such as the recipient numbers, message content and other.
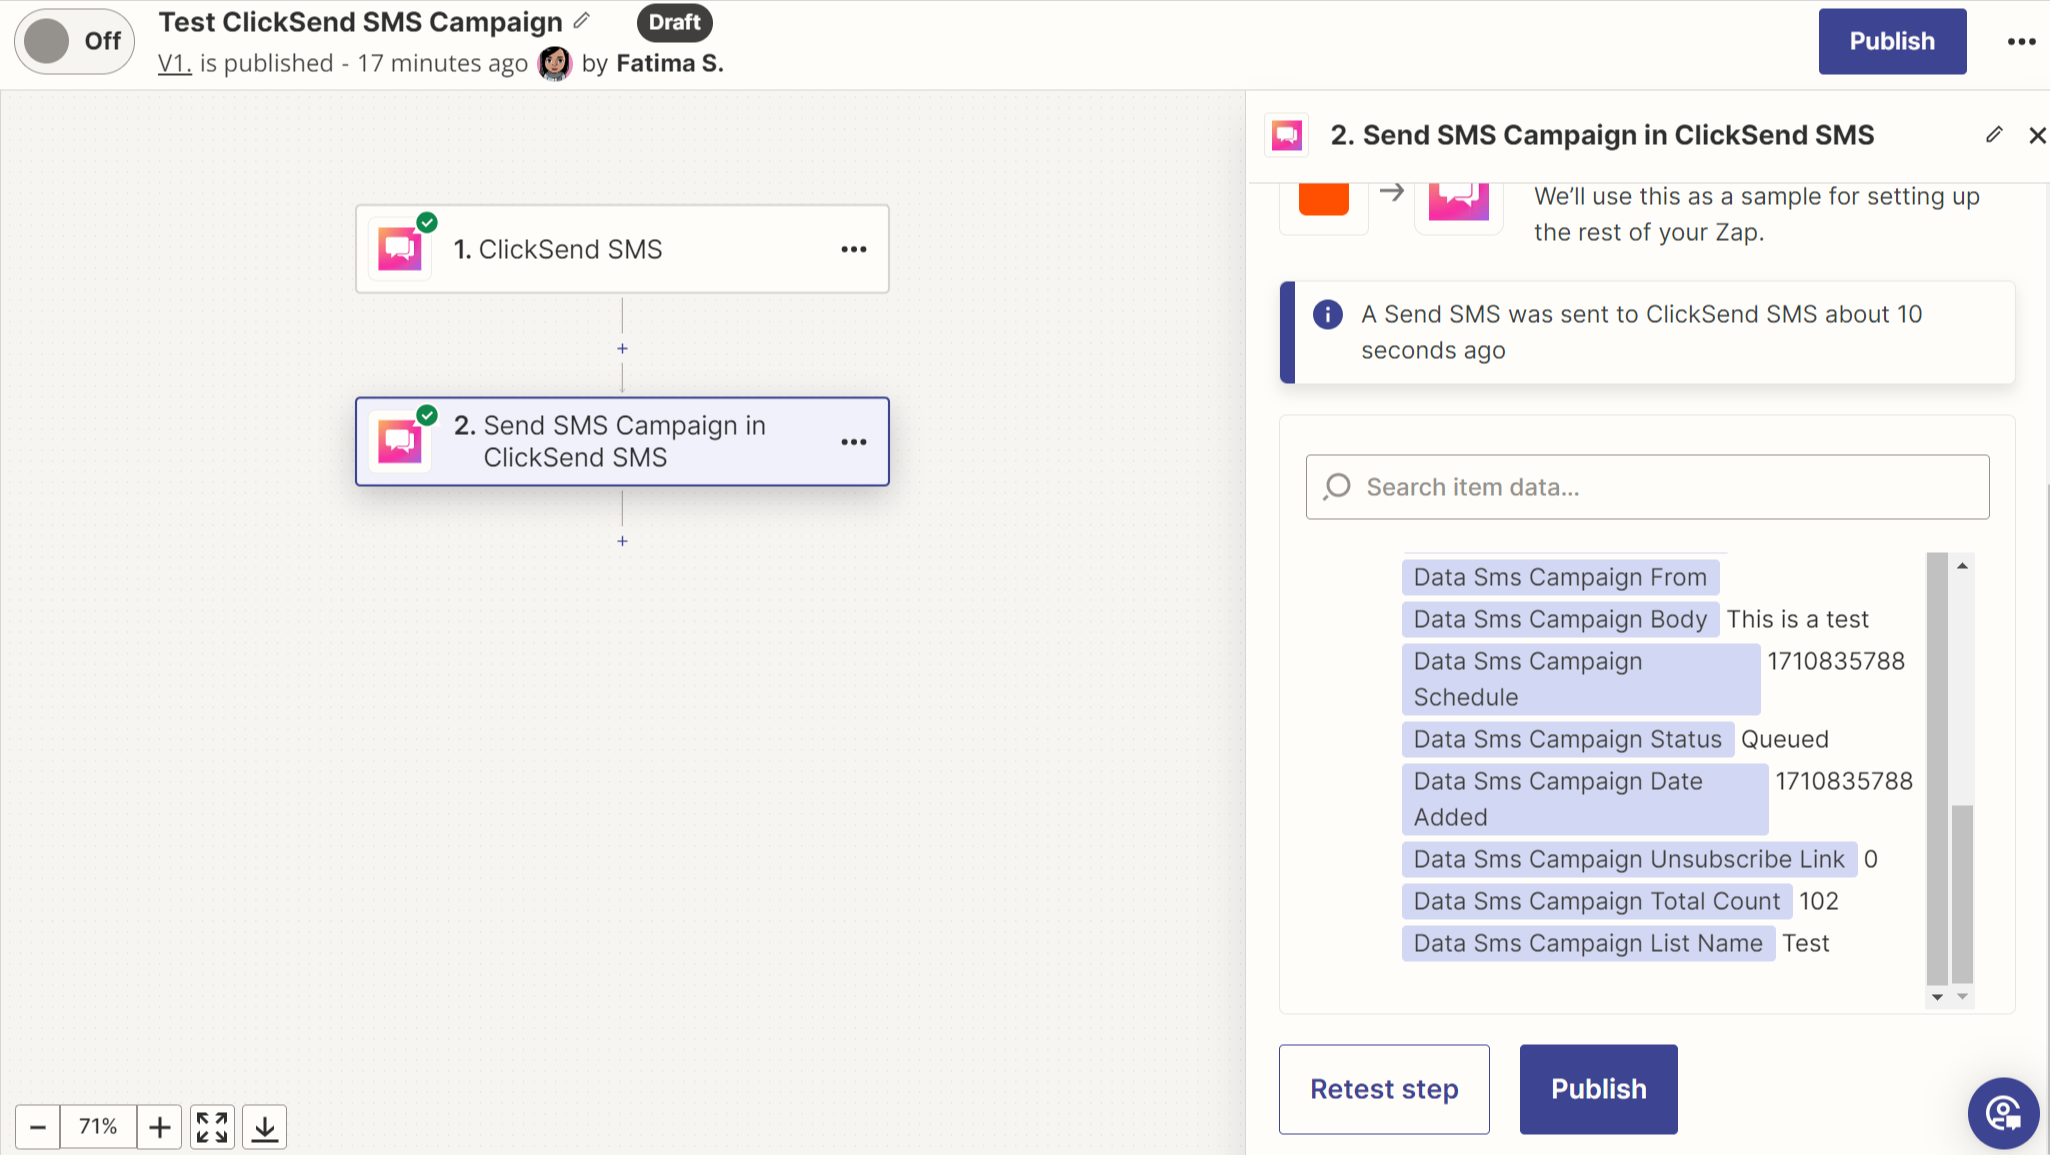
- Test the action to make sure it works correctly.
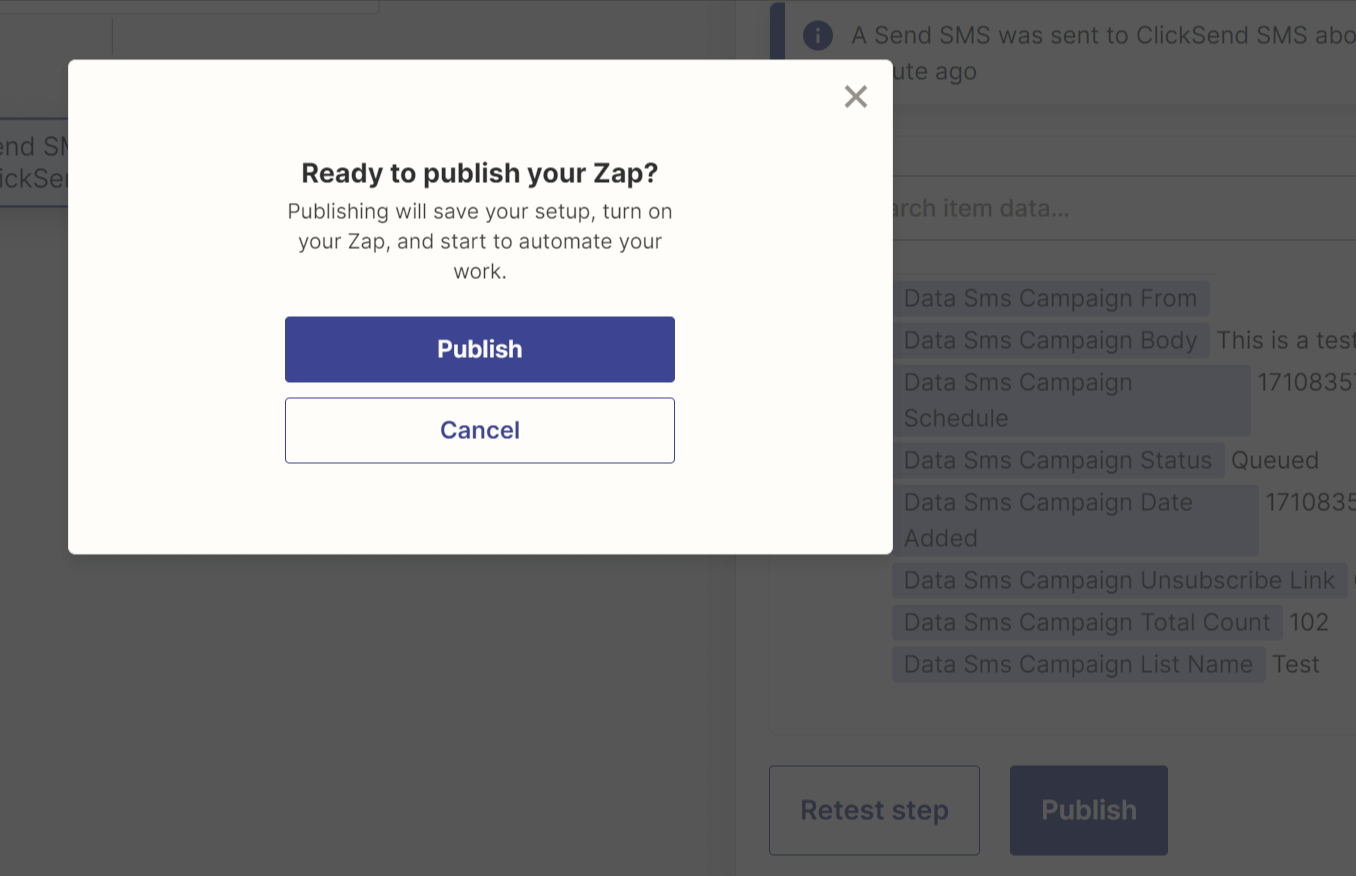
- Automation:
- Once the trigger and action are configured, publish your Zap to automate your SMS campaign.
- Once the trigger and action are configured, publish your Zap to automate your SMS campaign.
Creating MMS campaigns:
- Trigger:
- Select a trigger app or event in Zapier that will initiate your MMS campaign.
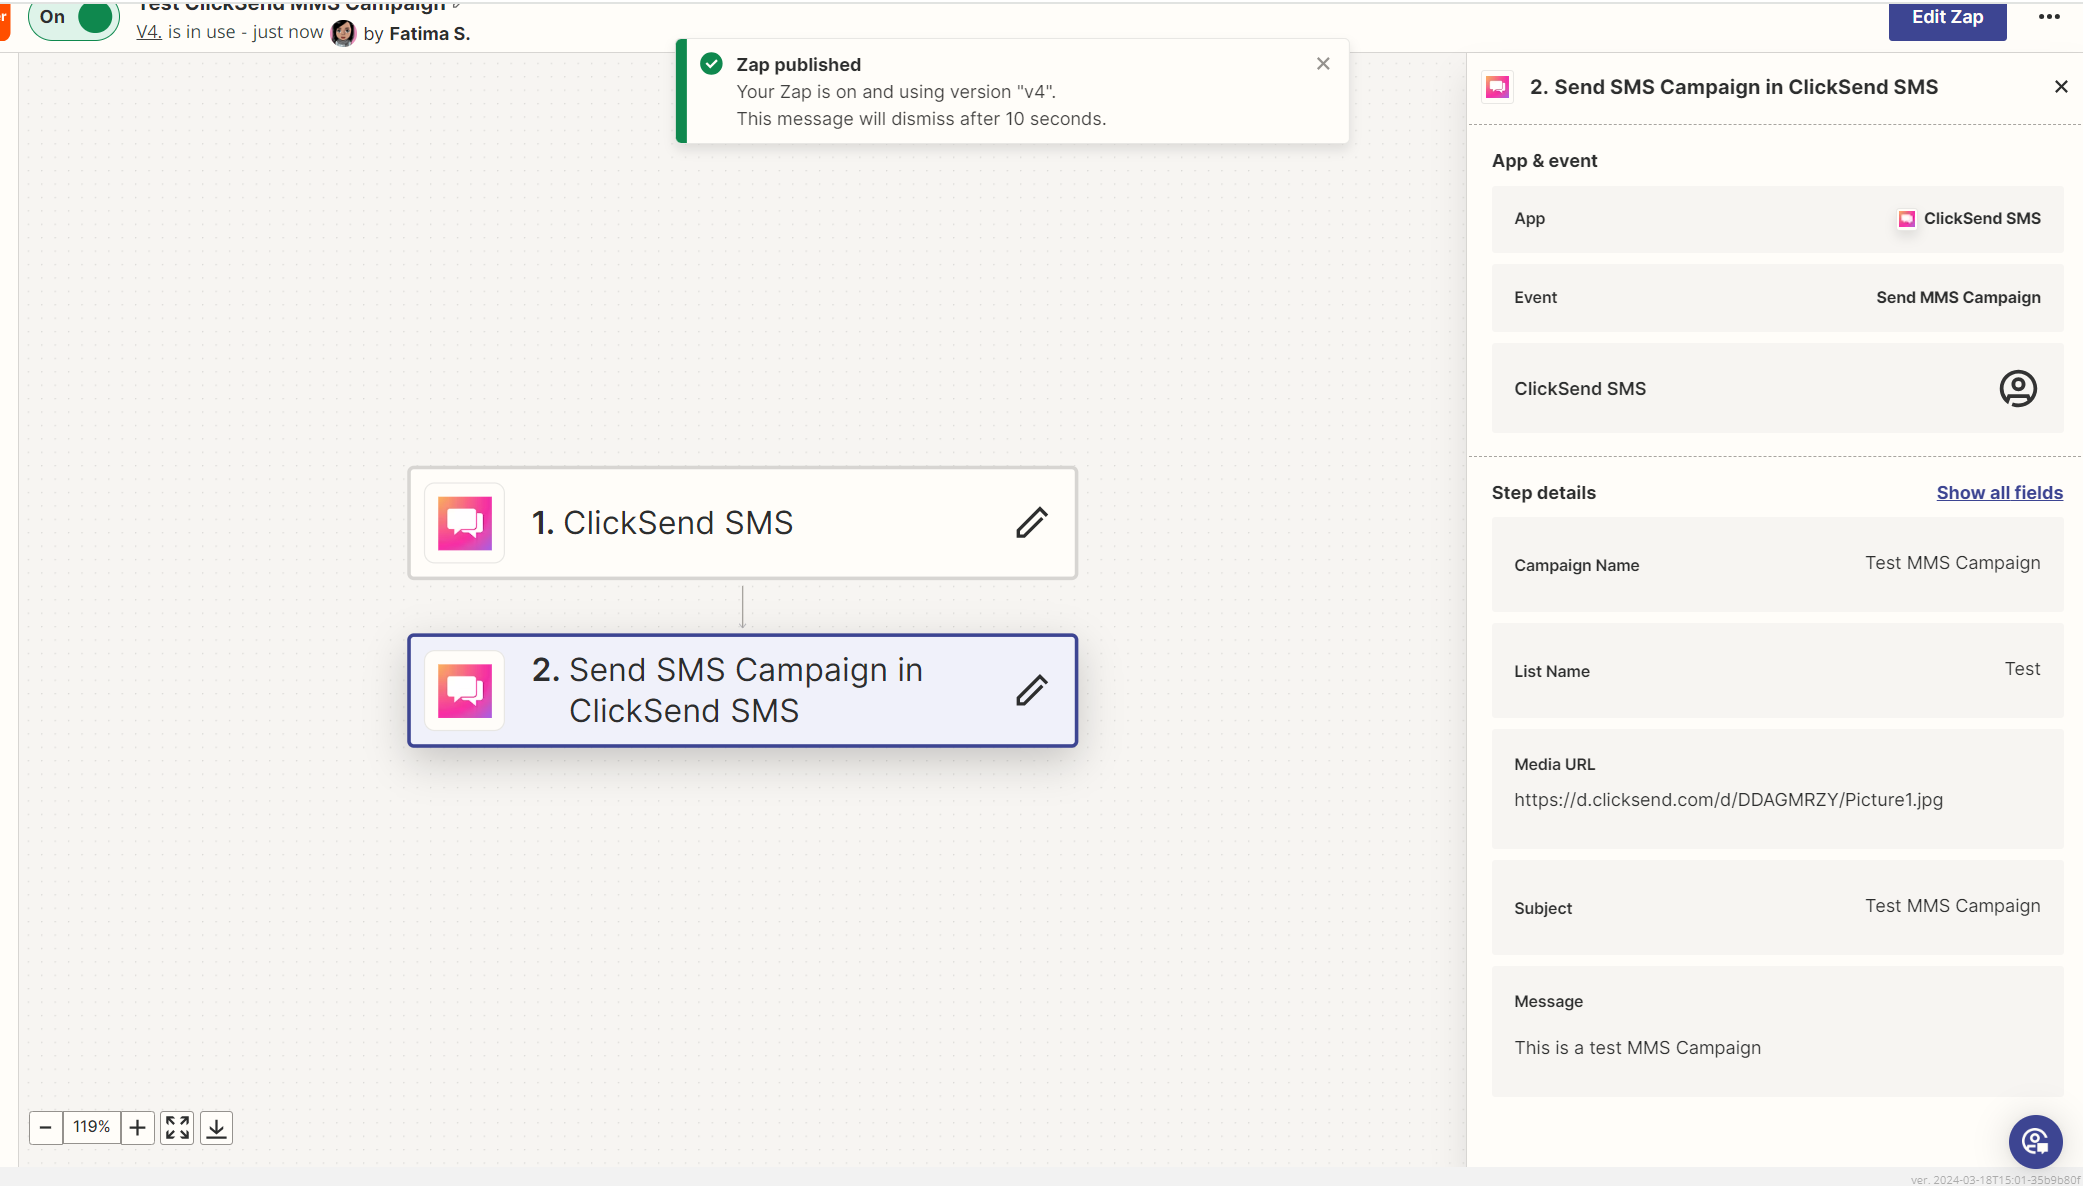
- Action:
- Choose ClickSend as the action app.
- Select the action event "Send MMS Campaign". Then complete the details for the campaign such as the recipient numbers, message content, image attachment and other.
- Test the action to make sure it functions correctly.


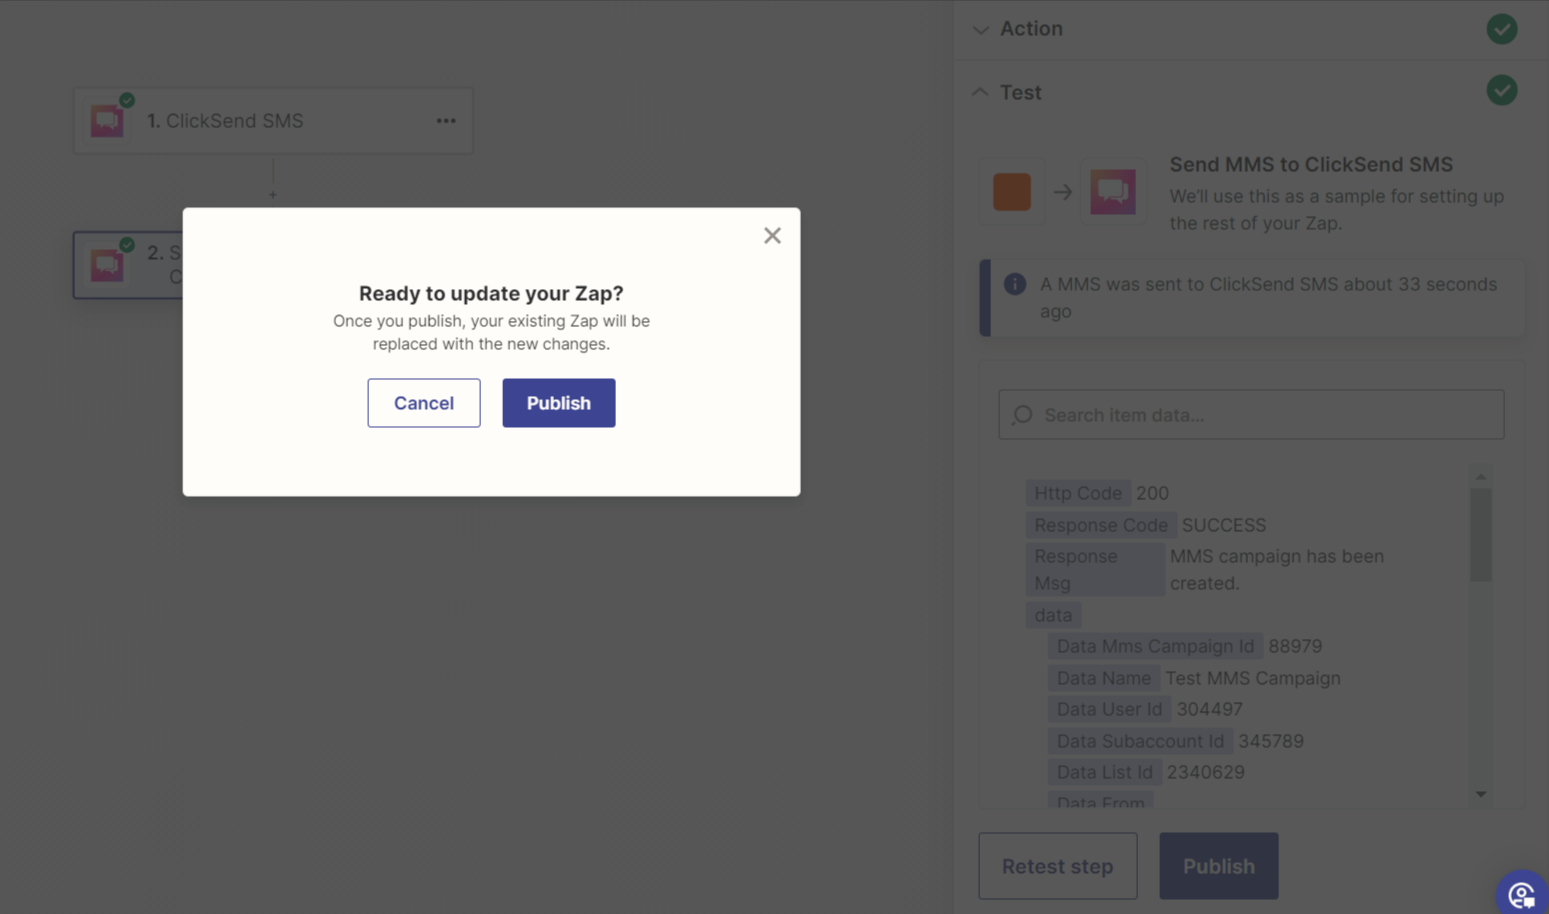 Just a quick reminder to review the supported media formats and file sizes for MMS here: link.Automation:
- Once the trigger and action are configured, activate your Zap to automate the MMS campaign.
- Once the trigger and action are configured, activate your Zap to automate the MMS campaign.
Congratulations! That's it. Your automated SMS and MMS Campaigns should be set up and ready to roll. Happy messaging.
