Adalo - SMS Verification by ClickSend
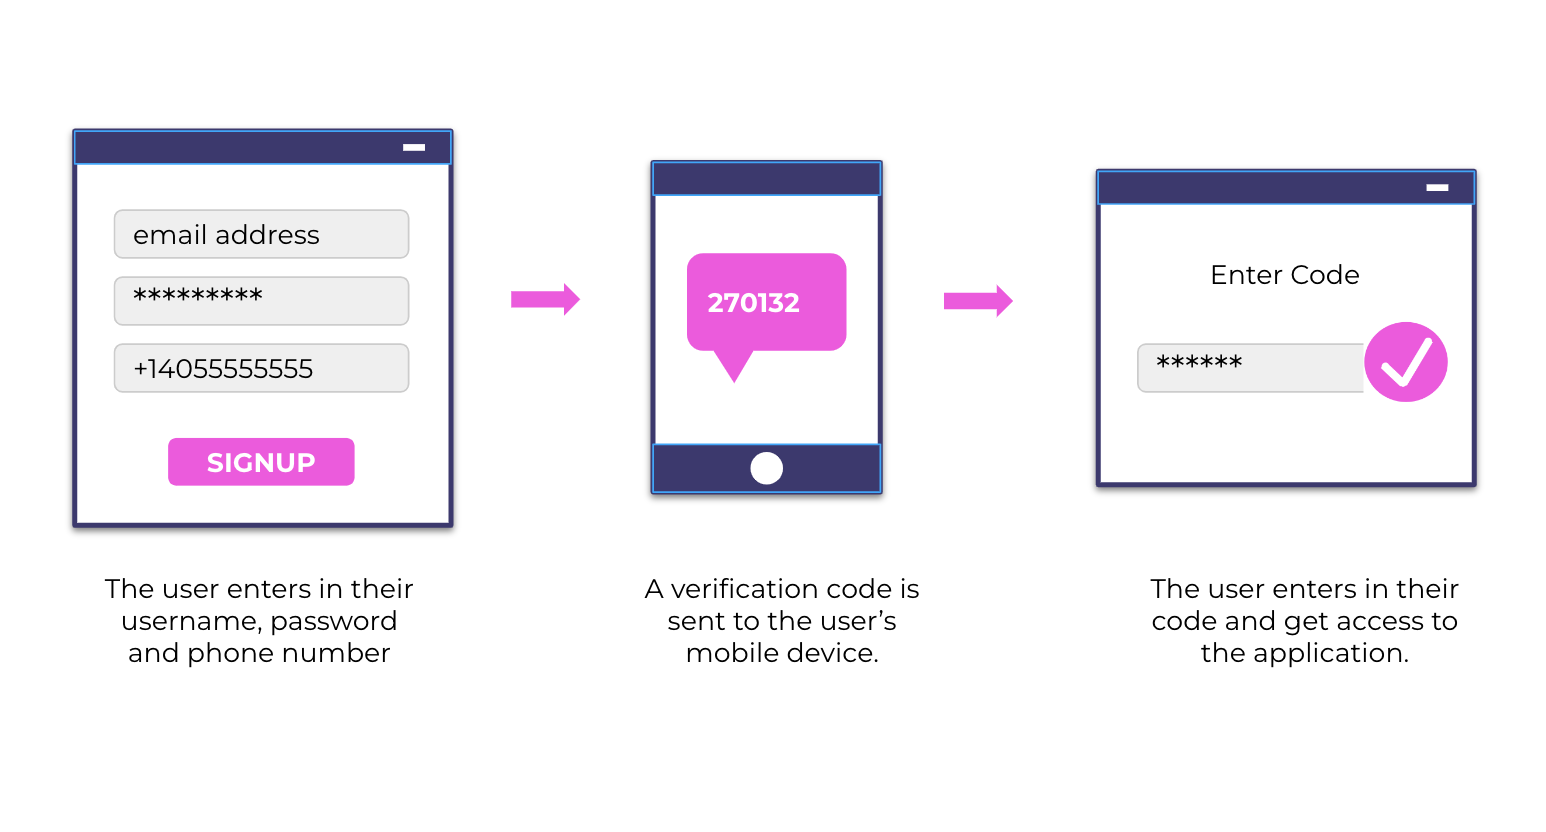
With Adalo + ClickSend integration, you can send verification codes through SMS to verify signups of your users.
This help article will guide you through steps on how to setup ClickSend's SMS verification on your mobile/web app in Adalo.
Prerequisites
- You need ClickSend API credentials to connect to Adalo. Create a ClickSend account here.
- If you do not have yet an Adalo account, you may create one here.
Installation
When inside Adalo's workspace, go to Add component > Marketplace > look for SMS Verification by ClickSend and install.
Authentication
Authenticate the SMS component by adding your ClickSend credentials. Go to API Credentials and fill in username and key.
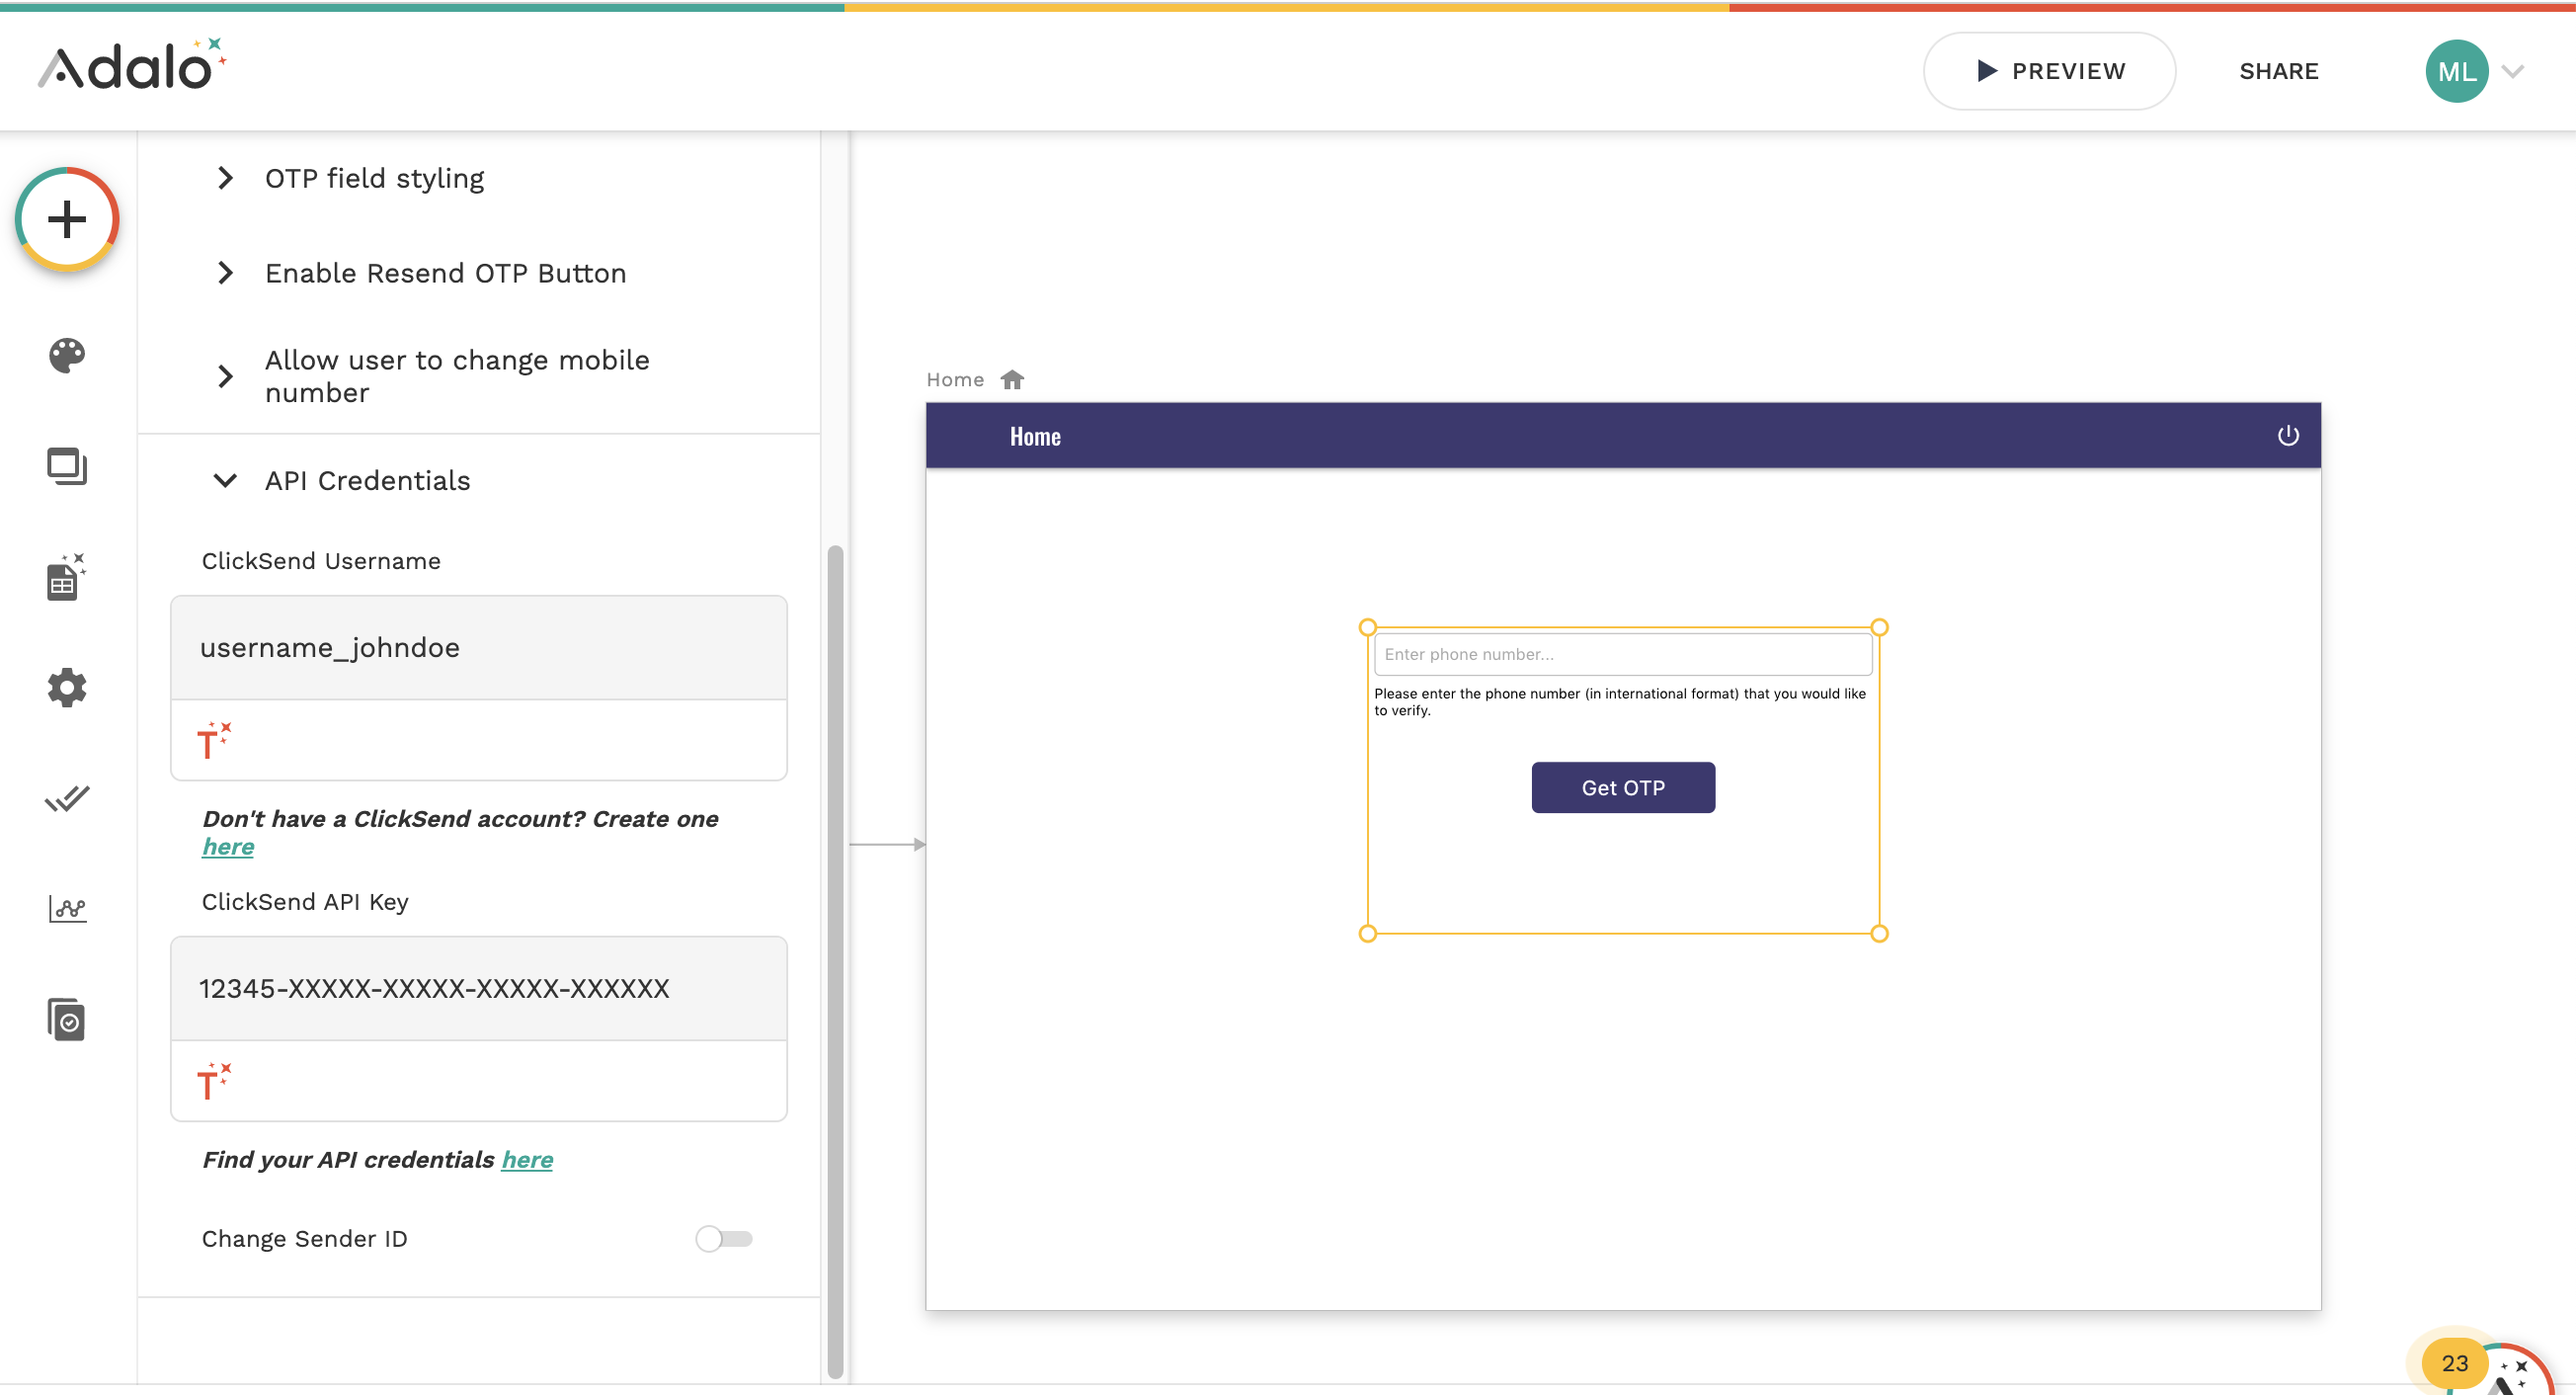
- 'username' is the username you use in ClickSend
- 'api_key' is the API key found in the ClickSend dashboard: https://dashboard.clicksend.com/#/account/subaccount
Configuration
The SMS Component is Flexible and you can customise and style it as per your requirement.
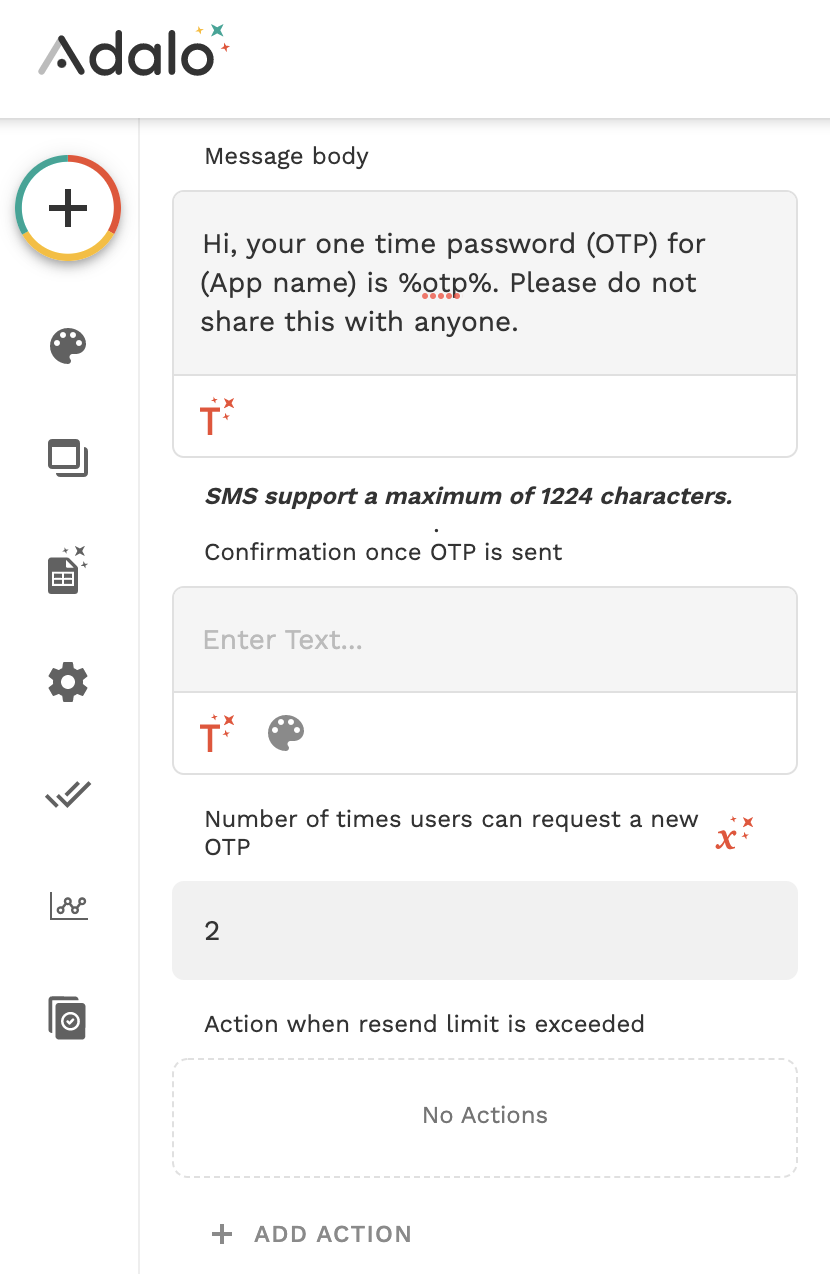
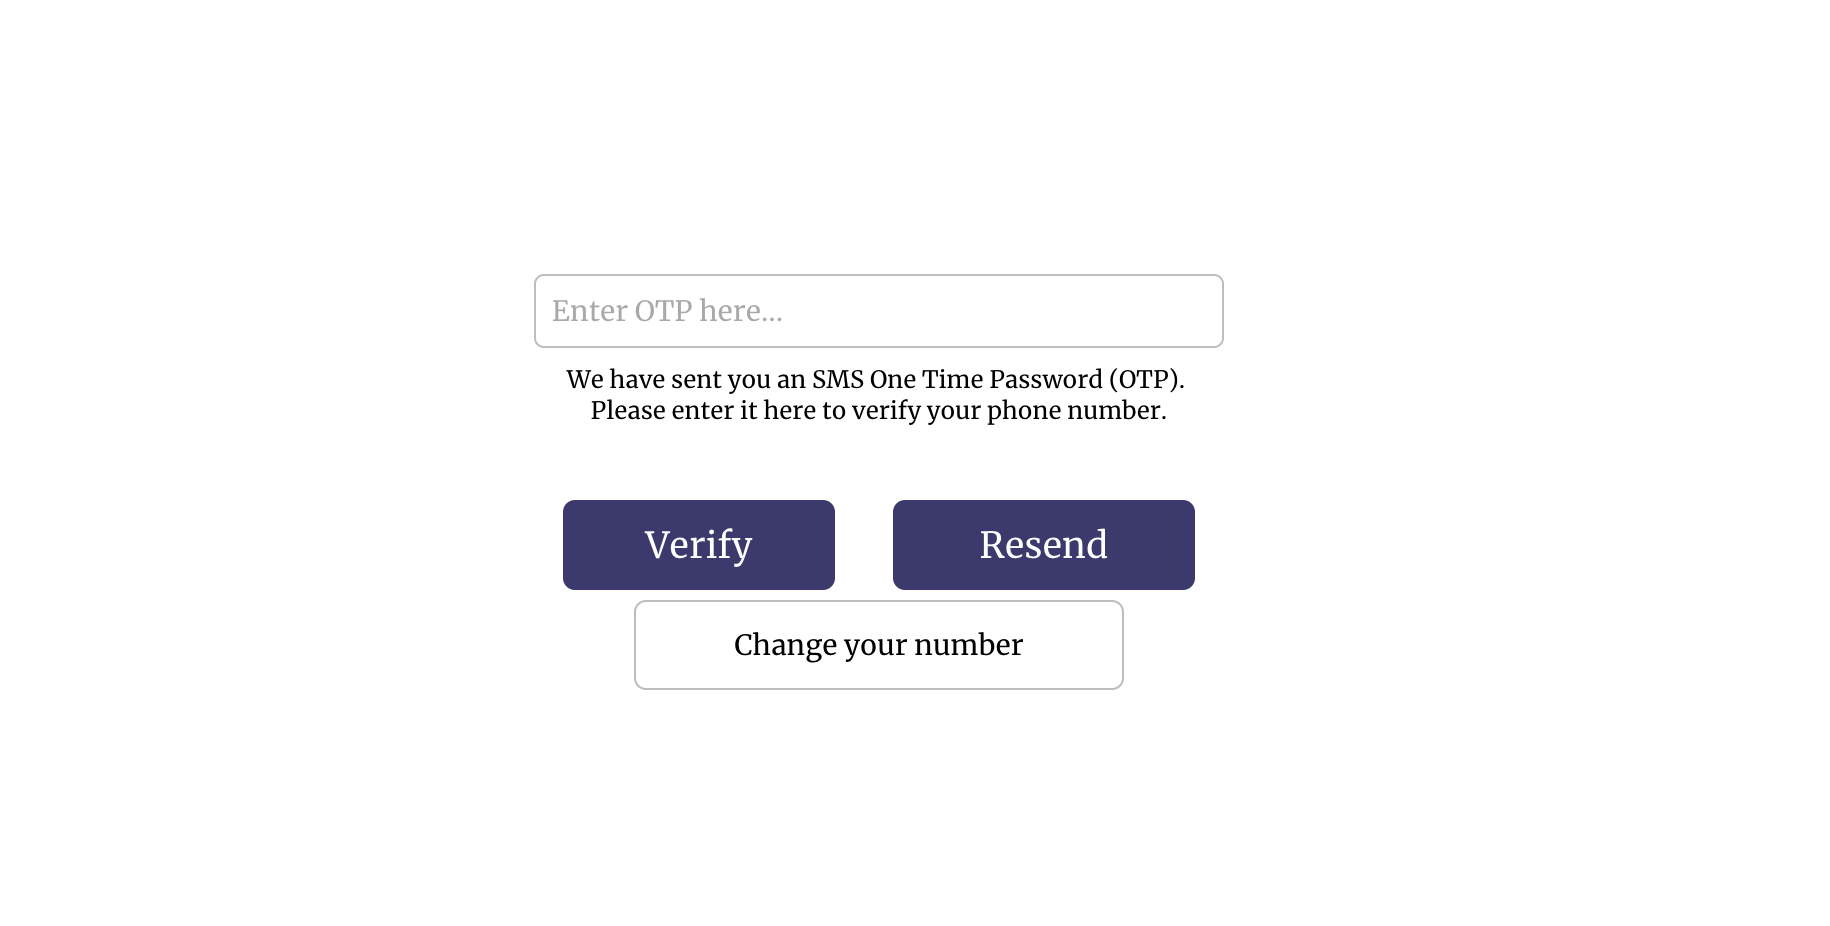
Go to Verification menu > Message body. To automatically generate an OTP on messages, include %otp% merge placeholder on the body of message.
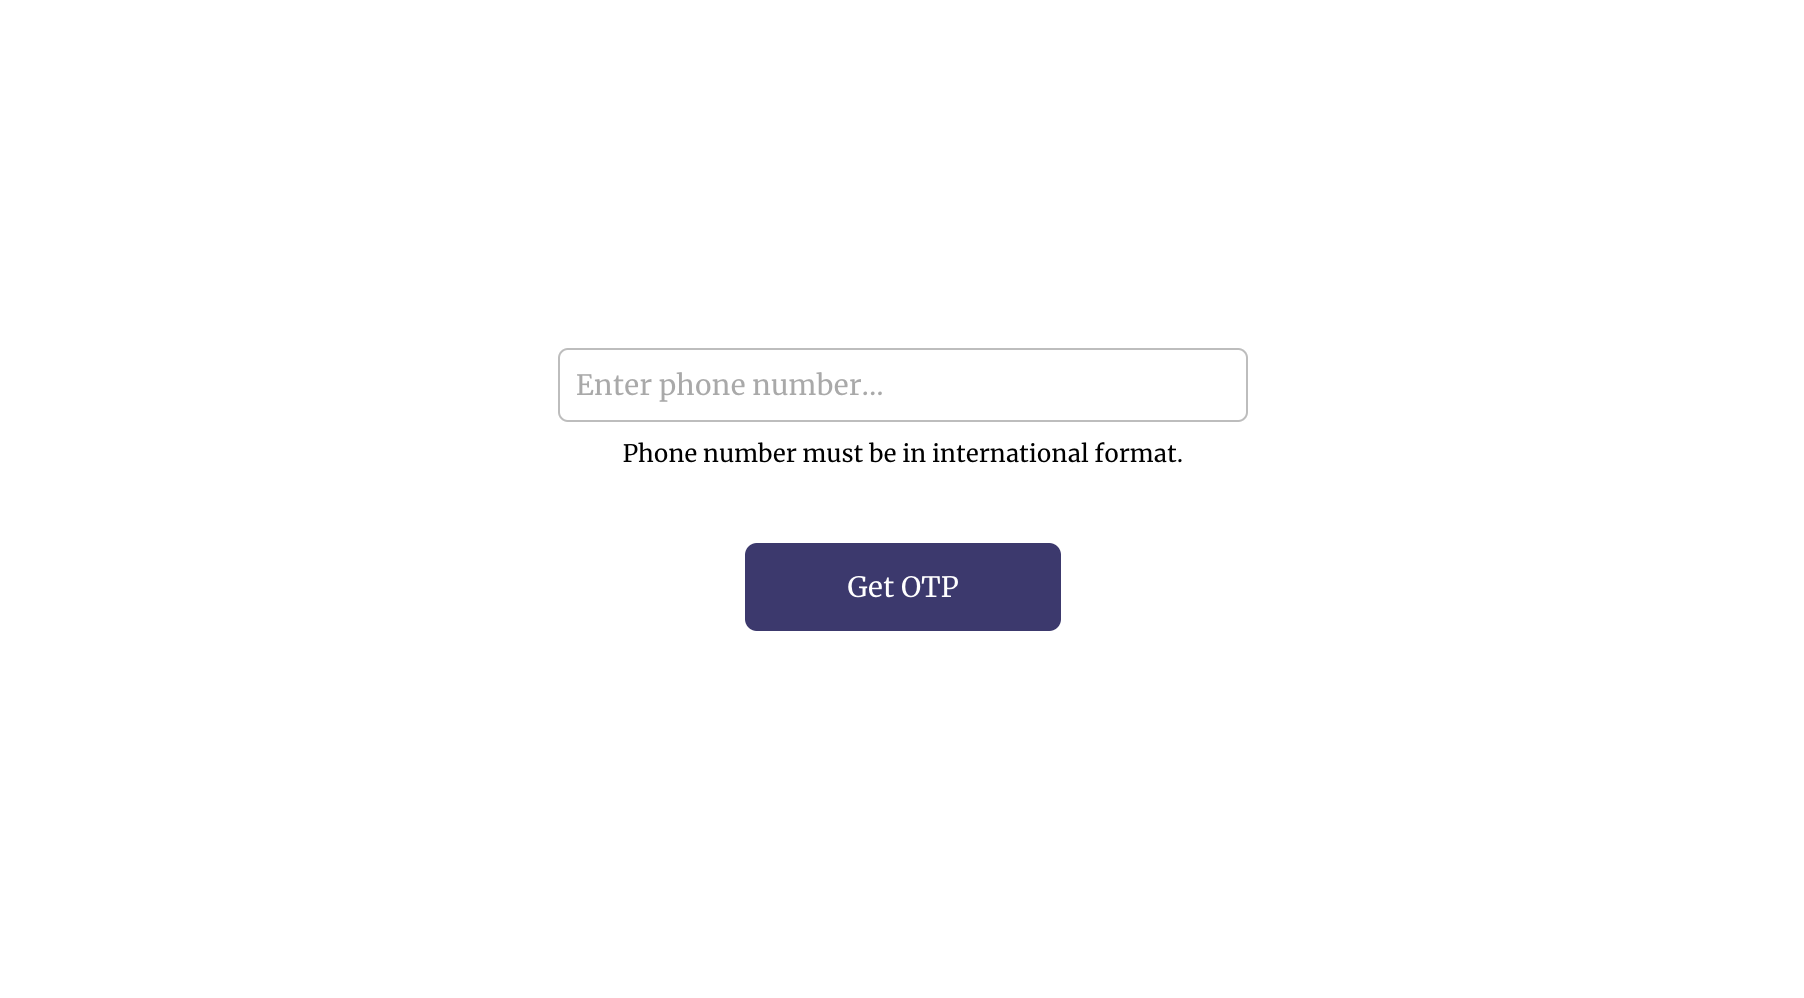
When user enters their phone number and click get OTP button, they get to receive an OTP. You can customise this button based on your requirement. Additionally, if the user has provided their phone number previously and is saved on the database record, you can grab the phone number directly using Magic Text.
Users can also change their phone number if they have entered incorrectly.
Troubleshoot
If you’re having problems, please check the following:
- Check your Authentication. It should be using your ClickSend's username and API key.
- Make sure you have credit in your balance. Check and top up here.
- Fill in all required parameters in the payload. Required fields are
toandbody. - If you are using an Alpha Tag as Sender ID and it's not functioning as expected, please review the following:
- Exceeded characters. Only 11 characters without space is allowed for an Alpha Tag
- Country you are sending to does not support Alpha Tags
- Alpha Tag registration is not yet approved. View Sender IDs page to check status. - Global sending disabled on the country you are sending to. Please reach out to support for assistance. More info
FAQS
- Can I send messages using Alpha Tag Sender ID?
- Yes, however some countries do not support Alpha Tags. Find out which countries support sending via a Alpha Tags here.
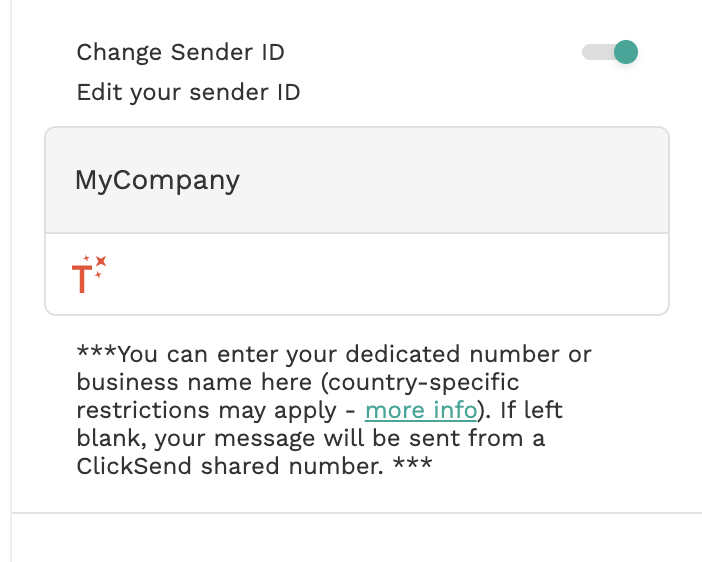
- Note that your Alpha Tags need to be 11 characters or less, without spaces. - How do I add a Alpha Tag as the sender of my messages?
-Go to API Credentials > enable Change Alpha Tag/Sender ID.