Personalize Letters with Google Docs
ClickSends personalized letter solution requires all letters uploaded in a .docx file. You can still use Google Docs to send personalized letters, here's how.
- Create your document in Google Docs
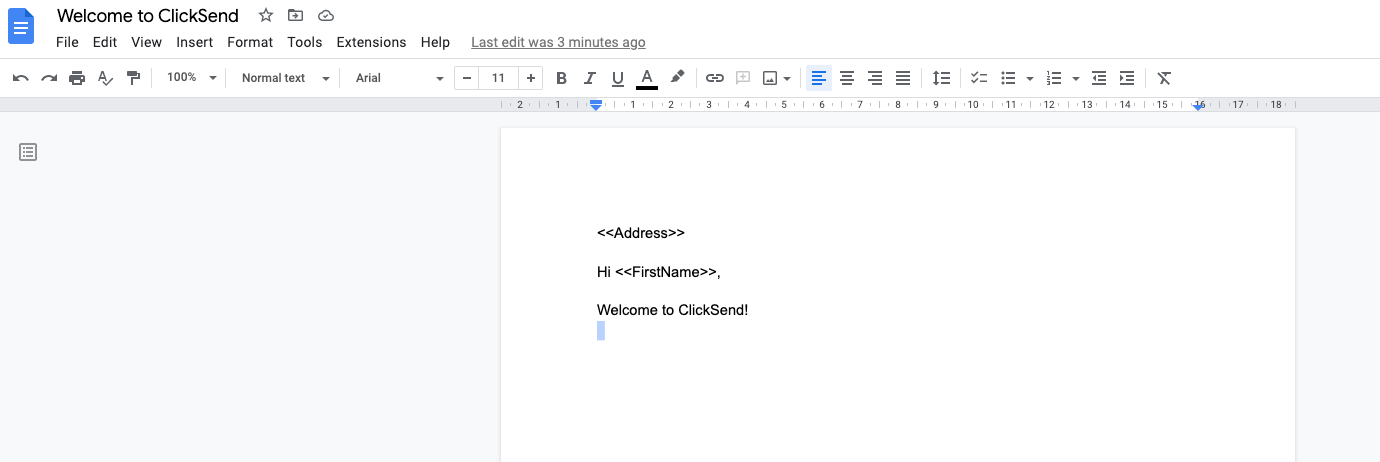
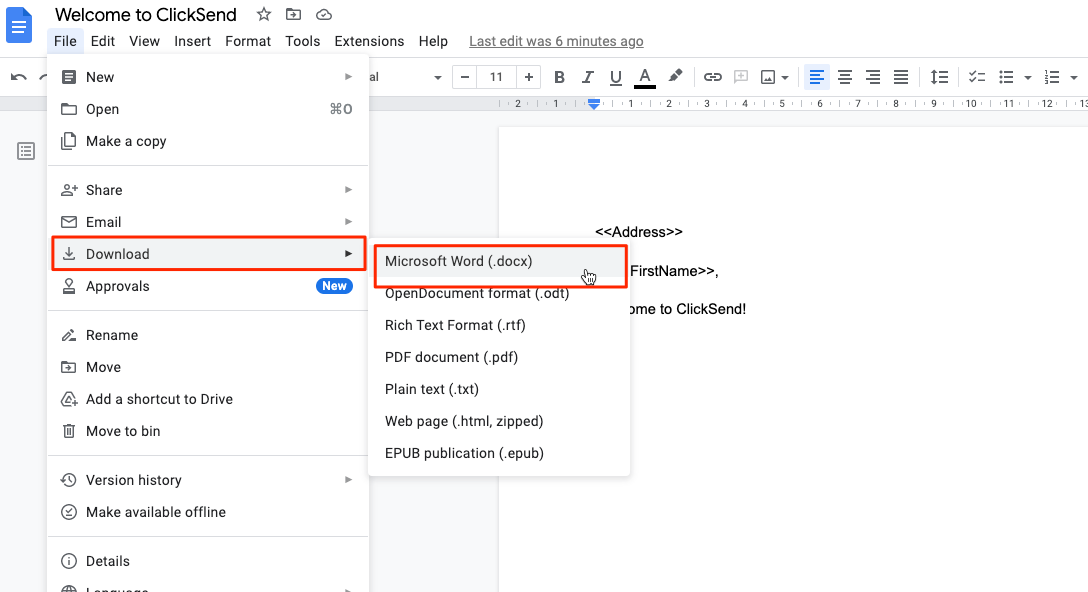
- Once you have completed your document you will need to select file, download, and choose Microsoft Word (.docx).
- Now that your Google Doc has been converted to the correct format, you can upload it to ClickSends dashboard and send your letter campaign.
- Create a letter campaign
To create a letter campaign, you need to:- Click on Add a Campaign button
- Give your campaign a name for your own reference and hit Begin to get started!
- Upload your newly created .docx file.
- Map the data fields. Map the detected placeholders in the file you uploaded to our data fields by selecting the data field from the drop-down list next to each detected placeholder.
- Select the recipients in the To section
You can select the recipients that you want to include. You can select individual recipients, recipient lists, or a combination of both.
- Select a return address.
- Select printing and sending options.
- Selected printing and sending options will be applied on all generated personalised letters
- Preview the first generated letter
In the preview section, you will be able to preview the first generated letter with the data of the first recipient in your contact list.
NOTE: number of generated pages per letter might change/ differ based on the size of the values replacing the placeholders.
- Confirm sending your campaign
In the confirmation modal:- Estimated number of pages is based on the first generated letter pages count
- Estimated cost is based on the first generated letter pages count.